In some cases, you may need to send an attachment electronically. With the Ledger, you can attach documents, images, and even patient periodontal exams to claims and pre-authorizations and send them electronically. You can import these attachments from the Document Center, the Perio Chart, your imaging software, or a text file.
To send an attachment electronically
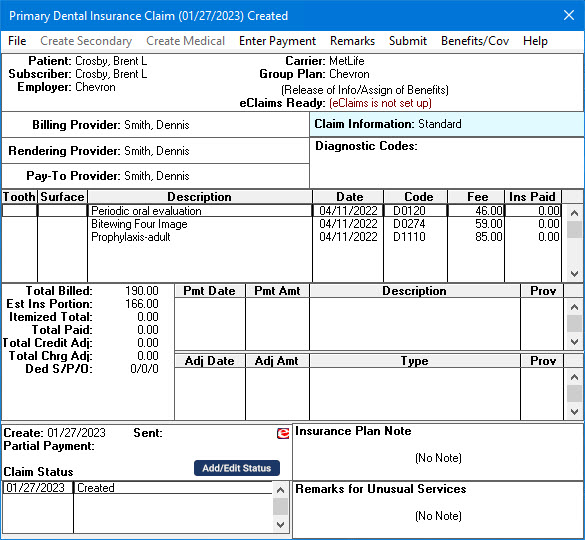
1. Double-click an insurance claim in the transaction log.
The Primary Dental Insurance Claim window appears.

2. Double-click Claim Information.
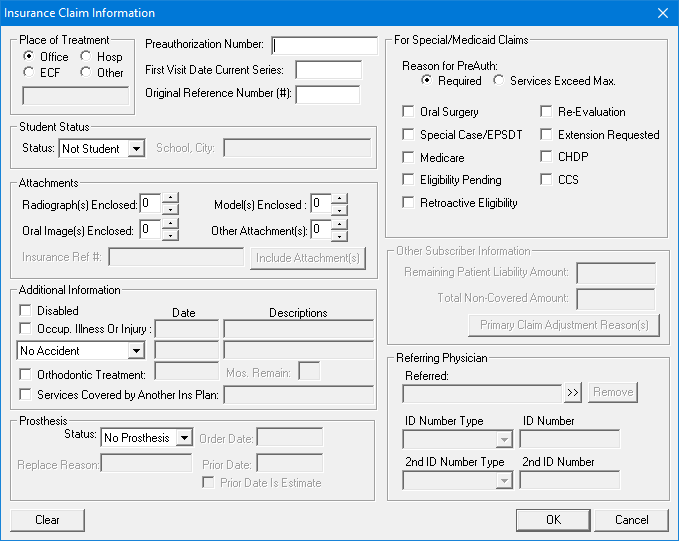
The Insurance Claim Information dialog box appears.

3. Under Attachments, select the type or types of attachments that you want to include with the claim:
Radiograph(s) Enclosed - Type or select the number of radiographs.
Oral Image(s) Enclosed - Type or select the number of oral images.
Model(s) Enclosed - Type or select the number of models.
Other Attachments - Type or select the number of attachments.
4. Type the Insurance Ref #, if applicable.
5. Click Include Attachment(s).
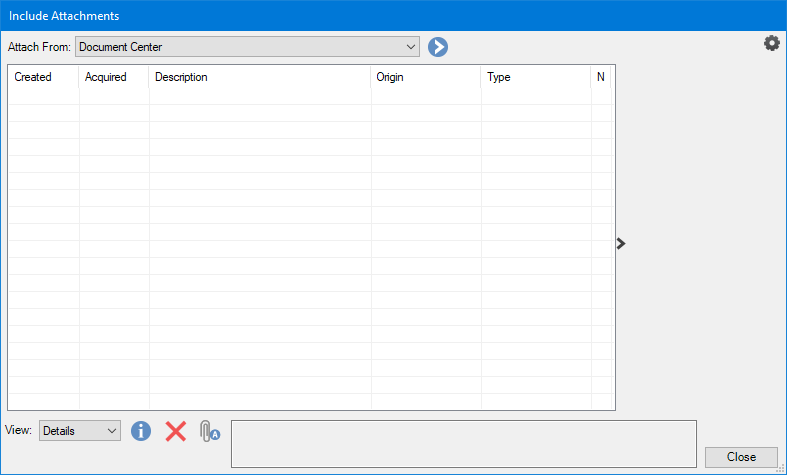
The Include Attachments dialog box appears.

6. Do one of the following:
Smart Image – Click or click the blue chevron to attach images captured through Smart Image.
Document Center – Click to attach a document from the Document Center.
Screen Capture – Click to attach an image from your computer screen.
File Acquire – Click to attach a file.
Dexis – Click to attach an image, such as an X-ray.
Perio – Click to attach a patient's periodontal exam.
Non-Electronic – Click to attach a file to a non-electronic claim.
Clinical Notes - Click to attach a clinical note.