Adding time patterns to appointments
You can add a time pattern to an appointment to represent who is providing care to the patient during the appointment. You can use these assignments to help you maximize your productivity and the use of all operatories. Also, with provider time specified for appointments, when you schedule overlapping appointments with a given provider, the double-booking warning message does not appear if the assigned provider times for those appointments do not overlap.
Note: For information about how a view setting and certain location settings affect the displaying of warning messages, see the topic about calendar warning messages.
When you are scheduling an appointment (for a new or existing patient) or editing an appointment, there are multiple options for adding a time pattern:
-
Apply a custom time pattern.
-
Apply an existing template.
-
Create and apply a new template.
Notes:
-
Time pattern templates are location specific. You must define templates for each location, and only the templates that correspond to the location in which an appointment is scheduled (or is being scheduled) can be applied to that appointment.
-
If the appointment's location differs from the location that you are currently logged in to, an orange warning icon appears next to the Time Pattern list.

-
Additionally, you can create a template without applying it to an appointment and edit a template as needed.
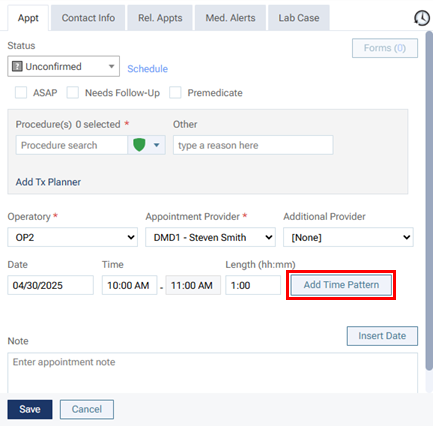
To apply a custom time pattern (not using a template)
-
Click (or tap) Custom Time Pattern.
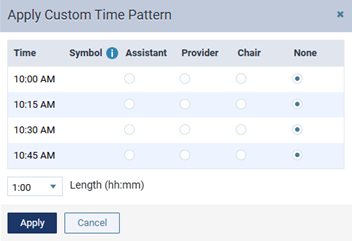
The Apply Custom Time Pattern dialog box appears.
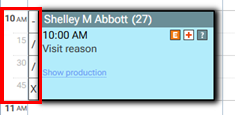
Note: By default, None is selected for each time increment of the appointment, so the time pattern bar on the left edge of the appointment tile is blank.
-
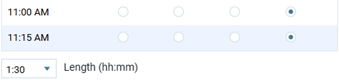
For each Time increment, either leave None selected, or select Assistant, Provider, or Chair.
Note: As you specify the time pattern, the Symbols column is updated automatically:
-
Assistant time (/)
-
Provider time (X)
-
Chair time (-)
-
None (blank)

-
-
To change the appointment length, select a different option from the Length list.
Note: If adjusting the length of the appointment (either in this dialog box or on the Appointment Information panel) adds time increments, each of those time increments will have None selected by default.
-
Click Apply.
To apply a time pattern using an existing template
-
Expand the Time Pattern list.
Note: Only templates that pertain to the appointment’s location and that are the same length (duration) as the current appointment are available for selection.
-
Select the desired template.
To apply a time pattern by creating and applying a template
-
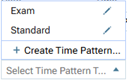
On the Time Pattern list, select Create Time Pattern.

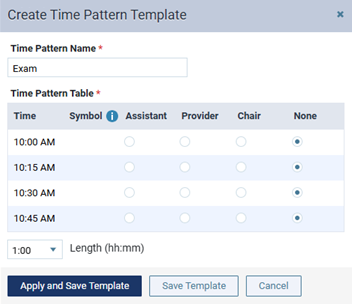
The Create Time Pattern Template dialog box appears.
-
Enter a Time Pattern Name to identify the template in the location that the appointment pertains to.
Note: The template name must be unique to the location.
-
For each Time increment, either leave None selected, or select Assistant, Provider, or Chair.
-
To change the appointment length, select a different option from the Length list.
Note: If adjusting the length of the appointment (either in this dialog box or on the Appointment Information panel) adds time increments, each of those time increments will have None selected by default.
-
To save the template and apply the time pattern to the appointment, click (or tap) Apply and Save Template.
Note: If the template length differs from the appointment length, the appointment length is changed.
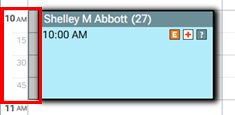
After you have added a time pattern to the appointment using any of the aforementioned methods, set up or change other appointment details as needed, and then click (or tap) Save.
The applicable symbols for each time increment appear on the time pattern bar on the left edge of the appointment tile.