
Each default procedure already includes the relevant flags. Changing the flags does not affect any previously entered or charted procedures for a patient. When you post work in the future, Dentrix changes the procedure codes automatically according to the options you selected in the Flags dialog boxes. You can suspend the treatment area flags by setting Dentrix preferences. To learn more, click the following links:
· Setting treatment area flags
· Setting surface treatment area flags
· Setting tooth treatment area flags
· Setting mouth treatment area flags
· Setting arch treatment area flags
To set root treatment area flags
1. In the Office Manager, click Maintenance, point to Practice Setup, and then click Procedure Code Setup.
The Procedure Code Setup dialog box appears.
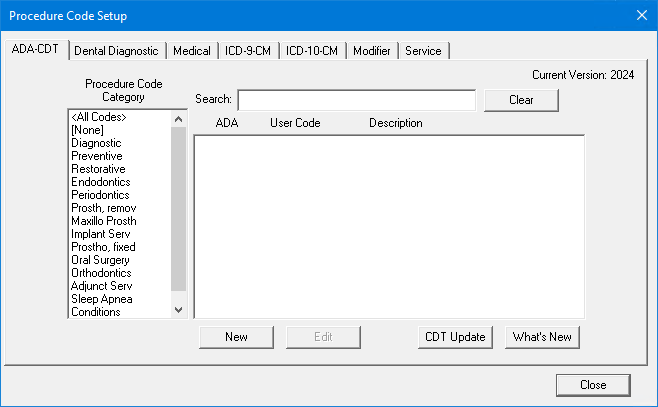
2. To select a code, do one of the following:
· Type the first few characters of the ADA code, user code, or description in the Search text box.
· Select a Procedure Code Category and code from the respective list.
3. Click New.
The Procedure Code Editor dialog box appears.

4. Select Root from the Treatment Area list, and then click Flags.
The Root Flags dialog box appears.
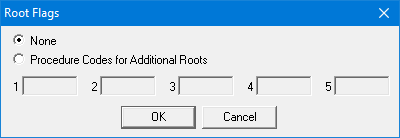
5. Select one of the following:
· None - To not use the Root flag.
· Procedure Codes for Additional Roots - To enter the procedure codes that you use relative to the number of roots the selected tooth has when you chart the patient's procedure.
Note: If you select Procedure Codes for Additional Roots, you must fill in each of the text fields, For example, if there are only three additional procedure codes, you must repeat the procedure code entered in text field 3 in text fields 4 and 5.
6. Click OK.
7. To complete the process for adding or editing ADA-CDT dental codes, click Adding ADA-CDT dental codes or Editing ADA-CDT dental codes, respectively.