You can edit a clinical note that has not been placed into history after the month-end process, that has not been signed, or that has not been locked automatically (according to a certain global setting).
Note: Editing clinical notes requires the "Clinical Notes, Modify" security right.
To edit a clinical note
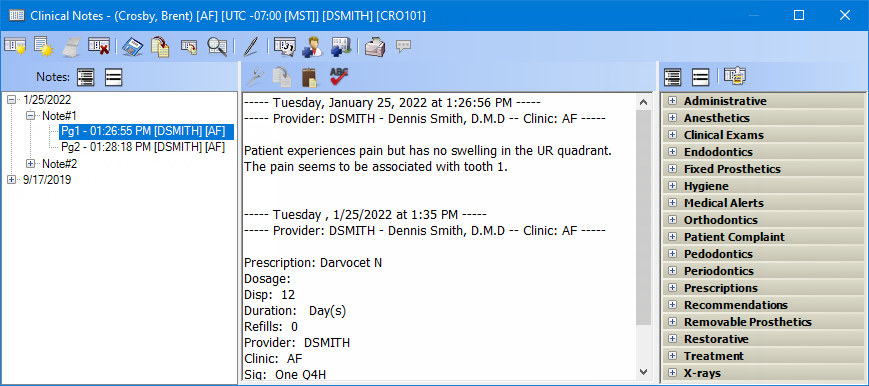
In Clinical Notes, expand a date in the left pane, expand the note that you want to edit, and then select the correct page.
If you are adding to the note on a date
other than when the clinical note was originally entered, insert your
text cursor at the end of the text, press Enter, click the Insert
Date/Time button  to insert
a date and time stamp, and then add text.
to insert
a date and time stamp, and then add text.
Change or delete text as needed.
To add text, do any of the following as needed.
Manually enter text - In the note box (in the center pane), enter text regarding an exam or treatment given.
Insert text using a template - Do the following:
In the template list (in the right pane), expand a category to view the list of available templates for that category by clicking the plus sign (+) next to the category name, and then locate the template that you want to use.
Double-click the desired template.
Messages appear and prompt you for responses if the template requires them; otherwise, the template text is automatically entered into the note box (in the middle), and you can skip step c.
Respond to the prompts that are associated with the template, if applicable.
The template text is automatically entered into the note box.
Note: If a prompt is named "Assessment" or "Plan," the information entered can appear in exported C-CDA documents in an "Assessments" or a "Planned Care" section.
Edit the resulting note, or add information to it as needed.
Notes:
To check the spelling of the note text, click
the Check Spelling button  (this button is available only if a certain preference
setting has been enabled).
(this button is available only if a certain preference
setting has been enabled).
The note can be up to 7,700 characters in length (the maximum length of a clinical note page is 8,000 characters, but 300 of those characters are reserved for the signature line that is added when a clinical note is signed).
If you need to change the encounter number
for the clinical note, click the Change
Encounter for Selected Note button  .
The Edit Encounter Number dialog
box appears. Edit, enter, or select an encounter number, and then click
OK.
.
The Edit Encounter Number dialog
box appears. Edit, enter, or select an encounter number, and then click
OK.
If you need to change the clinic for the
clinical note, click the Change Clinic
for Selected Note button  .
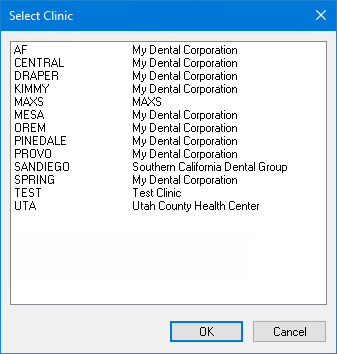
The Select Clinic dialog box appears.
Select the correct clinic, and then click OK.
.
The Select Clinic dialog box appears.
Select the correct clinic, and then click OK.
Note: If your user account has been granted the "View All Patients" security right for the Central clinic, the ID and name of all clinics appear in the list; otherwise, the ID and name of each clinic for which your user account has been granted the "My Clinics, View" security right (in the "Practice/Clinic Setup" category) appear in the list; however, if your user account has not been granted that right to any clinic, only the ID and name of the clinic that you are currently logged in to appear in the list.
Click the Save
Clinical Note button ![]() to save the note.
to save the note.
Note: The note is saved automatically if you go somewhere else in Dentrix Enterprise or if you close Chart (if you had opened Clinical Notes from Chart).