Viewing and editing completed patient forms
Dentrix Ascend automatically saves each completed patient form in the corresponding patient's document manager. You can view that form from various areas of Dentrix Ascend. While you are viewing the most recent version of the form, you can quickly switch to the previous version (if one exists) to compare the responses. Also, you can update the responses on the most recent version of a completed patient form and then sign it.
Note: When a completed form is saved in Dentrix Ascend, no information in the patient's record (such as on the Basic Info tab of the Patient Information page) is updated automatically; you must make any needed updates manually.
To view and edit a completed patient form
-
Do one of the following:
-
How to get there
-
If the correct patient is not already selected, use the Patient Search box to access the patient's record.
Note: You can include inactive patients in the search results by setting the Include inactive patients switch to On.
-
On the Patient menu, under General, click (or tap) Overview.
The patient's Overview page opens.
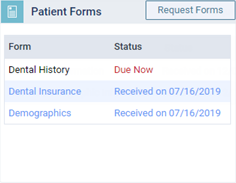
On a patient's Overview page, the Patient Forms box displays the patient forms that have been completed and those that are due. Click (or tap) a form that has a Received status.
-
-
How to get there
-
If the correct patient is not already selected, use the Patient Search box to access the patient's record.
Note: You can include inactive patients in the search results by setting the Include inactive patients switch to On.
-
On the Patient menu, under General, click (or tap) Overview.
The patient's Overview page opens.
-
Click (or tap) the top of, or a white space within, the Patient Forms box.
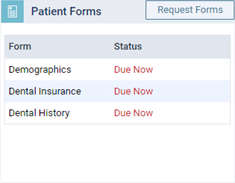
The Patient Forms tab of the patient's record opens.
On the Patient Forms tab of a patient's record, the patient forms that have been completed and those that are due appear. Expand the section that corresponds to a form type that has completed forms to view the patient's form history, and then click (or tap) the desired form. A form type has a corresponding expandable section only if the patient has completed at least one form of that type (the Last Received date is not Never).

-
-
How to get there
-
On the Schedule menu, click (or tap) Calendar.
The Calendar page opens.
-
Click (or tap) an appointment.
The Appointment Information panel opens.
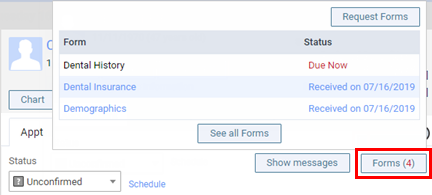
While viewing a patient's appointment, position your pointer over (or tap) Forms. The pop-up box that appears displays the patient forms that have been completed and those that are due. Click (or tap) a form that has a Received status.
-
-
How to get there
-
On the Schedule menu, click (or tap) Unconfirmed Appointments.
The Unconfirmed Appts page opens.
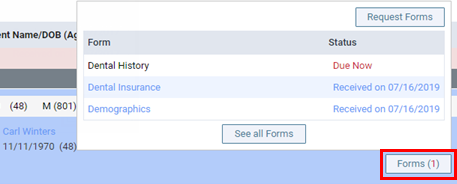
While confirming a patient's appointment, position your pointer over (or tap) Forms. The pop-up box that appears displays the patient forms that have been completed and those that are due. Click (or tap) a form that has a Received status.
-
-
How to get there
-
If the correct patient is not already selected, use the Patient Search box to access the patient's record.
Note: You can include inactive patients in the search results by setting the Include inactive patients switch to On.
-
On the Patient menu, under Clinical, click (or tap) Chart.
The patient's clinical record opens with the Chart tab selected.
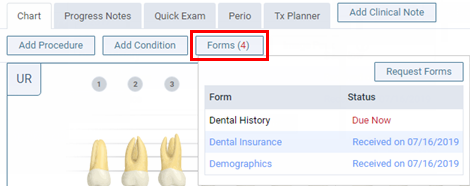
While viewing the Chart tab of a patient's clinical record, position your pointer over (or tap) Forms. The pop-up box that appears displays the patient forms that have been completed and those that are due. Click (or tap) a form that has a Received status.
-
-
How to get there
-
On the Schedule menu, click (or tap) Calendar.
The Calendar page opens.
-
Click (or tap) an appointment.
The Appointment Information panel opens.
While viewing a patient's appointment, position your pointer over (or tap) Forms. The pop-up box that appears displays the patient forms that have been completed and those that are due. Click (or tap) See all Forms to open the patient's Document Manager page. Then, click (or tap) a document that has a Forms tag.
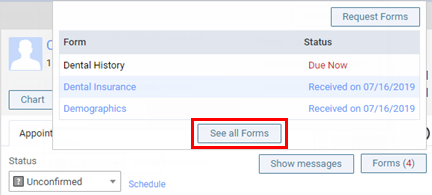
Note: Using this method to view a form, you will not be able to edit the responses on that form.
-
-
How to get there
-
On the Schedule menu, click (or tap) Unconfirmed Appointments.
The Unconfirmed Appts page opens.
While confirming a patient's appointment, position your pointer over (or tap) Forms. The pop-up box that appears displays the patient forms that have been completed and those that are due. Click (or tap) See all Forms to open the patient's Document Manager page. Then, click (or tap) a document that has a Forms tag.
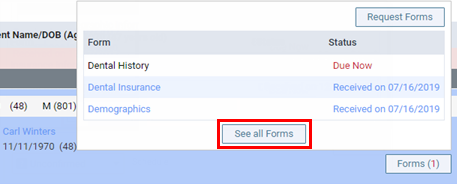
Note: Using this method to view a form, you will not be able to edit the responses on that form.
-
-
How to get there
-
If the correct patient is not already selected, use the Patient Search box to access the patient's record.
Note: You can include inactive patients in the search results by setting the Include inactive patients switch to On.
-
On the Patient menu, under General, click (or tap) Document Manager.
The patient's Document Manager page opens.
On a patient's Document Manager page, click (or tap) a document that has a Forms tag.
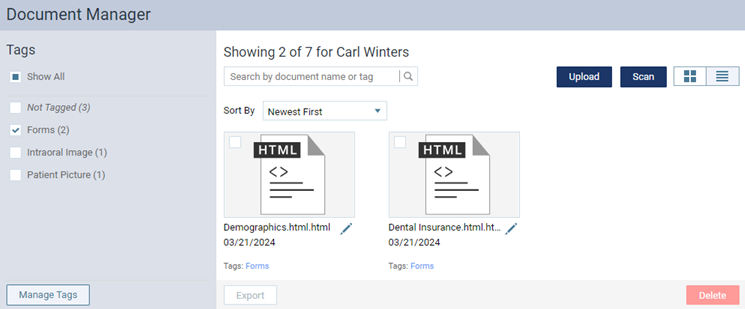
Note: Using this method to view a form, you will not be able to edit the responses on that form.
-
One of the following occurs:
-
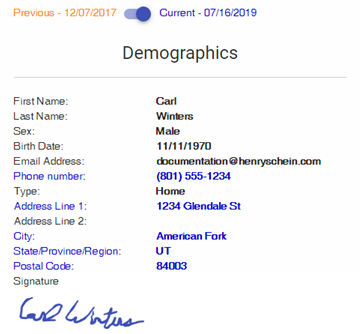
The completed form appears on a new tab of your Web browser. Ignore step 3.
-
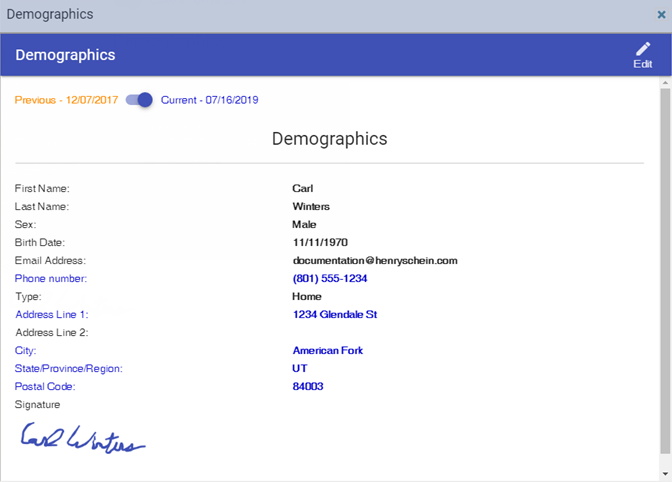
The completed form appears in a dialog box.
-
-
If the patient has completed this form previously, a slider appears at the top. The Current version is displayed by default. Any changes since the previous form was completed appear in blue text. Move the slider to the left to see the information from the Previous version.
-
If the patient form is being displayed in a dialog box, and if Dentrix Ascend received the form within the past two weeks, you can edit the responses for the Current version as needed.
Note: You can view a form that was submitting more than two weeks ago, but you cannot edit it.
Do the following:
-
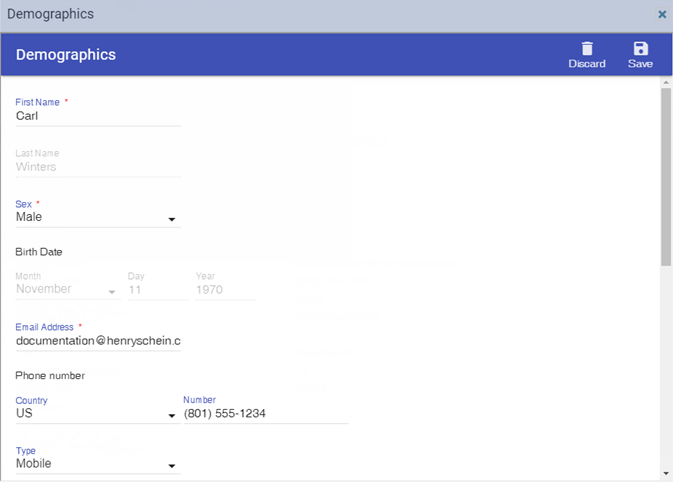
Click (or tap) the Edit button
 .
.The form becomes editable.
-
Make the necessary changes.
Note: To discard any changes, click (or tap) the Discard button
 .
. -
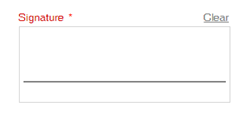
Using a mouse or a finger (on touch-enabled devices only), either you (with the patient's approval) or the patient signs the form in the Signature area.
-
Click (or tap) the Save button
 .
.
Note: The updated form is saved as a new, separate form. On the Patient Forms tab of the patient's Patient Information page, the updated form has "Updated on" next to the form name to indicate that it is the updated form. Also, the date when the changes were made and the ID of the user who was logged in to Dentrix Ascend when the changes were saved appear.

-
-
Use the information on the form to update or verify information in the patient's record. You may want to print the information, using your browser's print functionality, so you have a hard copy to reference as you navigate the patient's record.