Rearranging images in series
You can rearrange images in a series.
To rearrange images in a series
-
If the correct patient is not already selected, use the Patient Search box to access the patient's record.

-
On the Patient menu, under Clinical, select Chart, Progress Notes, Quick Exam, Perio, Tx Planner, or Imaging.
The patient's clinical record opens with the Chart, Progress Notes, Quick Exam, Perio, Tx Planner, or Imaging tab selected.
-
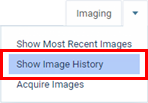
On the Imaging tab's menu, select Show Image History.
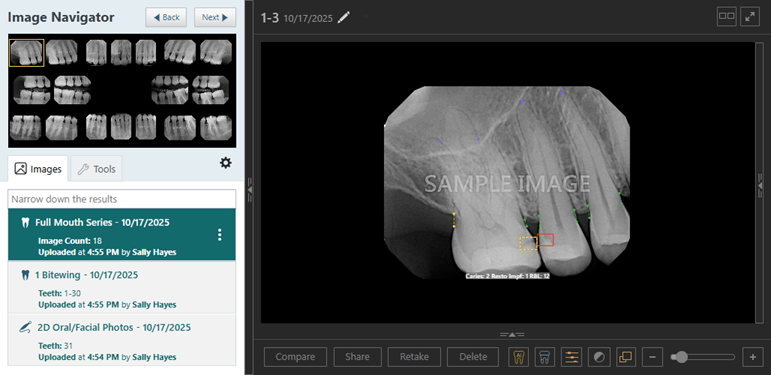
The patient's imaging page opens to the history view. The most recent image, series (such as a full mouth series or bitewings), set of photos (which was acquired using a custom imaging procedure), CAD/CAM scan, or 3D volume is selected by default on the Images tab.
Note: These steps apply to the Exam view only. If you are using the Modality view, before you can proceed, you must switch to the Exam view. For information about switching to the Exam view, refer to the topic about changing Dentrix Ascend Imaging settings.
-
Select a series (such as a full mouth series or bitewings).

-
Do any of the following as needed:
-
To move one image in a stack to another slot of the template, do the following:
-
Under Image Navigator, click (or tap) the applicable image of the series if it is not already selected.
-
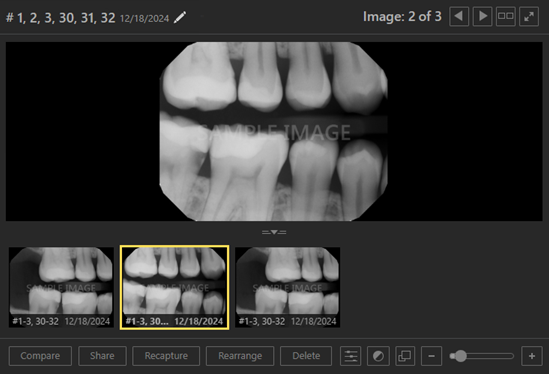
If the template slot has multiple images assigned, to view an image other than the top image of the stack, do any of the following as needed:
-
At the top of the viewing area, click (or tap) the Previous or Next button
 as needed to view the desired image in the stack.
 -
On the image stack panel (near the bottom of the viewing area), click (or tap) the desired thumbnail image to view that image in the viewing area.
Note: If the panel is collapsed, click (or tap) the handle
 to expand the panel.
-
-
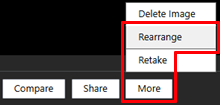
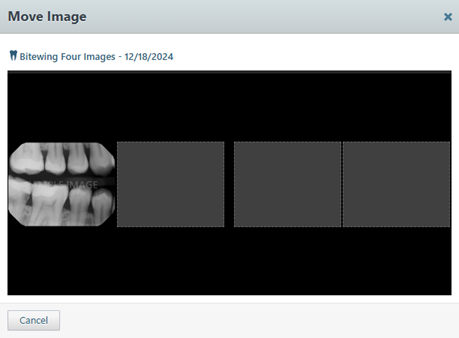
Click (or tap) Rearrange, or select the Rearrange option on the More menu. The button or menu option is available only if the template slot has multiple images assigned.
The Move Image dialog box appears.
-
Do any of the following as needed:
-
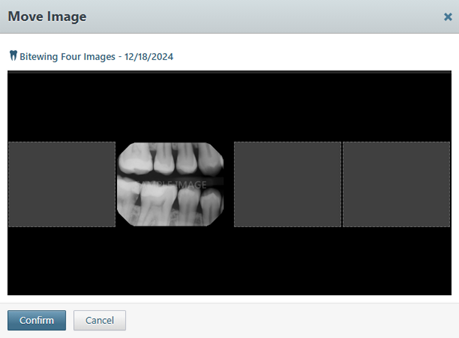
To move an image to another slot in the template, drag the image to the desired slot. If the destination slot already has an image assigned, the image you have moved will become the top one in the stack for the destination slot and will be selected by default.
-
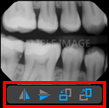
To change the orientation of the image in the template, select the image to view the toolbar, and then click (or tap) any of the available buttons as needed: Flip Horizontal, Flip Vertical, Rotate Counterclockwise (90 degrees), and/or Rotate Clockwise (90 degrees).
When you have moved, or changed the orientation of, the image, the Confirm button becomes available.
-
-
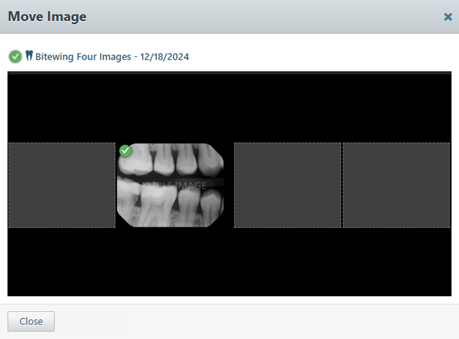
When you have finished moving the image, click (or tap) Confirm.
The changes are saved.
-
Click (or tap) Close.
-
-
To rearrange multiple images, do the following:
-
If any template slots for the selected series have multiple images assigned, to change which images in those stacks are displayed so they can be rearranged, do the following:
-
Under Image Navigator, click (or tap) an image of the series.
-
If the template slot has multiple images assigned, to view an image other than the top image of the stack, do any of the following as needed:
-
At the top of the viewing area, click (or tap) the Previous or Next button
as needed to view the desired image in the stack. -
On the image stack panel (near the bottom of the viewing area), click (or tap) the desired thumbnail image to view that image in the viewing area.
Note: If the panel is collapsed, click (or tap) the handle
to expand the panel.
-
-
Repeat steps i-ii as needed for other template slots.
-
-
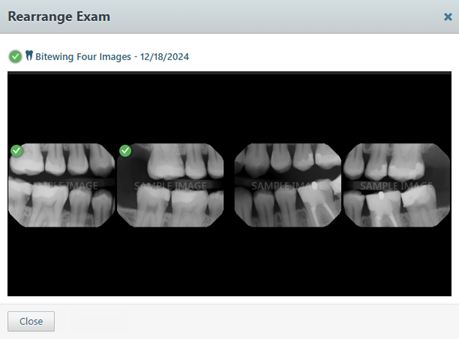
On the selected series's options menu, select Rearrange exam.
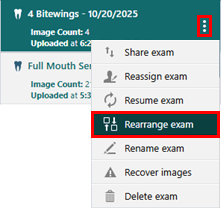
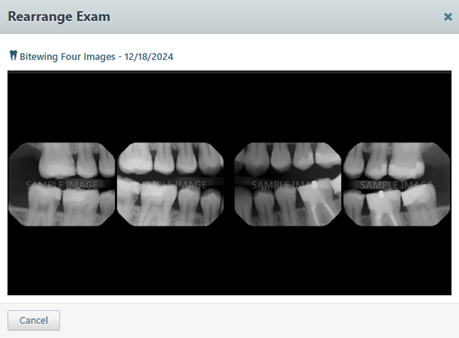
The Rearrange Exam dialog box appears.
-
Do any of the following as needed:
-
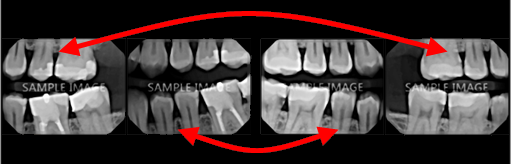
To swap two images in the template, drag one of the images to the box with another image.
-
To move an image to an empty box in the template, drag the image to the desired box.
-
To change the orientation of an image in the template, select the image to view the toolbar, and then click (or tap) any of the available buttons as needed: Flip Horizontal, Flip Vertical, Rotate Counterclockwise (90 degrees), and/or Rotate Clockwise (90 degrees).
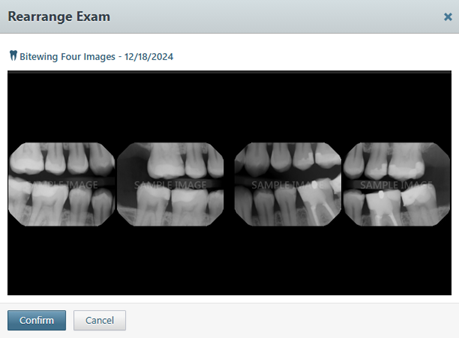
When you have moved, or changed the orientation of, at least one image, the Confirm button becomes available.
-
-
When you have finished rearranging the images, click (or tap) Confirm.
The changes are saved.
-
Click (or tap) Close.
-
-