Changing Dentrix Ascend Imaging settings
You can change general settings for Dentrix Ascend Imaging as needed.
Note: These settings are user specific except where noted.
To change settings
-
If a patient is not already selected, use the Patient Search box to access a patient's record.

-
On the Patient menu, under Clinical, select Chart, Progress Notes, Quick Exam, Perio, Tx Planner, or Imaging.
The patient's clinical record opens with the Chart, Progress Notes, Quick Exam, Perio, Tx Planner, or Imaging tab selected.
-
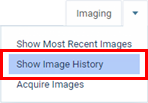
On the Imaging tab's menu, select Show Image History.
One of the following occurs:
-
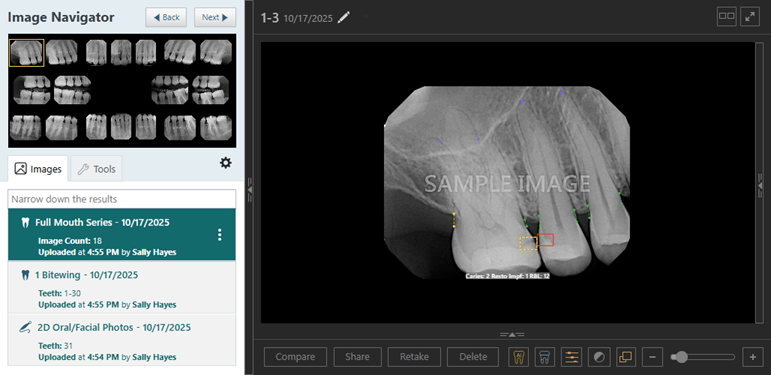
In the Exam View - The patient's imaging page opens to the history view. The most recent image, series (such as a full mouth series or bitewings), set of photos (which was acquired using a custom imaging procedure), CAD/CAM scan, or 3D volume is selected by default on the Images tab.
-
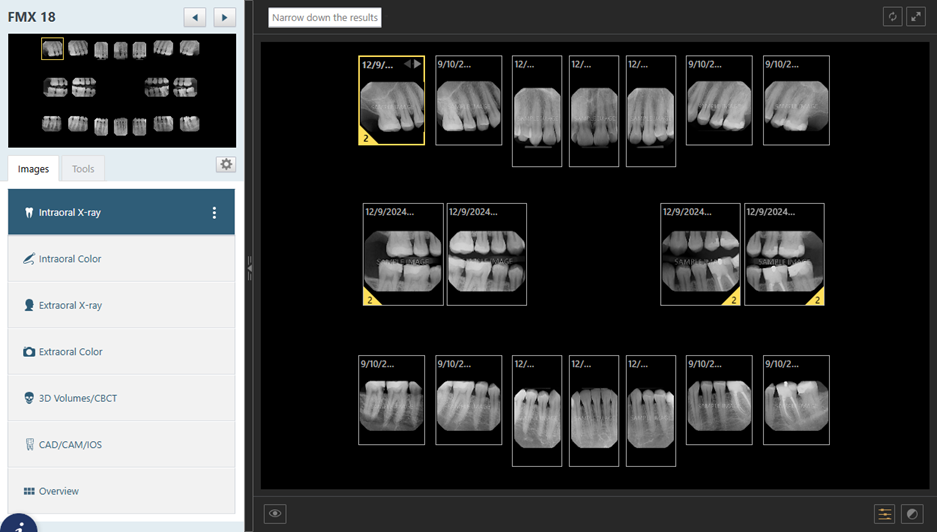
In the Modality View - The patient's imaging page opens, and the Intraoral X-ray tab is selected by default.
-
-
Next to the Images and Tools tabs on the navigation panel, click (or tap) the Settings button
 .
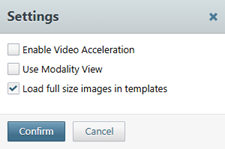
.The Settings dialog box appears.
-
Set up any of the following options:
-
Enable Video Acceleration - Determines how images are rendered.
Note: You may want to enable video acceleration for faster 2D image rendering. Video acceleration leverages WebGL (Web Graphics Library) to enhance the rendering speed of 2D images. WebGL is a JavaScript API based on OpenGL ES, which enables accelerated rendering by offloading processing tasks to the GPU (Graphics Processing Unit). While 3D images already use WebGL for rendering, this setting extends the same technology to 2D images, significantly improving performance for filters and rendering tasks. By default, 2D video acceleration is turned off to ensure compatibility with hardware that does not support WebGL. If your computer's hardware is incompatible, enabling 2D video acceleration could result in a black screen. With compatible hardware, enabling 2D video acceleration provides a smoother, faster rendering experience for 2D images.
-
Use Modality View - Determines which imaging workflow is active: the traditional template or exam-based workflow (Exam view) or the modality or anatomical workflow (SuperFMX/Modality View).
-
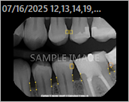
Display tooth numbers as ranges - Determines if tooth numbers are displayed as ranges or individually:
-
With the checkbox selected:
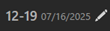
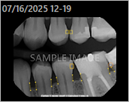
-
With the checkbox clear:

-
-
Load full size images in templates - Determines the size of images when you view an entire series.
Note: This checkbox must be selected if you want annotations and AI findings to be visible in the template/series view.
-
Show right panel on launch:
-
With this checkbox selected, the AI panel (on the right) is expanded by default.
-
With this checkbox clear, the AI panel (on the right) is collapsed by default.

Notes:
-
This option is available only if any AI functionality (Magnify, Image Verify, or Detect AI) is enabled.
-
This setting is computer specific.
-
-
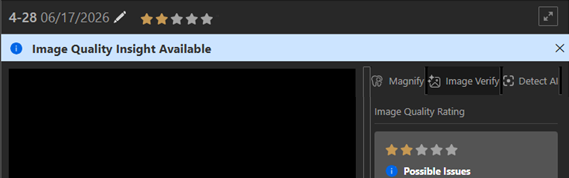
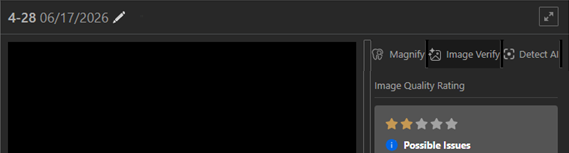
Show quality star rating:
-
With this checkbox selected, the star rating in the header and image quality banner/notification appear for intraoral X-ray images.
-
With this checkbox clear, the star rating in the header and image quality banner/notification are hidden for intraoral X-ray images.
Notes:
-
With this checkbox selected or clear, the star rating always appears on the Image Verify tab of the AI panel (on the right) for intraoral X-ray images.
-
This option is available only if Image Verify is enabled.
-
This setting is computer specific.
-
-
Default AI View - Select one of the following options to set a default AI view mode per computer:
-
AI off - The Show/hide Patient View and Show/Hide AI Findings buttons are both inactive.
-
AI Findings on - The Show/hide Patient View button is active, and the Show/Hide AI Findings button is inactive.
-
Patient View on - (The default selection with this release) The Show/hide Patient View button is inactive, and the Show/Hide AI Findings button is active.
-
-
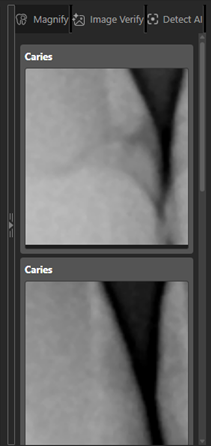
Enable Magnify tool:
-
With this checkbox selected, the Magnify tab is available on the AI panel (on the right).
-
With this checkbox clear, the Magnify tab is not available on the AI panel (on the right).
Note: This setting is computer specific.
-
-
-
Click (or tap) Confirm.