Posting refunds by line item
There are multiple options for posting a refund, which increases an account balance, to a patient's ledger:
-
You can post a charge adjustment.
-
You can post a full or partial refund for a credit card payment without itemizing the refund amount. You can use this refund method only if the payment was posted using Dentrix Ascend Pay.
-
You can post a refund by line item (as discussed in this topic). When you itemize the refund amount, you apply a specific refund amount per procedure/charge associated with a payment. You can use this refund method if, for example, you need to refund amounts only for certain charges that are associated with the payment. This refund method can help ensure accurate provider production and collection totals if the payment being refunded has been applied to multiple procedures that were performed by different providers.
To post a refund by line item
-
If the correct patient is not already selected, use the Patient Search box to access the patient's record.

-
Do one of the following:
-
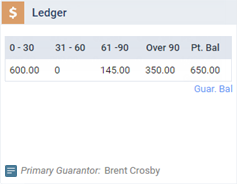
If the patient's Overview page is not already open, on the Patient menu, under General, select Overview. The patient's Overview page opens. Click (or tap) the Ledger box.
-
On the Patient menu, under Financial, select Ledger.
The patient's Ledger page opens.
-
-
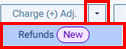
Expand the Charge (+) Adj. button's menu, and then select Refunds.
Alternative steps: If the refund is for a credit card payment that was processed using Dentrix Ascend Pay, you can do the following to start the refund process:
-
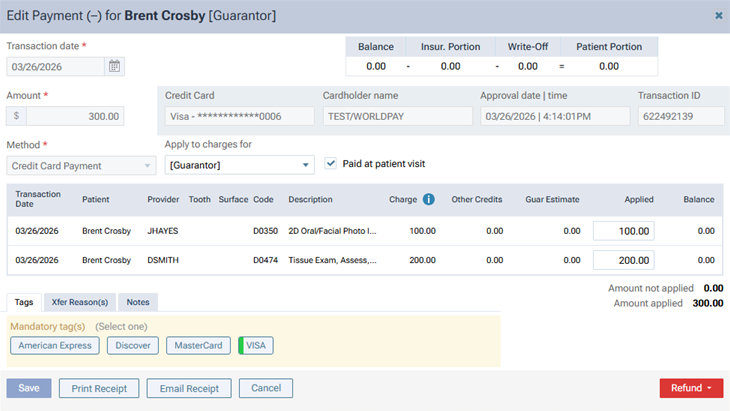
Click the payment on the ledger.

The Edit Payment dialog box appears.
-
On the Refund menu, select Partial Refund.

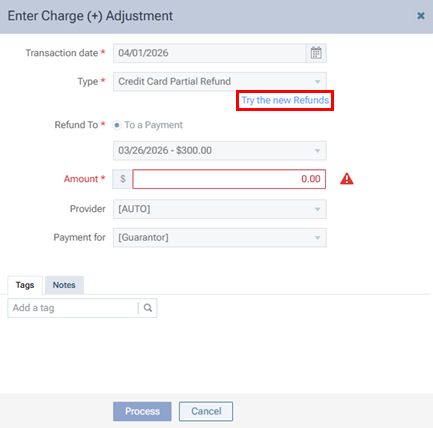
The Enter Charge Adjustment dialog box appears.
-
Click the Try the new Refunds link.
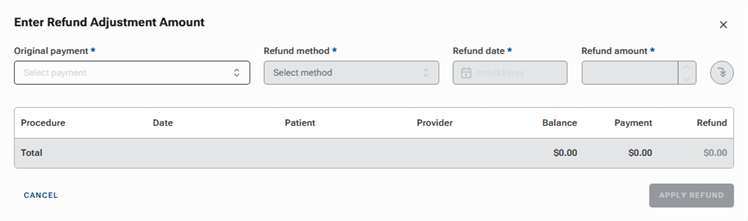
The Enter Refund Adjustment Amount dialog box appears.
-
-
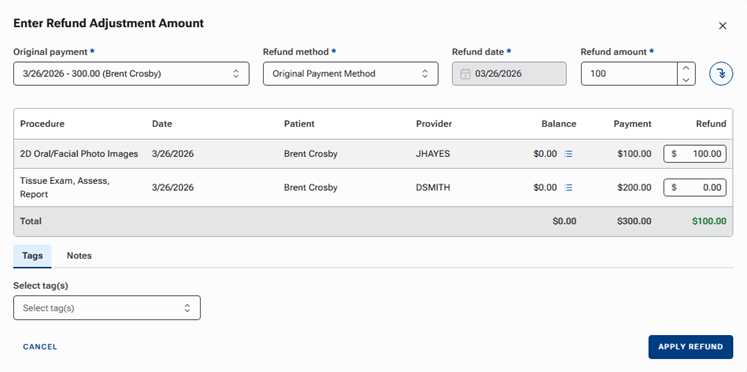
From the Original payment list, select the payment for which you are posting a refund.
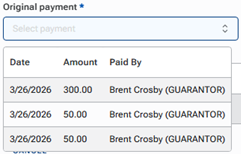
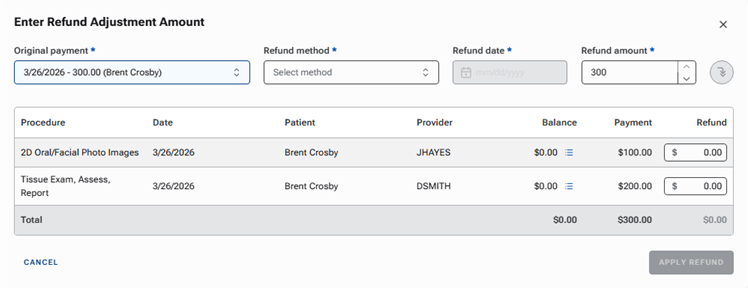
The associated charges appear.
-
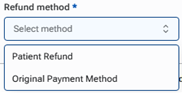
From the Refund method list, select one of the following options:
-
Patient Refund – To refund an amount regardless of the payment method used.
-
Original Payment Method – To refund an amount back onto the credit card that was processed for the payment. (This option is available only if the selected payment is a credit card payment that was processed through Dentrix Ascend Pay.)
Notes:
-
If Patient Refund is selected, the Refund date is today's date by default.

-
If Original Payment Method is selected, the Refund date is the date of the payment and cannot be edited.

-
-
If the Refund date is available for editing, by default, the date is today's date. If necessary, change the date to reflect the correct date of the refund.
-
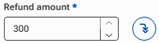
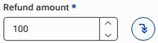
By default, the Refund amount is the amount of the payment. If necessary, change the amount to reflect the correct amount of the refund.
-
With a refund amount entered, click the Distribute proportionally button. If you do not want to distribute the refund proportionally, skip this step.
-
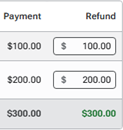
If the Refund amount equals the payment amount (it is a full refund), for each line item, the applied amount (in the Payment column) is inserted in the Refund box automatically.
-
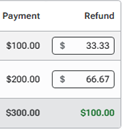
If the Refund amount is less than the payment amount (it is a partial refund), for each line item, a portion of the total refund amount (proportional to the total; percentage of the applied amount is the ) is inserted in the Refund box automatically. The percentage of total refund that is applied to a charge is equal to the ratio of the applied amount to the total payment amount.
-
-
Do one of the following:
-
If you skipped the previous step, for each charge, in the Refund box, enter the amount of the total refund to be applied, or leave 0.00 entered.
-
If you want to change the amounts proportionally distributed between the charges, in the Refund box of any charges, enter the amount of the total refund to be applied.
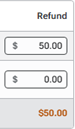
If the sum of each box in the Refund column does not equal the Refund amount, the total at the bottom of the Refund column is displayed in orange text.
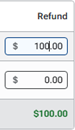
If the sum of each box in the Refund column equals the Refund amount, the total at the bottom of the Refund column is displayed in green text.
-
-
On the Tags tab, add tags to the refund as needed.
-
On the Notes tab, enter any notes regarding the refund.
-
Click Apply Refund.
Note: This button is available only if the total at the bottom of the Refund column equals the Refund amount.
Notes:
-
If a refund is split between providers, an adjustment appears for each provider.
-
The adjustment type for a refund adjustment depends on the selected Refund method:
-
If Original Payment Method is selected as the Refund method, the "Credit Card Partial Refund" adjustment type is used for a refund adjustment.

-
If Patient Refund is selected as the Refund method, the "Patient Refund" adjustment type is used for a refund adjustment.

-
-
You can click a refund adjustment to view the details of the adjustment in the Edit Charge (+) Adjustment dialog box.
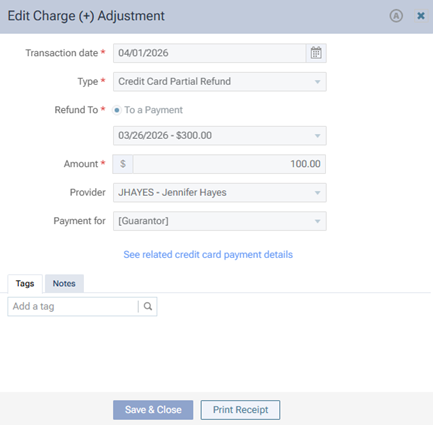
If the refund adjustment is associated with a credit card payment that was processed through Dentrix Ascend Pay, you can click the See related credit card payment details link to view the details of that linked payment in the View Payment (-) dialog box.
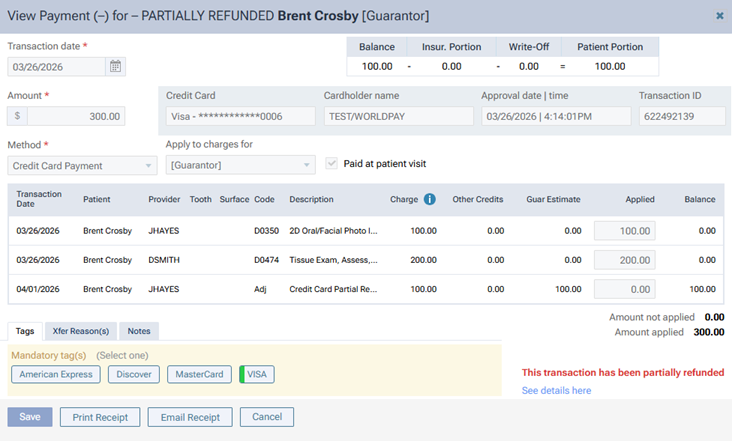
In the lower-right corner of the dialog box, a red message indicates that the payment was partially refunded. You can click the See details here link to return to the Edit Charge (+) Adjustment dialog box.