Hiding and showing Pearl AI tooth anatomy
You can choose whether Pearl AI tooth anatomy shows on an image or not.
To hide and show Pearl AI tooth anatomy
-
If the correct patient is not already selected, use the Patient Search box to access the patient's record.

-
Do one of the following:
-
View an image from the patient's image history list (Exam view):
-
On the Patient menu, under Clinical, select Chart, Progress Notes, Quick Exam, Perio, Tx Planner, or Imaging.
The patient's clinical record opens with the Chart, Progress Notes, Quick Exam, Perio, Tx Planner, or Imaging tab selected.
-
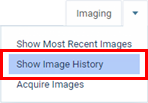
On the Imaging tab's menu, select Show Image History.
-
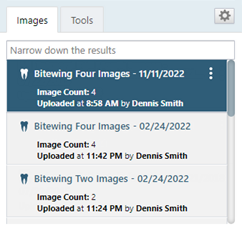
On the Images tab, select an exam for an individual image or a series.
-
If you have selected a series, under Image Navigator, click (or tap) an image of that series.
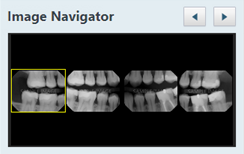
The selected image appears in the viewing area.
-
-
View a series from the patient's image history list (Exam view):
-
On the Patient menu, under Clinical, select Chart, Progress Notes, Quick Exam, Perio, Tx Planner, or Imaging.
The patient's clinical record opens with the Chart, Progress Notes, Quick Exam, Perio, Tx Planner, or Imaging tab selected.
-
On the Imaging tab's menu, select Show Image History.
-
On the Images tab, select an exam for a series.
-
To view all the images in the series at once in the viewing area, click (or tap) the Series Mode button
 .
.
-
-
View an image from the patient's image history list (Modality view):
-
On the Patient menu, under Clinical, select Chart, Progress Notes, Quick Exam, Perio, Tx Planner, or Imaging.
The patient's clinical record opens with the Chart, Progress Notes, Quick Exam, Perio, Tx Planner, or Imaging tab selected.
-
On the Imaging tab's menu, select Show Image History.
-
On the Intraoral X-ray tab, select a slot of the template, and then click (or tap) it again.
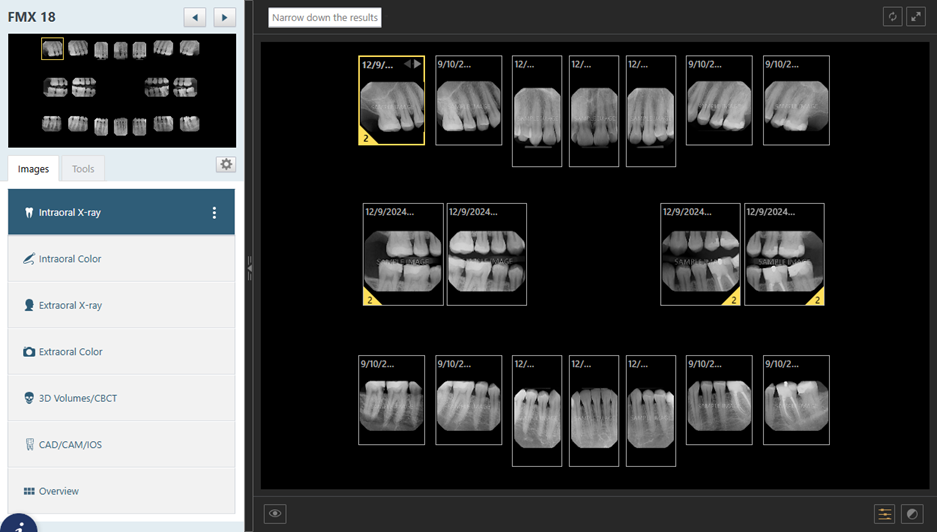
The selected image appears in the viewing area.
-
-
View a modality from the patient's image history list (Modality view):
-
On the Patient menu, under Clinical, select Chart, Progress Notes, Quick Exam, Perio, Tx Planner, or Imaging.
The patient's clinical record opens with the Chart, Progress Notes, Quick Exam, Perio, Tx Planner, or Imaging tab selected.
-
On the Imaging tab's menu, select Show Image History.
The Intraoral X-ray tab is selected by default, and all the slots of the template appear.
-
-
View one of the patient's most recent images:
-
Do one of the following:
-
On the Patient menu, under Clinical, select Imaging.
-
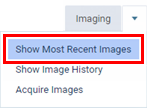
On the Patient menu, under Clinical, select Chart, Progress Notes, Quick Exam, Perio, Tx Planner, or Imaging. Then, on the Imaging tab's menu, select Show Most Recent Images.
-
-
Click (or tap) an individual image or an image in a series.
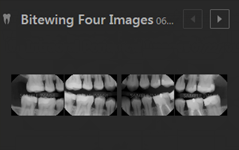
The selected image appears in the viewing area.
-
-
View one of the patient's images for selected teeth:
On the Patient menu, under Clinical, select Chart.
The patient's clinical record opens with the Chart tab selected.
-
Do one of the following:
-
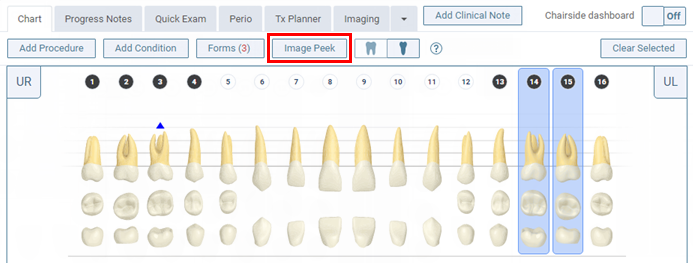
Select one or more teeth with associated images, and then click (or tap) Image Peek. The button is available only if at least one tooth with an image is selected.
-
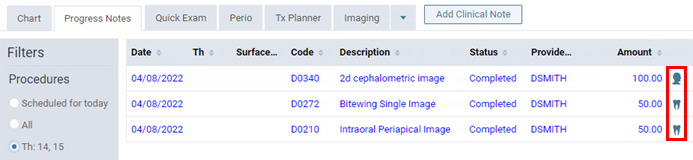
Select one or more teeth with associated images, and then select the Progress Notes tab. On the Progress Notes tab, click (or tap) the imaging icon next to a procedure.
-
Select one or more teeth with associated images, and then select the Quick Exam tab. On the Quick Exam tab, click (or tap) Image Peek (the button appears as a white tooth on a blue background
 if there is not enough room to display the button with a text label). The button is available only if at least one tooth with an image is selected.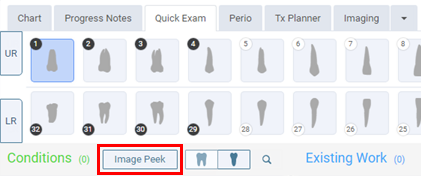
The Image Peek dialog box appears.
-
-
If there are multiple images, use the Back and Forward buttons
 to navigate between the images.
In Imaging (Exam view; individual image)
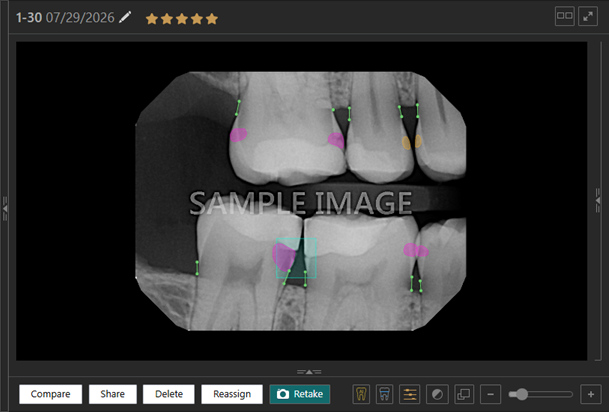
In Imaging (Exam view; series)
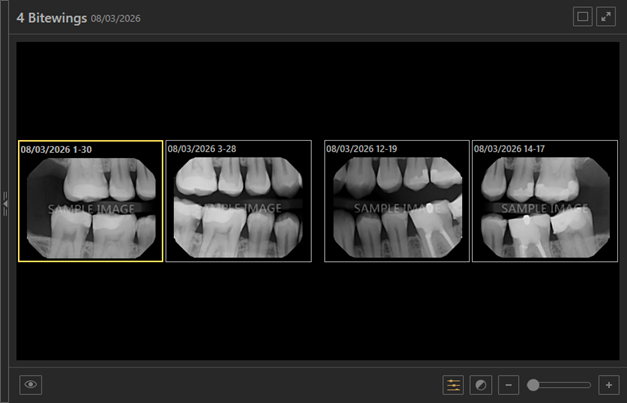
In Imaging (Modality view; Intraoral X-ray)
In Image Peek
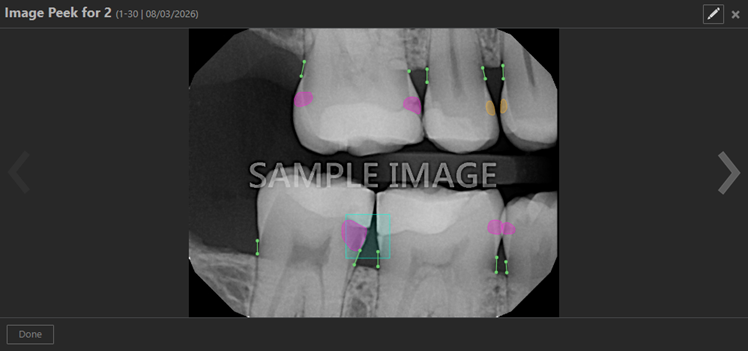
-
-
If you are viewing the image in the Image Peek dialog box, click (or tap) the Open for Editing button
 ; otherwise, skip this step.
 -
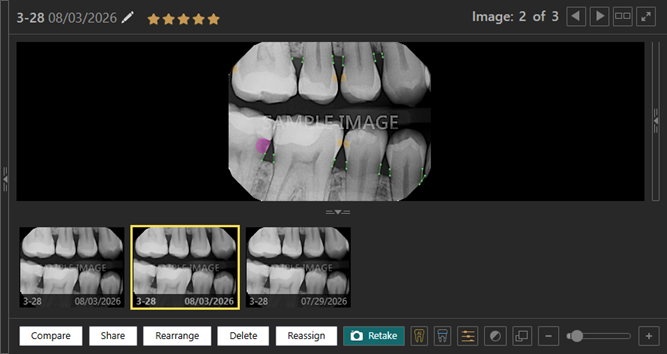
If you are viewing an individual image (not a series or modality), and if the current template slot has multiple images assigned, to view an image other than the top image of the stack, do any of the following as needed:
-
At the top of the viewing area, click (or tap) the Previous or Next button
 as needed to view the desired image in the stack.
 -
On the image stack panel (near the bottom of the viewing area), click (or tap) the desired thumbnail image to view that image in the viewing area.
Note: If the panel is collapsed, click (or tap) the handle
 to expand the panel.
-
-
Do any of the following as needed:
-
To hide or show tooth anatomy (series, modality, or individual image) - Do any of the following:
-
If tooth anatomy is being displayed, to hide tooth anatomy, click (or tap) the Show/hide AI tooth parts button
 (which is orange to indicate that tooth anatomy is being displayed). The tooth anatomy disappears, and the Show/hide AI Tooth parts button turns gray
  .
. -
If tooth anatomy is not being displayed, to show tooth anatomy, click (or tap) the Show/hide AI tooth parts button
(which is gray to indicate that tooth anatomy is not being displayed). The tooth anatomy appears, and the Show/hide AI tooth parts button turns orange .
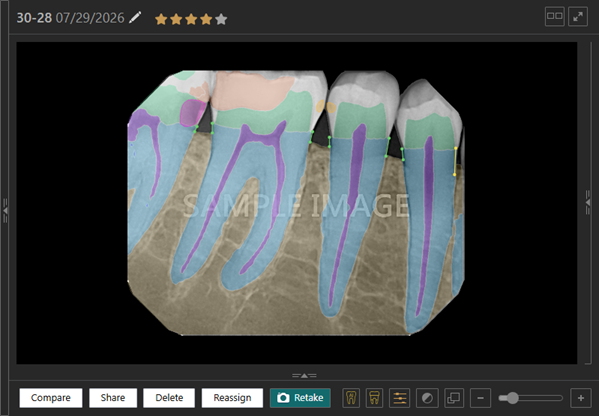
Note: The AI buttons are available while you are viewing a series or modality only if the Load full size images in templates checkbox in the Imaging settings is selected.
-
-
To hide or show tooth anatomy while you are comparing images - Do the following:
-
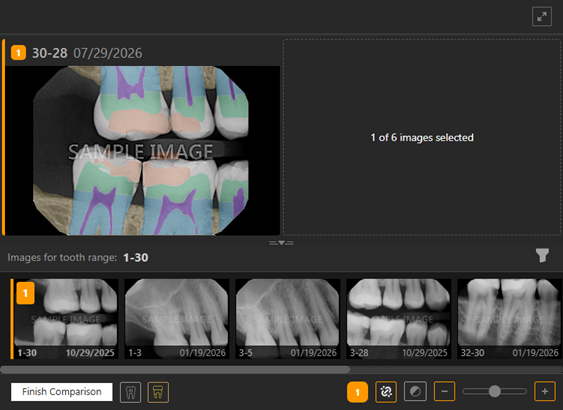
With an image being displayed in the viewing area, click (or tap) Compare.
The selected image is loaded in the first comparison frame of the viewing area. The images that have tooth numbers in common with the selected image (the "Original") appear on the Images for tooth range panel.
-
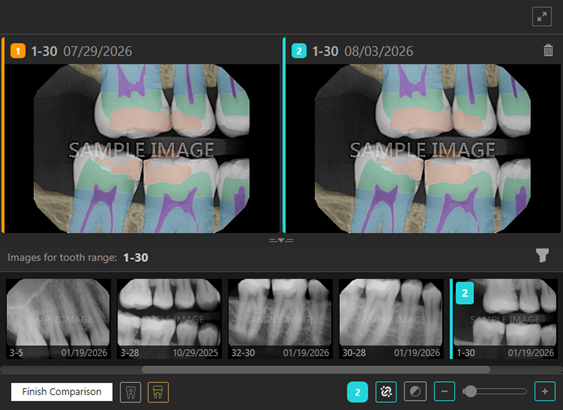
On the Images for tooth range panel, select an image to compare to the original. If the number of frames is four or six, select additional comparison images as needed. As you select each comparison image, it appears in the next available frame of the viewing area. Each frame with an image has color and number indicators, and the corresponding image on the Images for tooth range panel has the same color and number indicators.
-
In the viewing area, select the original image or a comparison image. The color and number indicators for the tools (in the lower-right corner) change to match those of the selected frame in the viewing area.
-
Do any of the following:
-
If tooth anatomy is being displayed, to hide tooth anatomy, click (or tap) the Show/hide AI tooth parts button
(which is orange to indicate that tooth anatomy is being displayed). The tooth anatomy disappears, and the Show/hide AI tooth parts button turns gray . -
If tooth anatomy is not being displayed, to show tooth anatomy, click (or tap) the Show/hide AI tooth parts button
(which is gray to indicate that tooth anatomy is not being displayed). The tooth anatomy appears, and the Show/hide AI tooth parts button turns orange .
-
-
-
Hide or show tooth anatomy from the Tools tab - Do the following:
-
If you are viewing the image in the Image Peek dialog box, click (or tap) the Open for Editing button
; otherwise, skip this step. -
If the Tools tab is not already selected, select it.
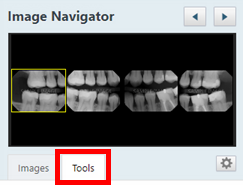
-
Select the AI tool.
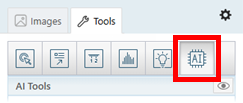
-
Do one of the following:
-
Click (or tap) the Select object(s) to Display button
 to open the Select Object(s) to Display dialog box, select or clear the Tooth Parts checkbox, and then click (or tap) Confirm.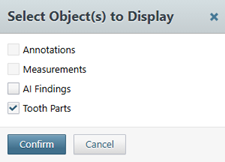
-
Select the Tooth Parts checkbox to show tooth anatomy. Clear the checkbox to hide tooth anatomy.
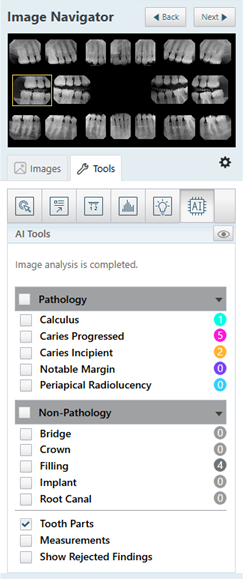
-
-
-
Hide or show tooth anatomy from the AI menu - Click (or tap) anywhere on the image, and then click (or tap) the Tooth Parts option (or clear or select the applicable checkbox) to hide or show tooth anatomy. A checkmark next to this option indicates that tooth anatomy indicators are currently being shown but will be hidden when you click (or tap) this option or clear the checkbox. No checkmark next to this option indicates that tooth anatomy indicators are currently being hidden but will be shown when you click (or tap) this option or select the checkbox.
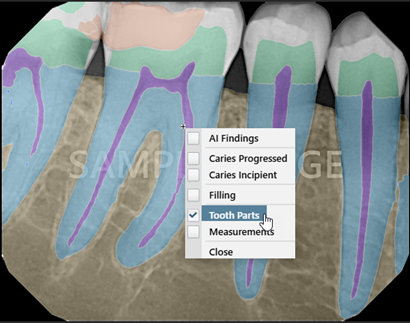
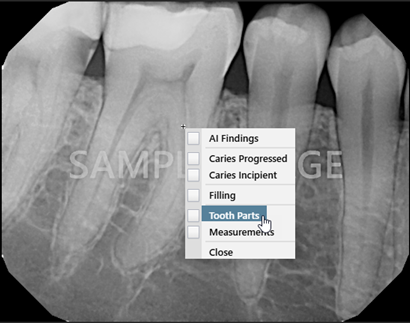
Note: For information about hiding Pearl AI findings, refer to the topic about hiding and showing findings.
-