Creating a welcome letter for pre-registered patients
You can create a welcome letter in the internal word processor that can be set as the default welcome letter for all pre-registered patients.
To create a default welcome letter
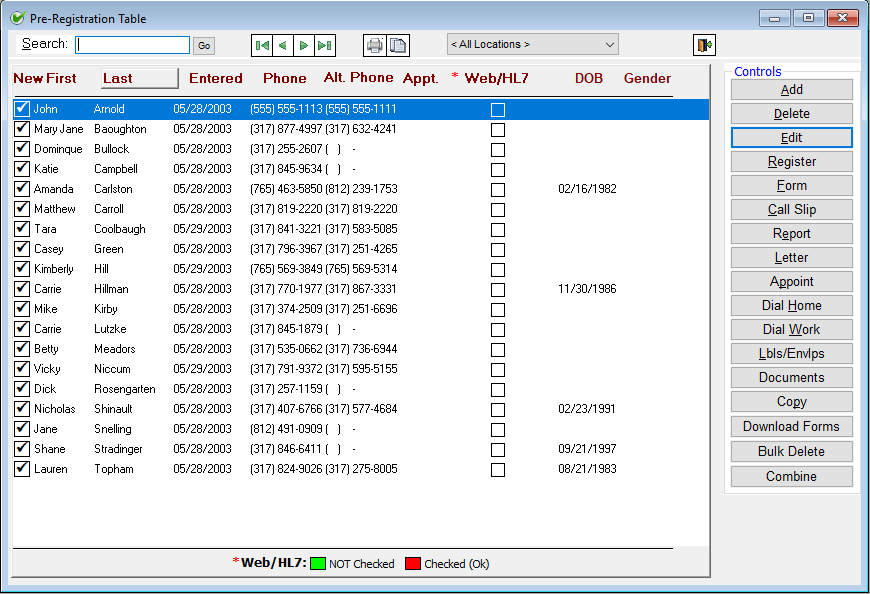
1. From the File menu, click Pre-Registration.
The Pre-Registration Table window appears.

2. Click Letter to open the Word Processor window.
3. Compose the default welcome letter to use for all pre-registered patients.
4. Save the welcome letter on your computer or server's hard drive (to let all computers can access the letter) with a Rick Text Format extension (.rtf).
5. Close the word processor to return to the Pre-Registration Table window.
6. If it has not already been done, set up the default welcome letter preference.
7. Do one of the following:
· To add a pre-registered patient, click Add.
· To edit an existing pre-registered patient, select a pre-registered patient, and then click Edit.
The Edit Pre-Registration dialog box appears.
8. Enter or change the pre-registered patient's information.
9. On the left pane, select the Welcome Letter check box to generate a welcome letter for the pre-registered patient when you click OK.

The Welcome Letter check box is not available if you are adding a patient; in which case, you can click OK to save the information and then re-open the Edit Pre-Registration dialog for the patient.
Note: The next time you access the Edit Pre-Registration dialog box for the patient, the Welcome Letter check box will be clear (the setting is not persistent).
10. Click OK.
If Welcome Letter was selected, the word processor opens with the default welcome letter. In addition to the text, any merge fields are filled in automatically with the patients information or other data.
Need more help?
You can visit our website, contact OMSVision Customer Support, or suggest a new feature or improvement on User Voice.


