Installing the Vision Update Utility
Beginning with version 19.0, OMSVision includes a Vision Update Utility you can use to update your software each time a new version becomes available. The Vision Update Utility requires a separate download and installation from the main OMSVision software. You will need to install the utility on OMSVision servers and workstations.
To install the Vision Update Utility
Download the VisionUpdateUtilitySetup.exe file to a location on your local computer and double-click the file to run it.
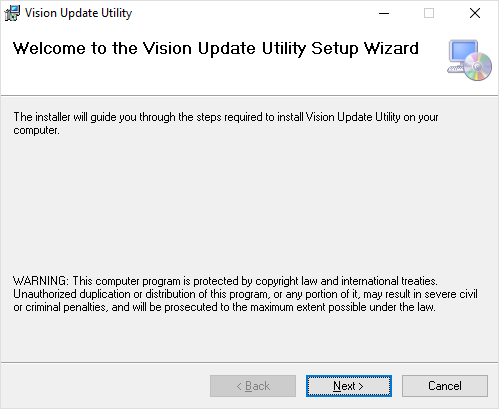
At the Welcome screen, click Next.
The Select Installation Folder screen appears.
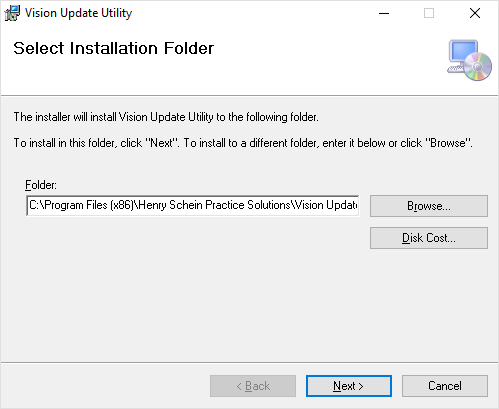
In the Folder box, verify that the installation location is where you want to install the Vision Update Utility (or click Browse and then specify a new location), and then click Next.
The Select the type of Installation screen appears.
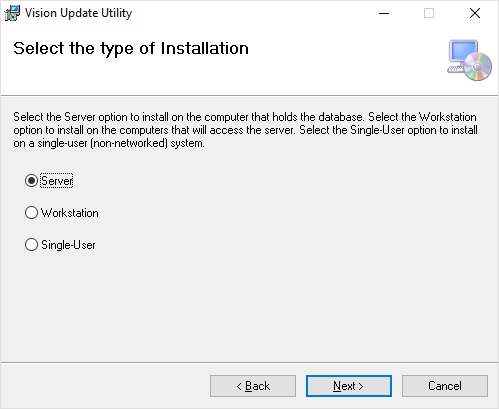
Select the type of installation you are performing:
Server - If the computer you are installing the utility on is the where the OMSVision database is installed.
Workstation - If the computer you are installing the utility on does not have the OMSVision database installed.
Single-User - If the computer you are installing the utility on is being used as both a server and workstation.
Note: For more information, see "Server and workstation concepts."
The Confirm Installation screen appears.
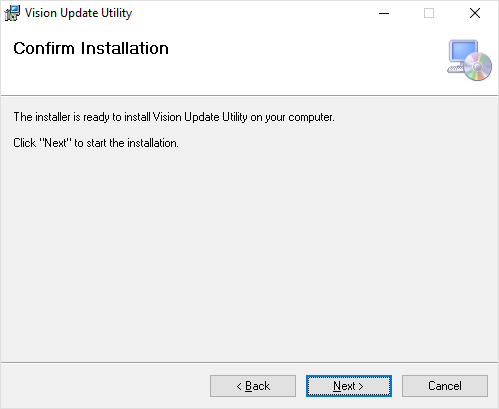
Click Next.
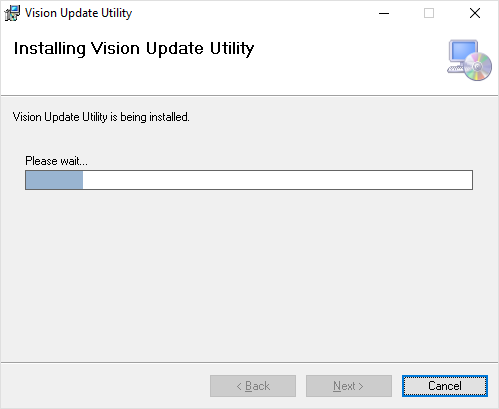
The Installing Vision Update Utility screen shows the installation status.
When it is finished, the Installation Complete screen appears.
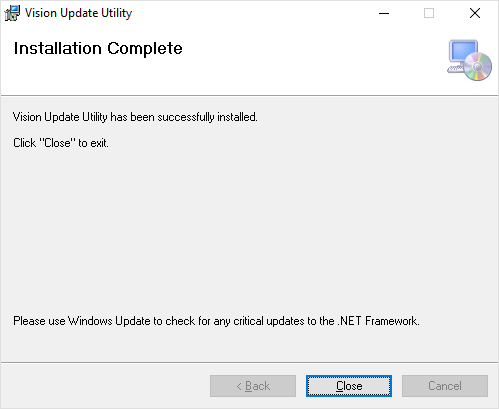
Click Close.
To add a Vision Update Utility icon to your desktop, do the following:
Using the Windows Explorer, navigate to the folder location where you installed the Vision Update Utility (see step 3).
Right-click the Vision Update Utility.exe file, and then click Create Shortcut.
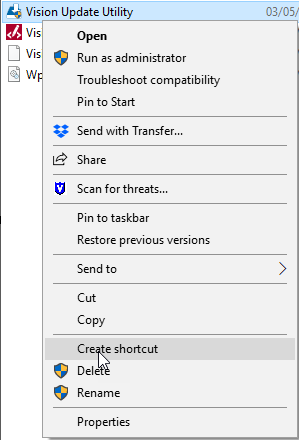
When the message asking if you want to create the shortcut on your desktop appears, click Yes.
The Vision Update Utility icon is added to your Windows desktop.
![]()