

|
Importing i-CAT images into EHR
Once an i-CAT image has been acquired, it is placed in the Document Center. You can import that image into an image template in EHR.
Note: You can import an image into EMR from any computer; it does not have to be done at the computer from which the request for an i-CAT image was sent. Also, you don't have to have the i-CATVision software installed on the computer from which you want to import an image into EMR.
To import an image into EHR
1. In EHR, select the case that you want to attach an i-CAT image to.
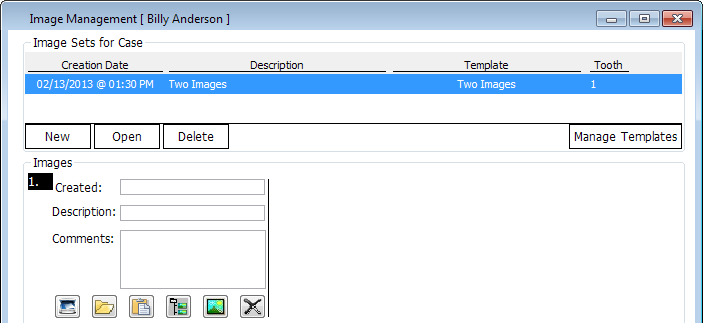
2. In the Images section, click the Templates button.
The Image Management dialog box appears.
3. Click
the Load image from the Patient's Documents
button  .
.
The Document Center opens.
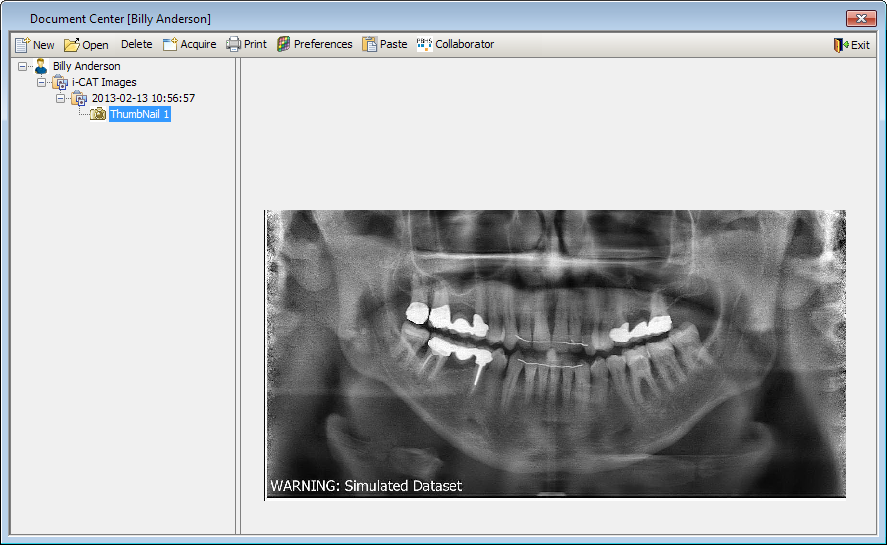
4. To find i-CAT images placed in the patient's Document Center, from the category tree in the Navigation pane (on the left), expand the i-CAT Images category. By, default, a sub-directory is created and labeled with the date and time the image was acquired. Expand that sub-directory to access the images. Select the desired image. A preview of the thumbnail appears in the Preview pane (on the right).
5. Click
Paste  to paste
the image into the image template.
to paste
the image into the image template.
You are returned to the Image Management dialog.
6. Repeat steps 3 - 4 for any other images that you want to put in the image set.
7. Close the Image Management dialog box.
You are returned to the EHR window. You can now see the small thumbnails of the image set template in the Images section.
Need more help?
You can visit our website, contact EndoVision Customer Support, or suggest a new feature or improvement on User Voice.