

|
Adding and editing cases
If an EHR case hasn't been created already for the patient's current appointment, the Edit EHR Case Header dialog box appears when you open EHR; otherwise, you can add another case at any time. Also, you can edit a case that is not locked.
To add a case header
1. In the Cases section of EHR, do one of the following:
· To add a case header, click New.
· To edit an existing case header, select a case header, and then click View.
The Edit EHR Case Header dialog box appears with the created date at the top.
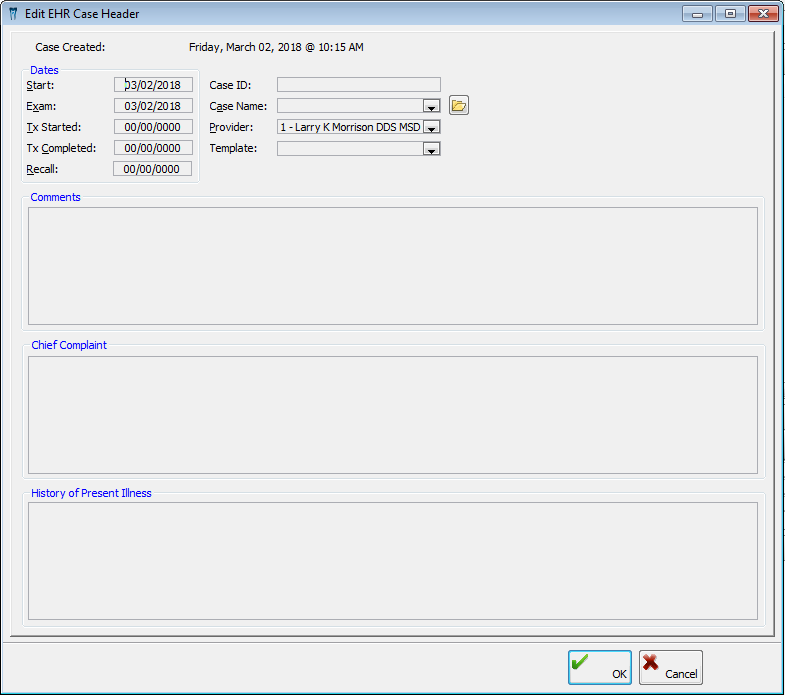
2. Set up the following options:
· Dates - Type the Start, Exam, Tx Started, Tx. Completed, and Recall dates for the case.
· Case Type - Select a case type.
Tip: To edit the list, click the Edit List link. Select the items to include. Click the Add Item button to add a new item. You can also delete an unused item (if you try to delete an item that is in use, a message appears and asks if you want to inactivate the item instead). Click Exit.
· Provider - Select a provider.
· Template - The template you want to use to begin filling out the case information.
· Comments - Type any comments about the case.
· Chief Complaint - Type the patient's description of why he or she is in the office for treatment, such as, "My back tooth hurts" (do not include the quotation marks).
Note: This field is used for risk management purposes. Also, once saved, this information will be displayed with quotation marks to indicate that these are the patient's own words.
· History of Present Illness - Type any notes regarding the history of the patient's chief complaint, such as how long the patient has had a tooth ache.
Tip: You can double-click in the Comments, Chief Complaint, and History of Present Illness areas to open the Phrases dialog box where you can create, save, and insert EHR phrases you use on a regular basis.
3. Click OK.
Need more help?
You can visit our website, contact EndoVision Customer Support, or suggest a new feature or improvement on User Voice.