The file exchange services are required for exchanging healthcare information with external systems through documents, C-CDA files, and HL7 messages. If the file exchange services are installed on the server from an existing installation of Dentrix Enterprise 11.0.4x, you can upgrade the services when you are upgrading server features.
Notes:
These services should be installed on only one computer.
(If you are upgrading from any previous version) If the services are not installed, and you want to use them, install them. See the "Installing the file exchange services" topic.
(If you are upgrading from 11.0.20 only) If the 11.0.20 services are installed, and you want to continue to use them, install the 11.0.49 services. (Install Manager uninstalls the 11.0.20 services and then installs the 11.0.49 services.) See the "Installing the file exchange services" topic.
To upgrade the file exchange services
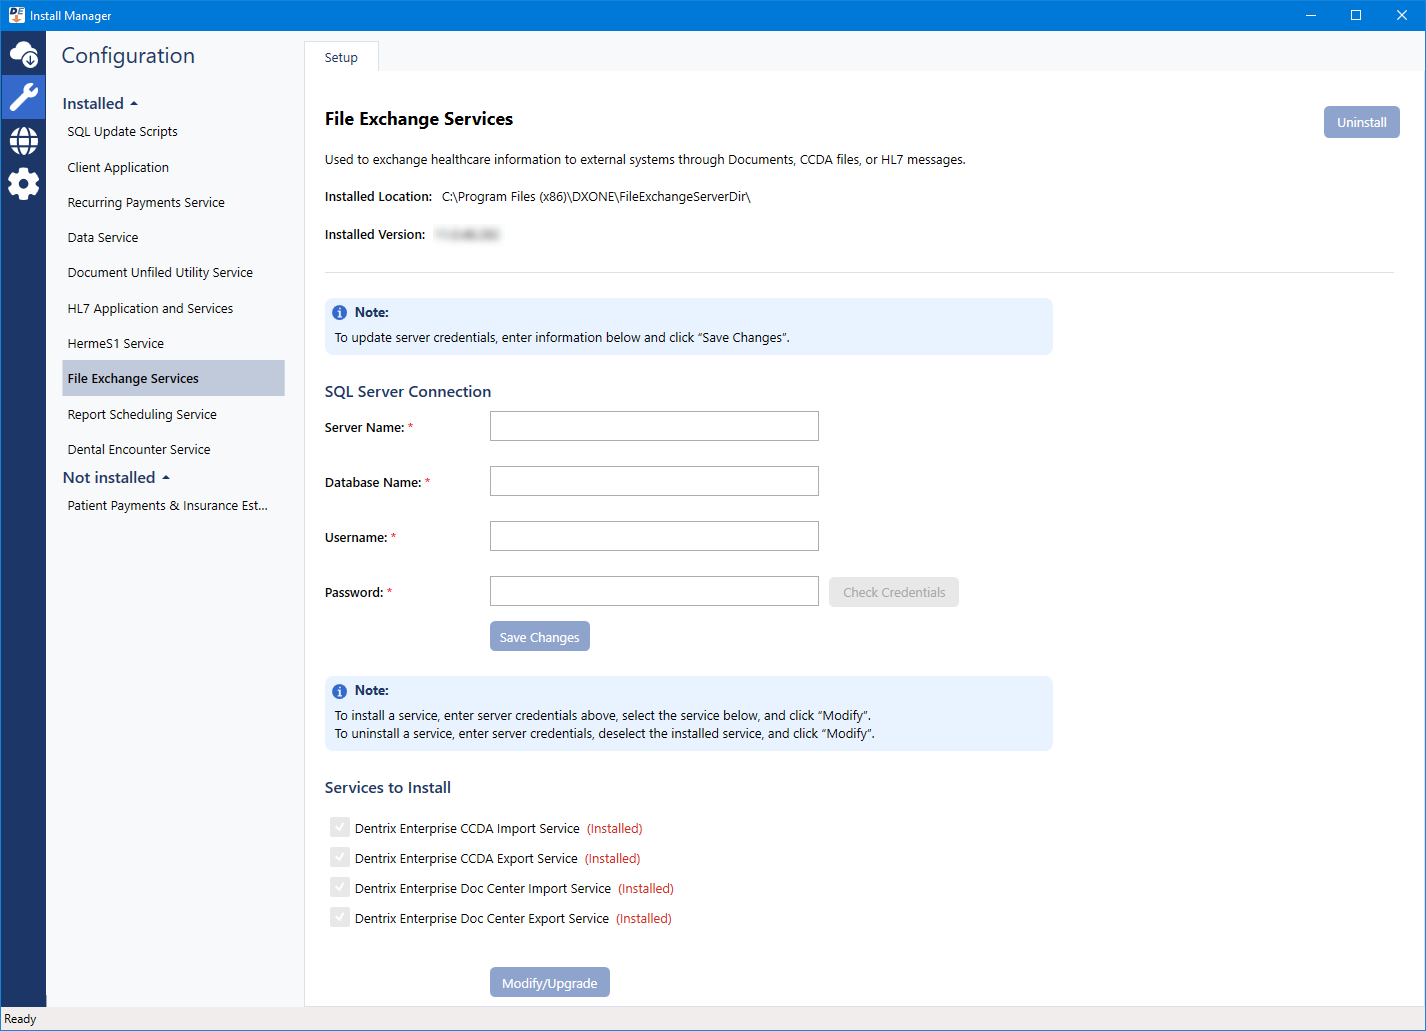
In Install Manager, under Installed on the left, select File Exchange Services.
The Setup options appear on the right.
Configure the SQL Server Connection options:
Server Name - The name or IP address of the database server. Also, if the SQL instance that houses your Dentrix Enterprise database has a name, after the IP address or name of the server, include a backslash (\) and then the instance name.
Database Name - Dentrix is the default name of the database, but it may be different if it has been customized for your installation.
Username - The user name of the SQL user with "Sysadmin" rights.
Password - The password of the Sysadmin user.
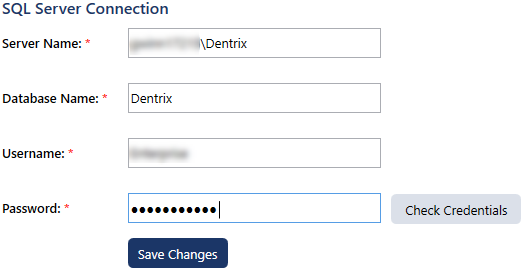
Click Check Database Credentials.
A message regarding the results of the connection test appears. Click Ok. If the connection was successful, proceed to the next step; otherwise, change your connection parameters, and attempt to connect again.
Click Modify/Upgrade.
On the message that appears when the upgrade of the services is complete, click Ok.