You can install the server features of Dentrix Enterprise on your database server.
Note: For a Dentrix Enterprise server upgrade (from 11.0.4x), refer to the instructions for upgrading server features.
Installation overview:
Extract the contents of the server installation package.
If you want to install the client program files on the server, extract the contents of the workstation installation package, and then copy the client application setup (Setup_DE_Client.exe) from the extracted workstation installation package to the extracted server installation package.
In the extracted server installation package, launch Setup.exe to install Install Manager.
When Install Manager opens, run the SQL Update Scripts to update the database.
If applicable, install the Client Application.
Install services as needed: Recurring Payments Service, Data Service, Document Unfiled Utility Service, HL7 Application and Services, HermeS1 Service, File Exchange Services, Report Scheduling Service, and/or Dental Encounter Service.
Close Install Manager.
Important: After installing Dentrix Enterprise, to get the most recent set of available SNOMED, RxNorm, LOINC, and CVX codes, contact Dentrix Enterprise Customer Support to have a representative run a utility to update the database.
To install the Dentrix Enterprise server features
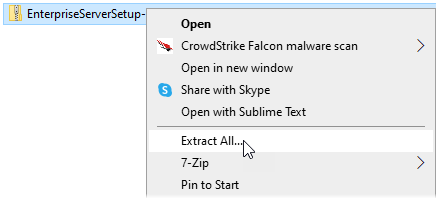
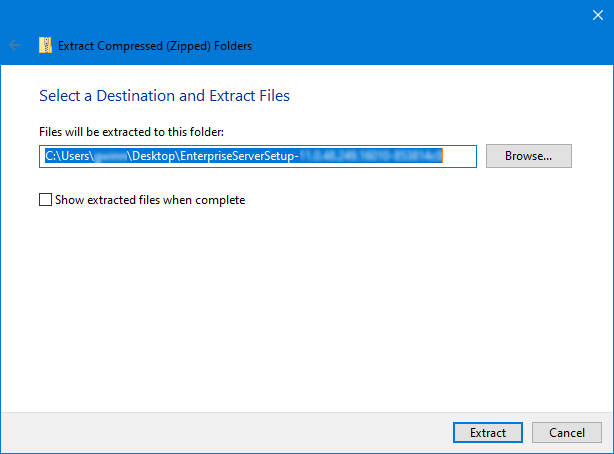
Extract the contents of the Dentrix Enterprise server installation package (EnterpriseServerSetup-xx.xx.xx.xxx.zip; where "xx.xx.xx.xxx" represents the version number). Right-click the file, select Extract All..., select where to extract the contents, and then click Extract.
If you want to install the Dentrix Enterprise client program files on the server, extract the contents of the workstation installation package (EnterpriseWorkstationSetup-11.0.48.xxx.xxxx), and then copy the client application setup (Setup_DE_Client.exe) from the extracted workstation installation package to the extracted server installation package.
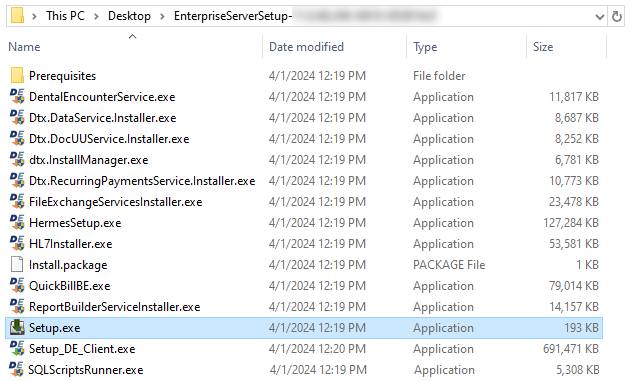
In the extracted server installation package, double-click Setup.exe.
The Dentrix Enterprise EULA dialog box appears.
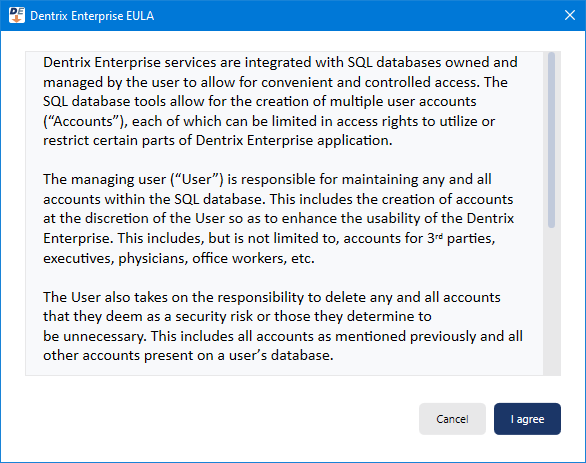
Read the end user license agreement, and if you agree to the terms and conditions, click I agree to proceed.
Setup installs the Install Manager program.
Then, Install Manager opens and displays the components that can be installed.
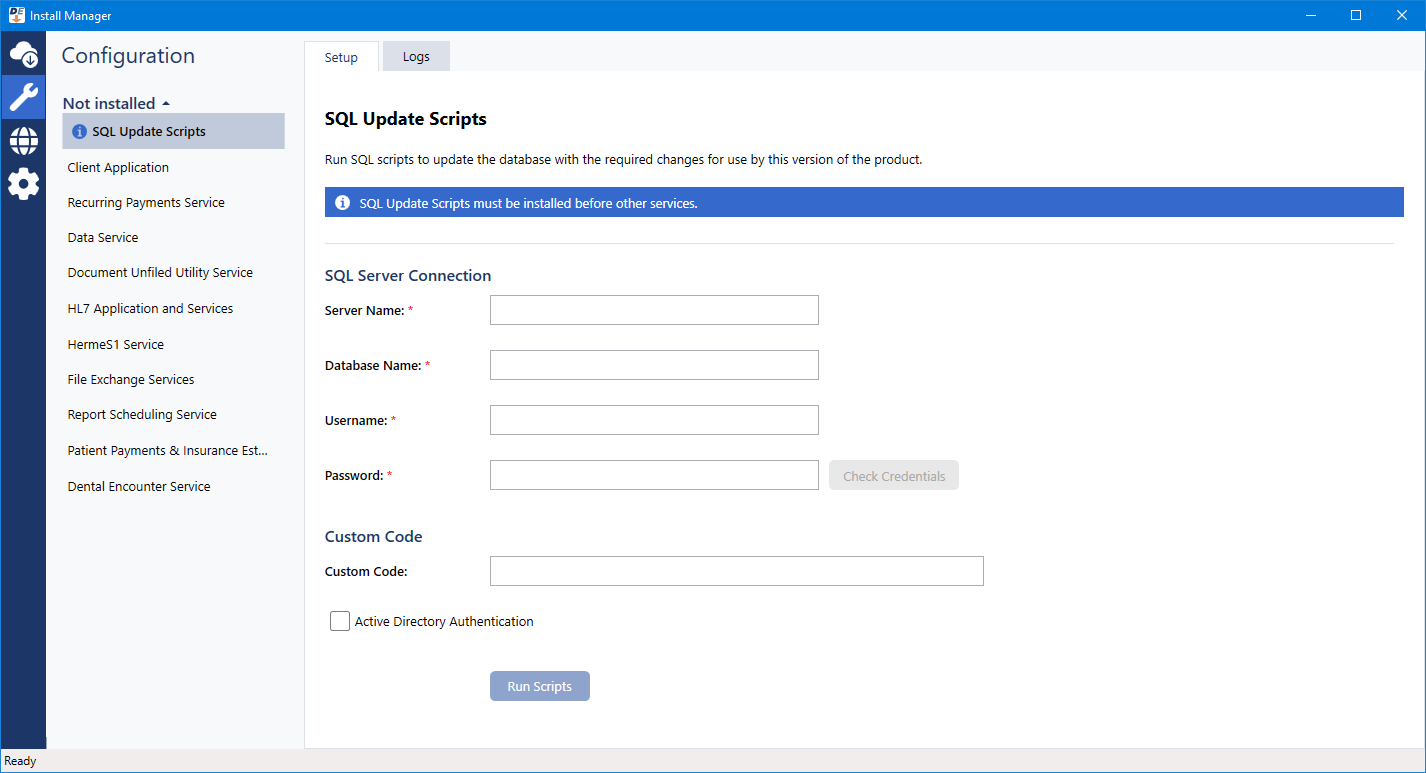
To run the database update scripts, do the following:
Under Not Installed on the left, leave SQL Update Scripts selected. The Setup tab options appear on the right.
Configure the SQL Server Connection options:
Server Name - The name or IP address of the database server. Also, if the SQL instance that houses your Dentrix Enterprise database has a name, after the IP address or name of the server, include a backslash (\) and then the instance name.
Database Name - Dentrix is the default name of the database, but it may be different if it has been customized for your installation.
Username - The user name of the SQL user with "Sysadmin" rights.
Password - The password of the Sysadmin user.
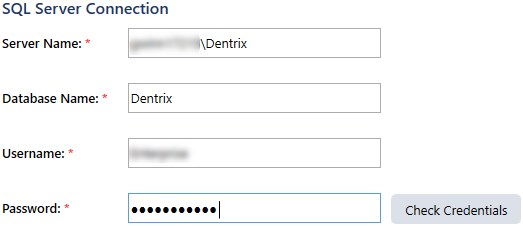
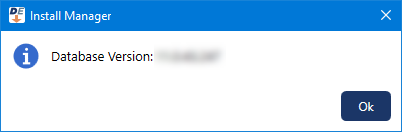
Click Check Credentials.
A message regarding the results of the connection test appears. Click Ok. If the connection was successful, proceed to the next step; otherwise, change your connection parameters, and attempt to connect again.
If applicable, in the Custom Code box, enter your code to install custom features; otherwise, leave the box empty.

If users are to be authenticated automatically through Active Directory when they open Dentrix Enterprise, select the Active Directory Authentication checkbox. Otherwise, if users are to enter a user name and password to access Dentrix Enterprise (SQL authentication), leave this checkbox cleared.

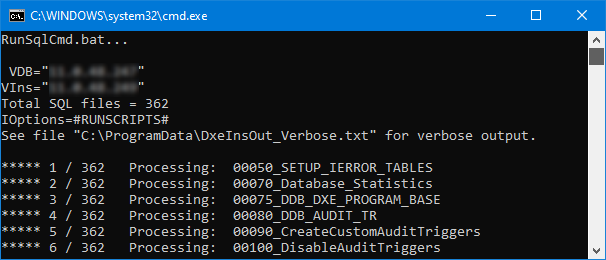
Click Run Scripts.
A command prompt window appears and displays the progress of the scripts to update the database.
Upon completion, a message regarding the scripts appears, click Ok.
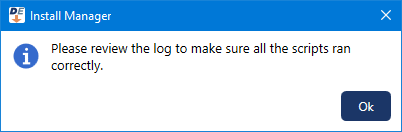
You are returned to Install Manager, and the log appears on the Logs tab.
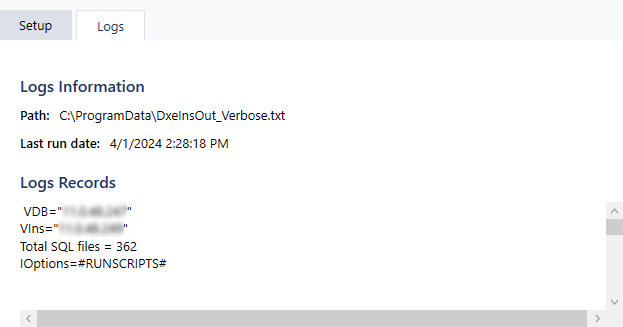
Check the log for any errors. If the log indicates that the database was updated successfully, close the document. If there are any errors, contact Dentrix Enterprise Customer Support at 800-372-4346 to resolve the errors before continuing with the installation.
(Optional) Install the Dentrix Enterprise client program files on the server. See the "Installing the client application on the server" topic.
Install any of the following services as needed:
Recurring Payments Service - (For use with Axia only) The service for processing automatic recurring payments for payment plans from credit cards on file. See the "Installing the recurring payments service" topic.
Note: This service should be installed on only one computer.
Data Service - The service for submitting electronic claims, automatically verifying insurance eligibilities, and automatically retrieving ERAs. See the "Installing the data service" topic.
Note: This service should be installed on only one computer.
Document Unfiled Utility Service - (For military facilities only.) The service for automatically inserting unfiled documents into Document Center. See the "Installing the document unfiled utility service on the server" topic.
Note: This service requires the installation of the Dentrix Enterprise client program on this computer or a different computer as part of a Dentrix Enterprise server or workstation installation.
HL7 Application and Services - The HL7 administrative console program and services for the managing the HL7 interface and exchanging healthcare information with external systems through documents, C-CDA files, and HL7 messages. See the "Installing the HL7 application and services" topic.
Note: This program can be installed on this computer and these services on the same or a different computer.
HermeS1 Service - The customer telemetry service for automatically collecting system information by Support technicians. See the "Installing the HermeS1 service."
File Exchange Services - The services for exchanging healthcare information with external systems through documents, C-CDA files, and HL7 messages. See the "Installing the file exchange services" topic.
Note: These services should be installed on only one computer.
Report Scheduling Service - The service for handling report jobs that have been scheduled from this or other computers. See the "Installing the report scheduling service on the server" topic.
Notes:
This service needs to be installed on only one computer but may be installed on multiple computers.
This service can also be installed on a different computer as part of a Dentrix Enterprise workstation installation.
The report scheduling features have been removed, so the scheduling service no longer serves a purpose. The option to install the scheduling service might be removed in a future release.
QuickBill & Insurance Estimator Services - DO NOT INSTALL! This feature is not supported.
Dental Encounter Service - (For military facilities only.) The service for sending healthcare information to external systems through C-CDA files. See the "Installing the dental encounter service" topic.
Close Install Manager.