For the Clinical Note Review Dashboard, you can add clinical note review templates with the applicable evaluation criteria as needed. You can edit a template only if it is not associated with a saved review. You can delete a template only if it is not associated with a saved review and if it is not the only template.
Notes:
Each question in an evaluation must be worded in a way that the response could be Yes, No, or N/A.
The default template should be the template that you will use most often and will be the template that is selected by default when you open the Evaluation Report dialog box to start a review.
Accessing the Clinical Note Review Dashboard requires the "Clinical Review Dashboard, Select Docs For Review" security right.
Setting up clinical note review templates requires the "Clinical Review Dashboard, Template Setup" security right.
To set up clinical note review templates
In Office Manager, on the Analysis menu, click Clinical Note Review Dashboard.
If applicable, do one of the following:
If the Password - Clinical Review Dashboard, Select Docs For Review dialog box appears, user verification has been assigned to the "Clinical Review Dashboard, Select Docs For Review" task. Do one of the following:
If your user account has been granted the "Clinical Review Dashboard, Select Docs For Review" security right, enter your credentials in the User ID and Password boxes, and then click OK.
If your user account has not been granted the "Clinical Review Dashboard, Select Docs For Review" security right, have a user with permission temporarily override this restriction so you can access the Clinical Notes Review Dashboard this one time. The overriding user enters his or her credentials in the User ID and Password boxes and then clicks OK.

If a message appears, informing you that you do not have rights to this operation, your user account has not been granted the "Clinical Review Dashboard, Select Docs For Review" security right. To have a user with permission temporarily override this restriction so you can access the Clinical Notes Review Dashboard this one time, do the following:
On the message, click Yes.

In the Password - Clinical Review Dashboard, Select Docs For Review dialog box, the overriding user enters his or her credentials in the User ID and Password boxes and then clicks OK.

Set
up the filters (as explained in the topic about starting
a clinical note review), and then click the Refresh
button ![]() .
.
The data grid is updated according to the specified criteria.

With at least one checkbox selected in the Document To Be Included In Review column, click Start Review.
The Evaluation Report dialog box appears.

Click
the Template Setup button  .
.
If applicable, do one of the following:
If the Password - Clinical Review Dashboard, Template Setup dialog box appears, user verification has been assigned to the "Clinical Review Dashboard, Template Setup" task. Do one of the following:
If your user account has been granted the "Clinical Review Dashboard, Template Setup" security right, enter your credentials in the User ID and Password boxes, and then click OK.
If your user account has not been granted the "Clinical Review Dashboard, Template Setup" security right, have a user with permission temporarily override this restriction so you can set up clinical note review templates this one time. The overriding user enters his or her credentials in the User ID and Password boxes and then clicks OK.
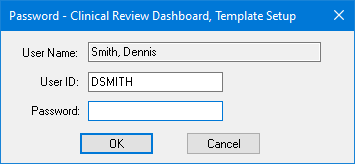
If a message appears, informing you that you do not have rights to this operation, your user account has not been granted the "Clinical Review Dashboard, Template Setup" security right. To have a user with permission temporarily override this restriction so you can set up clinical note review templates this one time, do the following:
On the message, click Yes.

In the Password - Clinical Review Dashboard, Template Setup dialog box, the overriding user enters his or her credentials in the User ID and Password boxes and then clicks OK.

The Evaluation Criteria Setup dialog box appears.
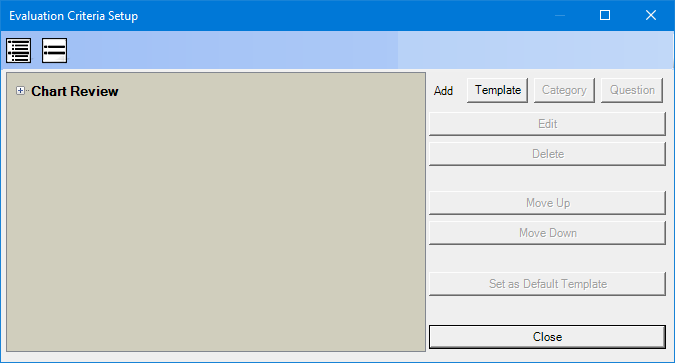
Do any of the following as needed:
Add a template:
Next to Add on the right, click Template.
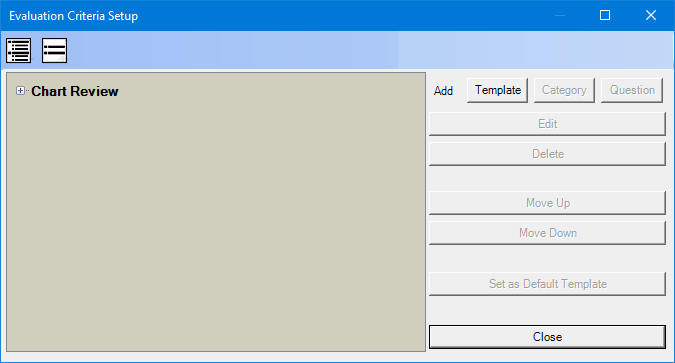
In the box that appears on the left, enter a name for the template, and then press Enter.
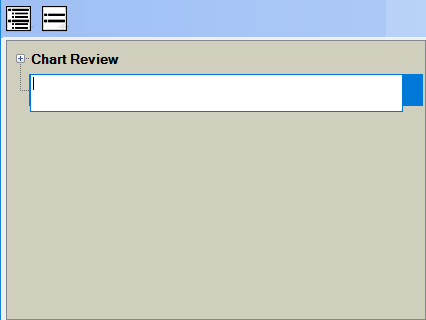
The new template is now selected, so you can add categories and questions to it.
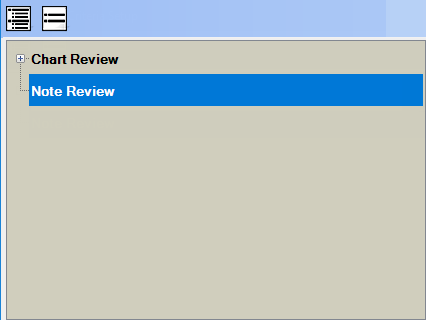
Rename a template:
On the left, select a template, and then click Edit on the right.
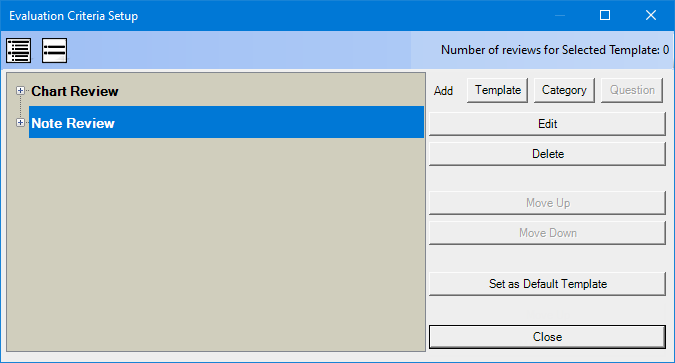
The template name becomes an editable box. Change the name, and then press Enter.
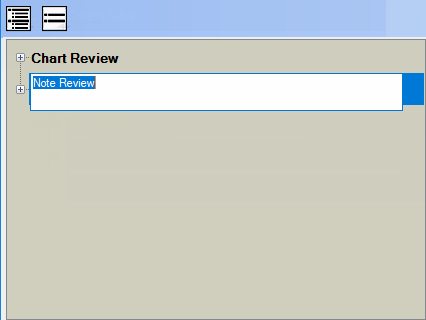
Delete a template:
On the left, select a template, and then click Delete on the right.

On the confirmation messages that appear, click Yes.
Add a category:
On the left, either select a template to add a category as the last one for that template, or select an existing category to add a new one after the selected one.
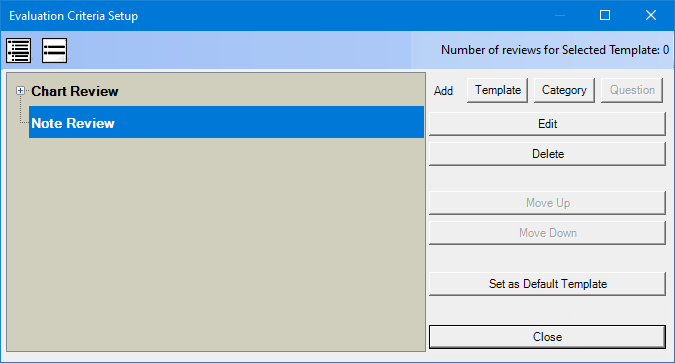
Next to Add on the right, click Category.
In the box that appears on the left, enter a name for the category, and then press Enter.
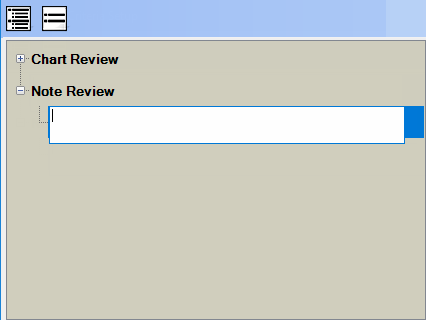
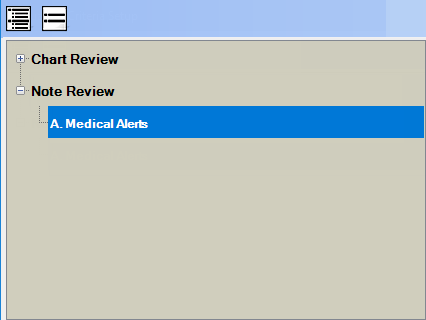
An uppercase letter, period, and space are added to the beginning of the name automatically. Also, the new category is now selected, so you can add questions to it.
Rename a category:
On the left, select a category, and then click Edit on the right.
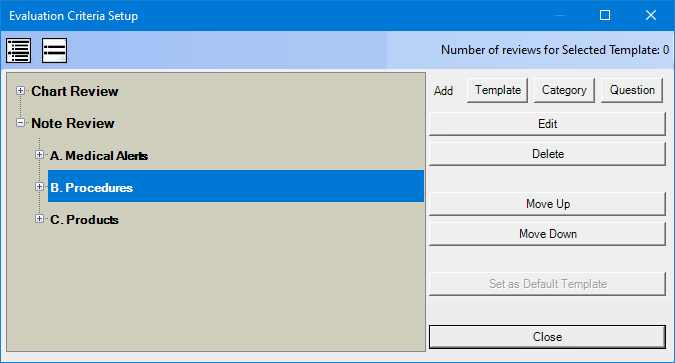
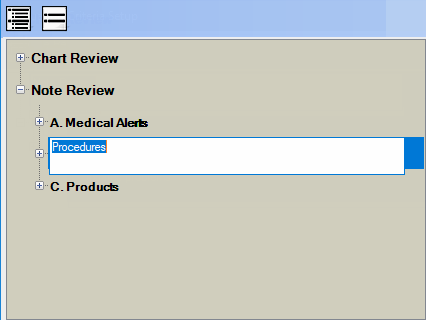
The category name becomes an editable box. Change the name, and then press Enter.
Delete a category:
On the left, select a category, and then click Delete on the right.

On the confirmation message that appears, click Yes.
Reorder categories:
On the left, select a category.

On the right, click Move Up or Move Down as needed to move the category to the desired position in the template.
Repeat these steps as needed for other categories to achieve the desired order.
Add a question:
On the left, either select a category to add a question as the last one in that category, or select an existing question to add a new one after the selected one.
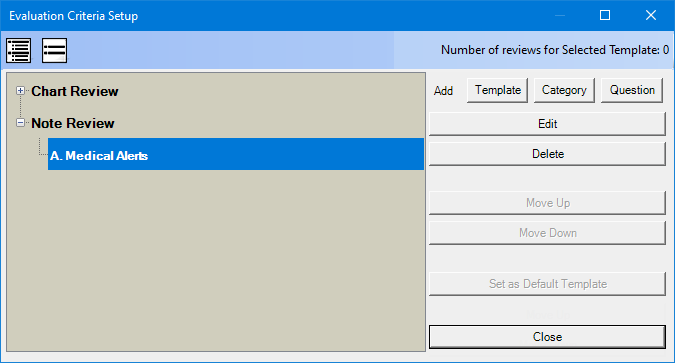
Next to Add on the right, click Question.
In the box that appears on the left, enter the text of the question, and then press Enter.
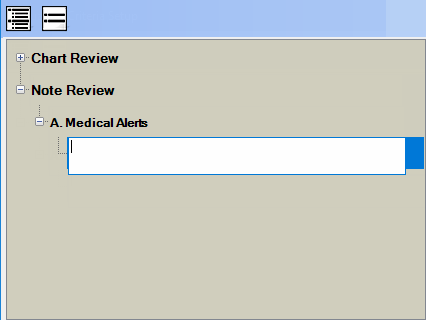
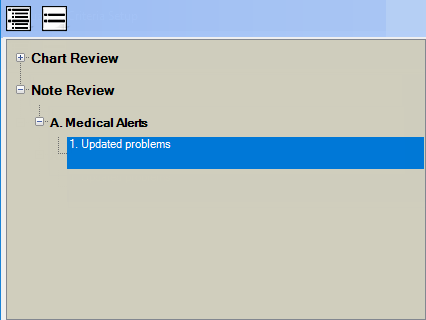
A number, period, and space are added to the beginning of the question automatically.
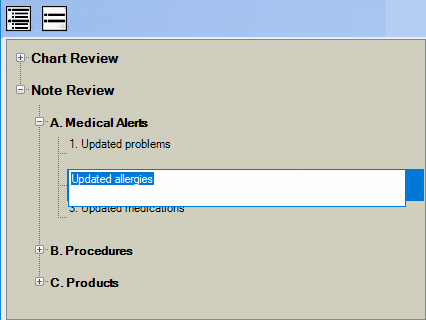
Edit a question:
On the left, select a question, and then click Edit on the right.
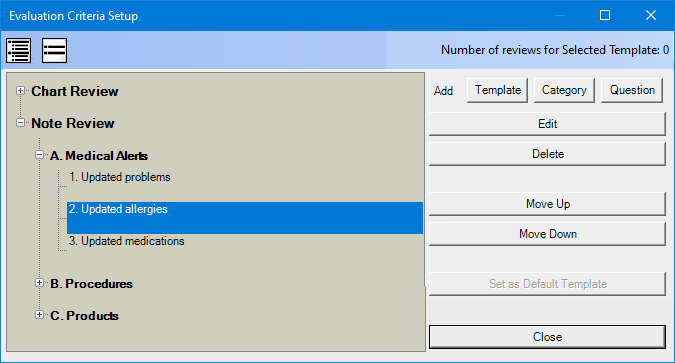
The question becomes an editable box. Change the text of the question, and then press Enter.
Delete a question:
On the left, select a question, and then click Delete on the right.

On the confirmation message that appears, click Yes.
Reorder questions:
On the left, select a question.

On the right, click Move Up or Move Down as needed to move the question to the desired position in the list.
Repeat these steps as needed for other questions to achieve the desired order.
Set the default template:
On the left, select a template.

On the right, click Set as Default Template. This button is available only if there is more than one template and if the selected template is not already the default template.
Click Close.
You are returned to the Evaluation Report dialog box.
Click Cancel because you are managing templates and not performing an evaluation.
A confirmation message appears.
Click Yes.