You can install the client features of Dentrix Enterprise on computers where you need to access Dentrix Enterprise: Citrix or terminal servers, fat clients, and the database server (optional).
Note: If program files for a previous version of Dentrix Enterprise exist on the computer, to install the new features, refer to the instructions for upgrading the client features.
To install the Dentrix Enterprise client features
To start the installation, double-click the setup file (EnterpriseClient-xx.xx.xx.xxx.exe; where "xx.xx.xx.xxx" represents the version number).
The Welcome to the Dentrix Enterprise Client Install screen appears.
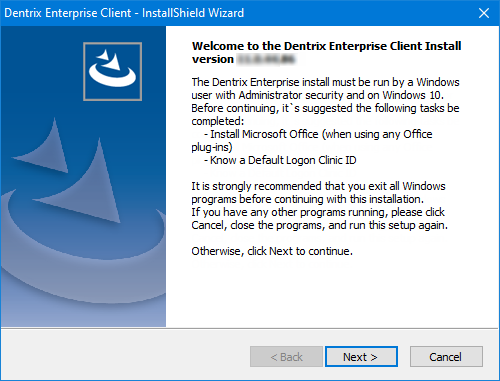
Click Next.
The Choose Destination Location screen appears.
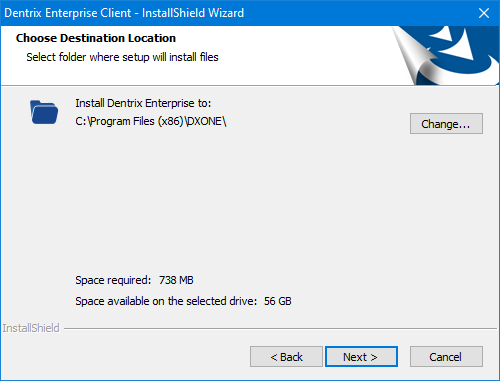
Note: The default location where the program files are installed is C:\Program Files (x86)\DXONE.
To change the installation location, do the following:
Click Change.
Do one of the following:
Select a folder in the directory tree.
Enter the path to a folder.
Click OK.
Click Next.
The Choose Destination Location for Writable Folders screen appears.
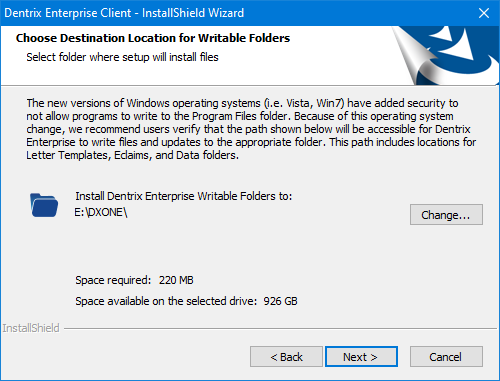
To change the installation location, do the following:
Click Change.
Do one of the following:
Select a folder in the directory tree.
Enter the path to a folder.
Click OK.
Important:
The Windows operating system does not allow programs to make changes to files in the "Program Files" or "Program Files(x86)" folder. So, it is recommended that you choose a folder that allows access for writing and updating files. The selected file path will be used for the "Docs," "Eclaims," and "Data" folders.
All Windows users on the computer must have full access (read and write) to the "DXONE" folder or whichever folder you select. If this folder has not already been shared with the required permissions, you can do it after installing Dentrix Enterprise for the Administrator account in Windows.
Click Next.
The Default Logon Clinic ID screen appears.
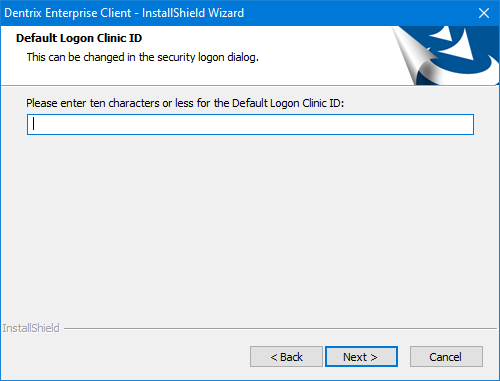
Enter the ID of the organization's central clinic (typically this is CENTRAL).
Note: Users can specify their default clinic IDs when they log in to Dentrix Enterprise.
Click Next.
The Enter Custom Code screen appears.
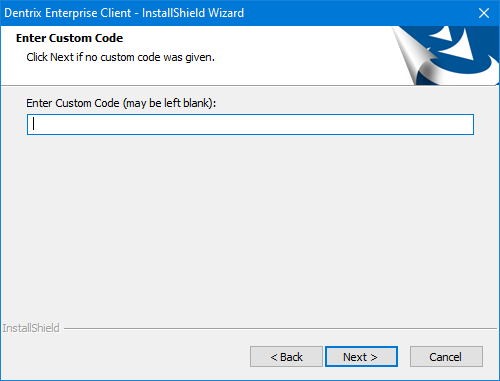
If applicable, enter your code to install custom features; otherwise, leave the box empty.
Note: If you do enter codes, each code must be preceded by a pound sign (#), and a pound sign (#) must be entered after the last code.
Click Next.
The Optional Software screen appears.
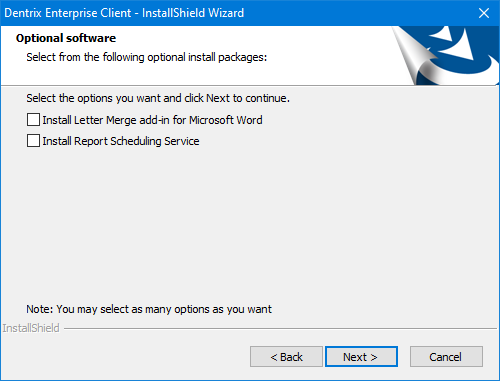
Select any of the following checkboxes to install the corresponding components:
Install Letter Merge add-in for Microsoft Word - Installs or updates the Word add-in for letters that are created from Dentrix Enterprise on this computer.
Note: Microsoft Word must already be installed.
Install Report Scheduling Service - Installs or updates the report scheduling service, which handles report jobs that have been scheduled from this or other computers.
Notes:
This service can also be installed on the database server as part of the server installation.
This service only needs to be installed on one computer.
Click Next.
The Shortcut Folder screen appears.
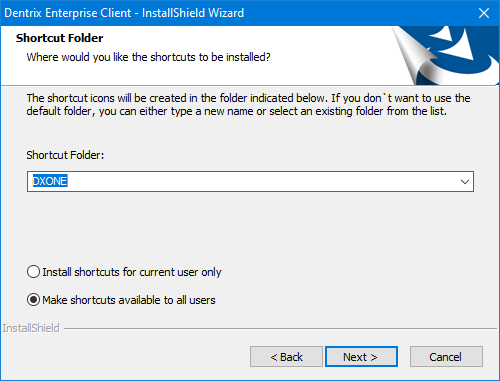
Leave the default name, enter a different name, or select a folder from the list.
Select one of the following options:
Install shortcuts for current user only - If you want the Dentrix Enterprise shortcuts to be available only to the Windows user account that you are currently logged on to.
Make shortcuts available to all users - If you want the Dentrix Enterprise shortcuts to be available to all Windows users (this is the default).
Click Next.
The Ready to Install the Program screen appears.
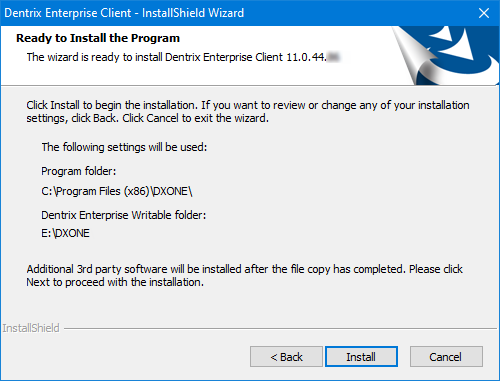
Review the specified installation options, and then click Install.
The required program files are installed.
Third-party programs are installed.
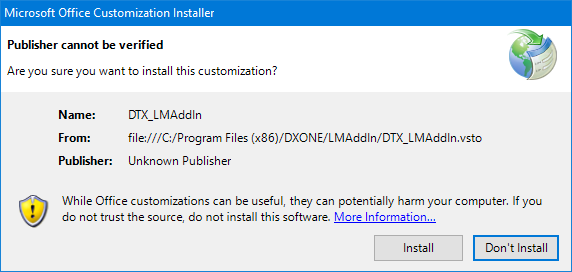
If the Install Letter Merge add-in for Microsoft Word checkbox was selected, and the letter merge add-in is not already installed, do the following to install the add-in:
Click Install on the message that appears.
When the add-in installation has finished, click Close on the message that appears.

If the Install Report Scheduling Service checkbox was selected, the Welcome to the InstallShield Wizard for Dtx.ReportBuilderService screen appears. You can choose to install the service or cancel the installation of the service.

To install the service, do the following:
Click Next.
The Choose Destination Location screen appears.
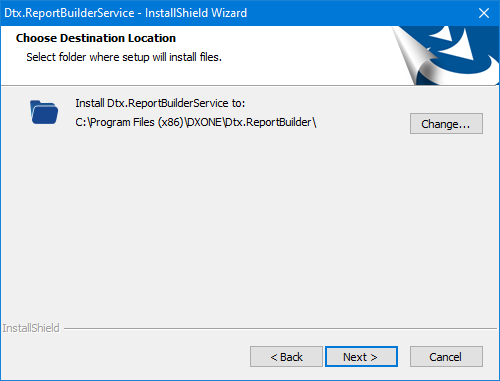
Note: The default location where the program files are installed is C:\Program Files (x86)\DXONE\Dtx.ReportBuilder.
To change the installation location, do the following:
Click Change.
Do one of the following:
Select a folder in the directory tree.
Enter the path to a folder.
Click OK.
Click Next.
The SQL Server connection screen appears.
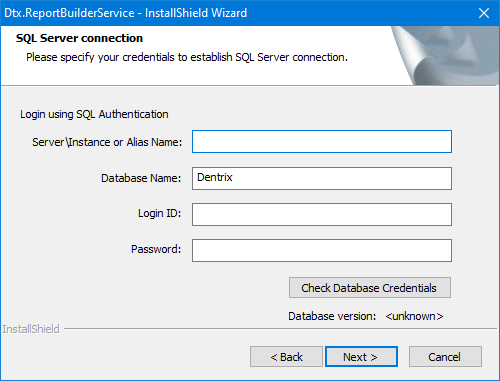
Enter the following connection details:
Server Name - The name or IP address of the database server. Also, if the SQL instance that houses your Dentrix Enterprise database has a name, after the IP address or name of the server, include a backslash (\) and then the instance name.
Database Name - Dentrix is the default name of the database, but it may be different if it has been customized for your installation.
Login - The user name of an SQL user with "Sysadmin" rights (such as Enterprise or SA).
Password - The password of the Sysadmin user.
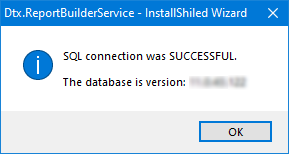
Click Check Database Credentials.
A message regarding the results of the connection test appears. Click OK. If the connection was successful, proceed to the next step; otherwise, change your connection parameters, and attempt to connect again.
Click Next.
The Ready to Install the Program screen appears.
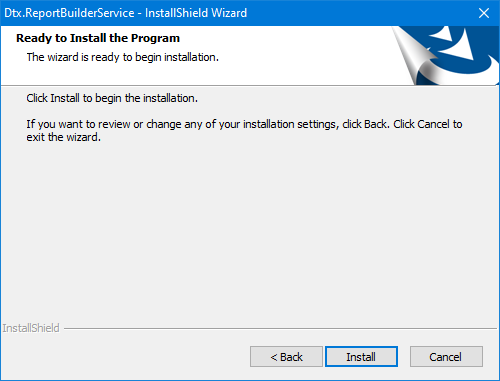
Click Install.
When the process is finished, the InstallShield Wizard Completed screen appears.
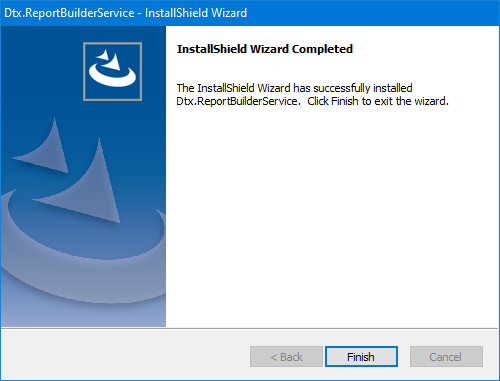
Click Finish.
The InstallShield Wizard Completed screen appears.
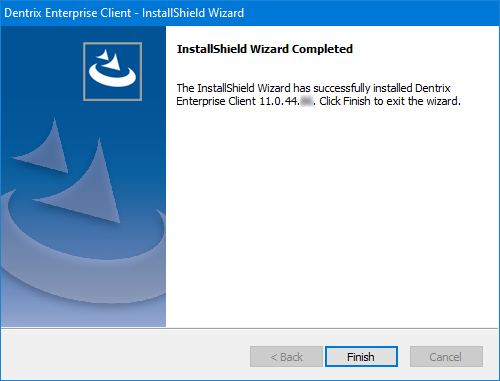
Click Finish.