
Dentrix Imaging supports acquiring intraoral and extraoral images from the DEXIS 9.x or DEXIS Imaging Suite 10.x software on computers running the Windows operating system. You must install the DEXIS software on each computer that uses the software bridge.
Notes:
· Configure all acquisition devices with the DEXIS software on each computer that you will use to acquire images using the DEXIS software bridge.
· Before installing any imaging devices, you must configure the acquisition agent application on each computer that you will use to acquire images using the software bridge.
You must install the DEXIS software on each computer that uses the software bridge.
To configure DEXIS 9.x
1. Open the DEXIS 9.x application.
![]()
2. Go to Preferences, and then click the General tab.
3. Set the Image Format to Tiff.

4. To exit DEXIS, click Done.
5. In the system tray, right-click the Acquisition Agent icon, and then click Preferences.
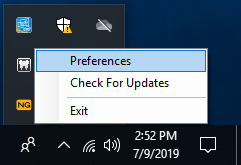
The Preferences dialog box appears.
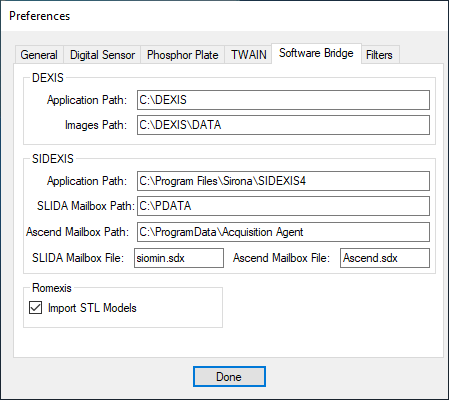
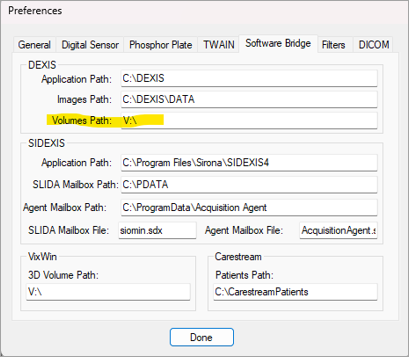
6. Click the Software Bridge tab.
7. Under DEXIS, ensure that the Application Path (Software Folder in DEXIS) and Images Path (Data Folder in DEXIS) are correct.
8. Click Done.
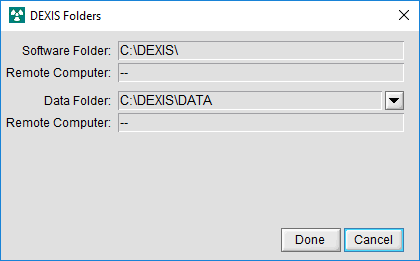
Note: The Application Path and Images Path should match the paths found in the DEXIS Folders dialog box. Open the DEXIS 9.x application, go to Preferences, click the General tab, and then click the Folders button.
You must install the DEXIS software on each computer that uses the software bridge.
To configure DEXIS Imaging Suite 10.x
1. Open the DEXIS Imaging Suite 10.x application.
![]()
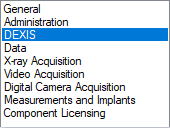
2. Go to Preferences, click DEXIS, and then set the Image Format to Tiff.

3. In the system tray, right-click the Acquisition Agent icon, and then click Preferences.
The Preferences dialog box appears.
Note: The Application Path should match the Installation Directory path on the General page in Preferences. The Images Path should match the Patient/Image Data Directory path found on the Data page in Preferences of the DEXIS Imaging Suite software.

4. Click Done.
The DEXIS software bridge is now functional and ready to acquire images.
To acquire a test image
1. Open Dentrix Imaging, and then click the Acquire tab.
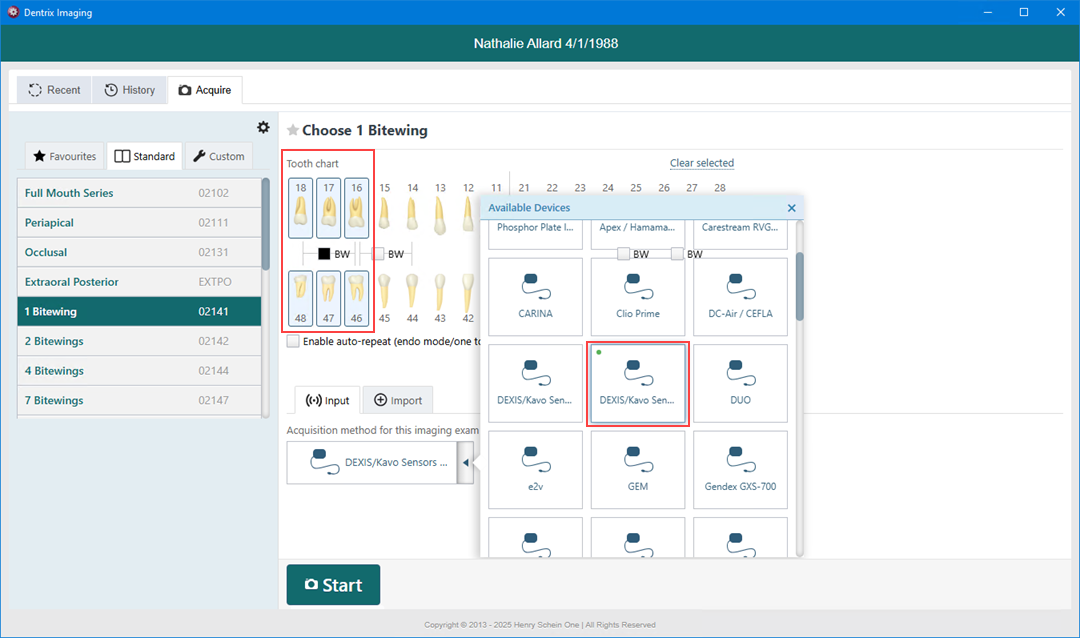
2. In the Standard list, click 1 Bitewing.
3. In the Tooth chart, click the teeth you want to image.
4. In the Acquisition method for this imaging exam menu, click DEXIS/KaVo Sensors (DTX Studio Bridge), and then click Start.
5. Acquire an image using the DEXIS software.
The captured image appears in Dentrix Imaging automatically.
1. Open the Acquisition Agent Preferences dialog box, and then click the Software Bridge tab.
2. In the Volume Path field, type the path to the where the 3D volumes are stored, and then click Done.
3. In the Imaging Procedures list, click 3D Volume.
4. In the tooth selection chart, click the teeth you want to image.
5. In the Acquisition method for this imaging exam menu, click DEXIS/KaVo Sensors (DTX Studio Bridge), and then click Proceed with Acquisition.
The 3D volume is acquired through DEXIS.
6. When the volume has finished reconstructing, close DEXIS.
The volume transfers and is available to view in Dentrix Imaging.
Check that DEXIS and the Acquisition Agent are running with the same privileges; neither should have elevated privileges.
DEXIS software bridge: To confirm that the DEXIS software bridge is configured correctly, in Dentrix Imaging, go to any acquisition mode, select the DEXIS/KaVo Sensors (DTX Studio Bridge) as the acquisition device, and then click Proceed with Acquisition. If you receive an error message, please refer to the required setup instructions in the manual.
“Could not find part of path” error: Confirm that the path set in the Acquisition Agent is where the images/3D volumes are being stored.