VixWin Software Bridge Setup Guide
This guide describes the installation and setup of the VixWin software bridge for use with Dentrix Ascend Imaging.
Last updated: 11/1/2025
Overview
Dentrix Ascend Imaging supports the acquisition of CBCT images from the VixWin software on a computer running the Windows operating system. The VixWin software must be installed on each computer that the software bridge will be used.
Notes:
-
It is recommended that all acquisition devices are configured in the VixWin software on each computer that will acquire images using the VixWin software bridge.
-
Prior to the installation of any imaging devices or setting up the VixWin software, the acquisition agent application must be installed on each computer that will acquire images using the software bridge. Refer to Setting up the acquisition agent for instructions on downloading and installing the acquisition agent.
-
VixWin does not handle the 3D volumes but rather bridges Invivo/TxStudio software with Dentrix Ascend Imaging.
Recommended Version
-
VixWin Platinum v3.6.2 or later
Configuration
To configure the VixWin settings in the acquisition agent preferences, do the following:
-
Click the Acquisition Agent icon in the notification area, and then select Preferences.

-
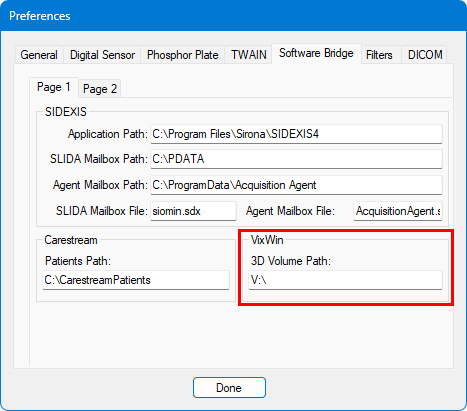
Select the Software Bridge tab. Leave the Page 1 tab selected. Under VixWin, in the 3D Volume Path box, specify the path to where the volumes are to be stored for VixWin.

-
Click Done.
Testing
The ViwWin software bridge is now functional in Dentrix Ascend Imaging. To acquire a test 3D volume, do the following:
-
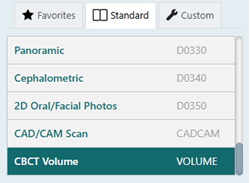
Select the CBCT Volume imaging procedure.

-
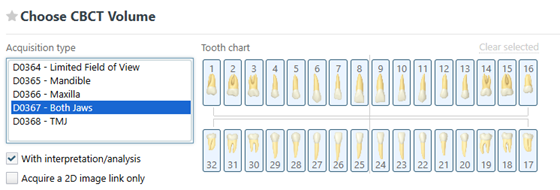
Select an Acquisition type. Depending on the selected acquisition type, you may also need to select teeth for the test.

-
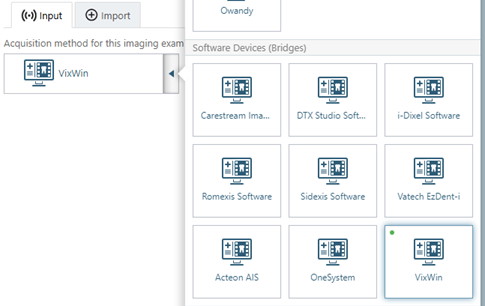
On the Available Devices menu, select VixWin.

-
Click Start.

-
Acquire a 3D volume. The captured 3D volume appears in Dentrix Ascend Imaging automatically after you close VixWin.
Troubleshooting
If a "Volume Path was not found" error occurs, try the following:
-
Check for an acquisition agent update. If there is an update, install it, and then try again. If the issue is still not resolved, proceed to the next step.
-
Exit the acquisition agent in the system tray.
-
In File Explorer, navigate to C:\Program Files (x86)\Acquisition Agent.
-
Open the Acquisition Agent.ini file in a text editor (such as Notepad).
-
Set the following parameter in the .ini file: VixWinSearchPatFolder = False.
Note: Having this parameter set to False is slower for acquisitions, but it triggers a full scan of the volume path before and after VixWin is opened and closed to check for any new volumes.
-
Save the change, and then close the text editor.
-
Double-click Acquisition Agent.exe (in the same folder as the .ini file), and then try again