Viewing offline images
If a patient has offline images (images that have been acquired while using the offline mode) on this computer that have not been synchronized with that patient's online record, you can view those images.
Note: You cannot delete exams while you are using the offline mode, but you can delete images from an exam unless there is only one image.
To view offline images
-
Close all Chrome browser windows.
Important: To prevent any issues that may occur while starting the offline mode, close all Chrome browser windows that may be open.
-
Do one of the following:
-
For Windows users - Click (or tap) the Acquisition Agent icon in the notification area of the Windows taskbar, and then select Start Offline Mode.

-
For Mac users - Click (or tap) the Acquisition Agent icon on the dock. From the Acquisition Agent menu, click (or tap) Start Offline Mode.

A new Chrome browser window opens with Dentrix Ascend Imaging running in offline mode.

-
-
Enter the First name, Last name, and Birth date of the patient whom you want to view images for.
-
Click (or tap) Show Image History.

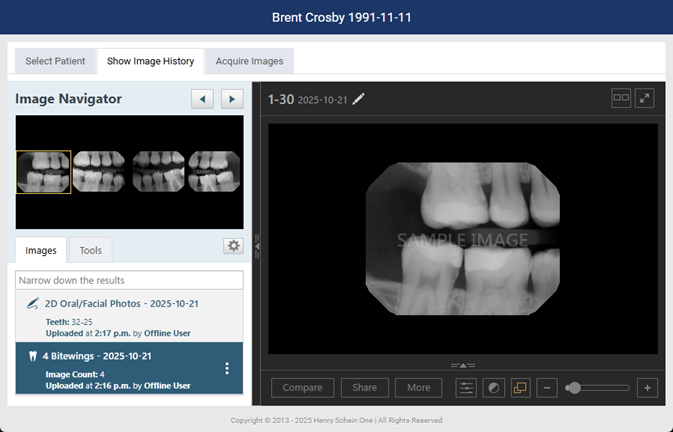
The Show Image History tab is selected by default.

You can view the patient's offline image history chronologically and quickly navigate between each image. To display only the images that match the filter criteria that you specify, click (or tap) in the Narrow down the results box. Also, you can work with images as you normally would while using Dentrix Ascend Imaging online. For example, you can process (such as enhance or annotate) images, compare images, export images, and resume incomplete exams.
-
When you are finished viewing the patient's images, either close the Chrome browser window that has Dentrix Ascend Imaging running in offline mode to end the offline viewing session, or click (or tap) the Select Patient tab to acquire or view images for another patient.