Tracking sent claims
You can view the information on sent claims. Then, as needed, you can make changes, either resubmit or reprint the claim, split the claim, or delete the claim.
To track a sent claim
-
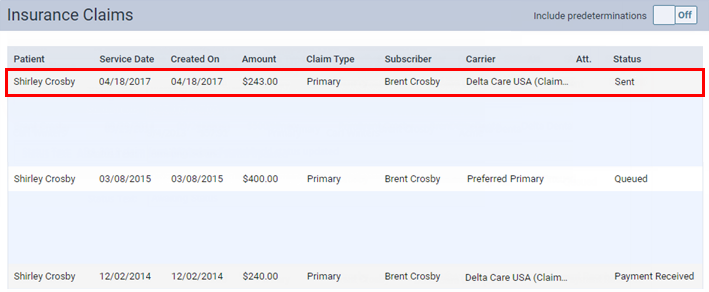
Click (or tap) a sent claim on one of the following pages:
-
The Sent Claims page, which lists all sent claims, including rejected ones.
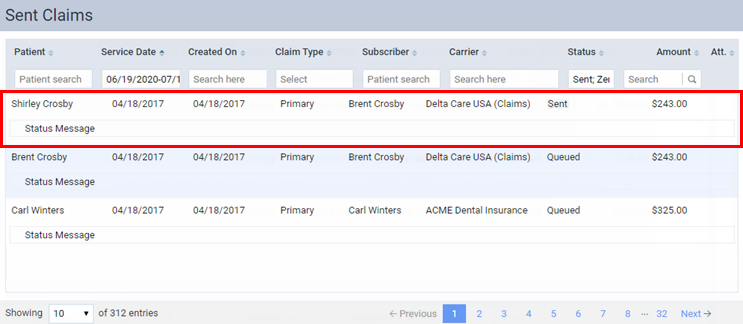
Note: Claims are sorted by their dates of service (oldest to most recent).
-
A patient's Insurance Claims page.
-
Notes:
-
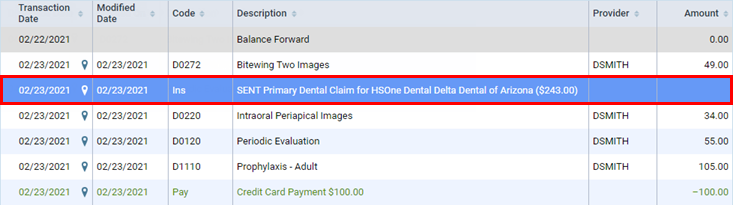
A sent claim that has not been rejected can have any of the following statuses: Sent, Paid (the payment was sent by the carrier but not received by your office), Accepted, Pending, Queued, Printed, Resubmitted, Settled, or Attachment Hold.
-
A rejected claim can have one of the following statuses: Zero Payment, Rejected by eServices, Rejected by Payer, Unprocessable Claim, Additional Information Requested, or Attachment Error.
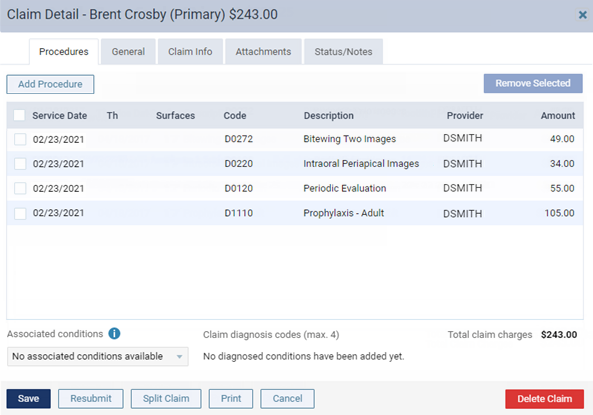
The Claim Detail dialog box appears.
-
-
Do one of the following:
-
To delete the claim, click (or tap) Delete Claim.
-
To resubmit the claim, click (or tap) Resubmit. This button is not available if the claim has a Queued status.
-
To print the claim, click (or tap) Print.
-
To split the claim, click (or tap) Split Claim. This button is available only if the claim is a primary claim, has not been paid, and has at least two procedures attached. Also, if the PPO write-offs setting is turned on, and write-offs have been posted for the claim, you must delete the write-offs before the Split Claim button will become available.
-