Teledyne e2v Sensor Setup Guide (Mac OS)
This guide describes the installation and setup of e2v intraoral sensors for use with Dentrix Ascend Imaging.
Last updated: 11/1/2025
Overview
Dentrix Ascend Imaging supports the acquisition of intraoral images from e2v intraoral X-ray sensors on a computer running the Mac operating system. Drivers for the e2v sensor must be installed on each computer that the e2v sensor will be connected to. Calibration (correction) files must be installed on each computer that the e2v sensor will be connected to.
e2v sensors are rebranded and sold by many companies under their specific brand names. The following devices work in Dentrix Ascend Imaging with e2v selected as the acquisition device:
-
Dentimax Dream sensor
-
EVA Select sensor
-
Sota/Clio sensor
-
XDR sensor
-
Apteryx Tuxedo sensor (previous version is Hamamatsu which is also directly supported by Imaging)
-
QuickRay HD sensor (previous version is Hamamatsu which is also directly supported by Imaging)
Note: Prior to the installation of the e2v sensor, the acquisition agent application must be installed on each computer that will acquire images. Refer to Setting up the acquisition agent for instructions on downloading and installing the acquisition agent.
Minimum Version
-
Acquisition agent v1.2.7755.28310
Configuration
To configure the acquisition agent for e2v sensors, do the following:
-
Plug-in the e2v sensor.
-
Place the correction/calibration file for the sensor in the following folder: /Users/Shared/Acquisition Agent/Correction Files.
Note: The calibration file requires the format: [serial number].raw. If there are any characters other than the serial number in the name of the calibration file, or if the file extension is anything other than .raw, the calibration file will not work. Renaming the calibration file to include only the serial number and changing the file extension to .raw should resolve the issue. For example, if the calibration file is named SN507244.cal, change it to 507244.raw. The following types of calibration files are possible: .raw, .cal, and .ffc.
-
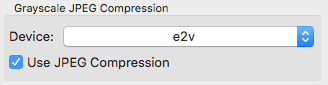
Turn on Grayscale JPEG Compression in the acquisition agent preferences.

-
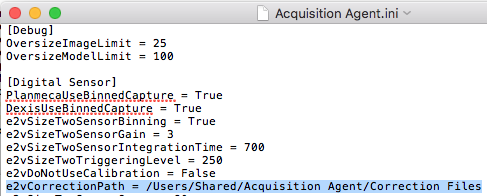
Turn on binning in the Acquisition Agent.ini file for size 1 and size 2 e2v sensors:
-
Open the acquisition agent preferences.
-
Click Show Log Files.

-
Quit the acquisition agent app.

-
Open the Acquisition Agent.ini file (which is in the folder that you opened in step b) in TextEdit.

-
Make the following changes:
-
e2vSizeTwoSensorBinning = True
-
e2vSizeOneSensorBinning = True
-
-
Testing
The e2v sensor is now functional in Dentrix Ascend Imaging. To acquire a test image, do the following:
-
Select the 1 Bitewing imaging procedure.

-
Select any teeth for the test.

-
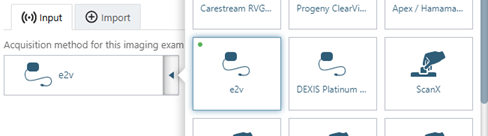
On the Acquisition Method for this imaging exam menu, select e2v.
-
Click Start.

-
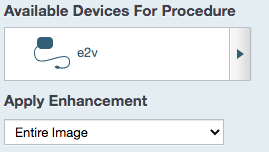
Make sure that Entire Image is selected for Apply Enhancement.
-
Acquire an image using the e2v sensor.
Troubleshooting
System Information
To confirm that the device is connected and being recognized by the Mac OS, open System Information, select Hardware > USB, and then make sure that the camera is listed.
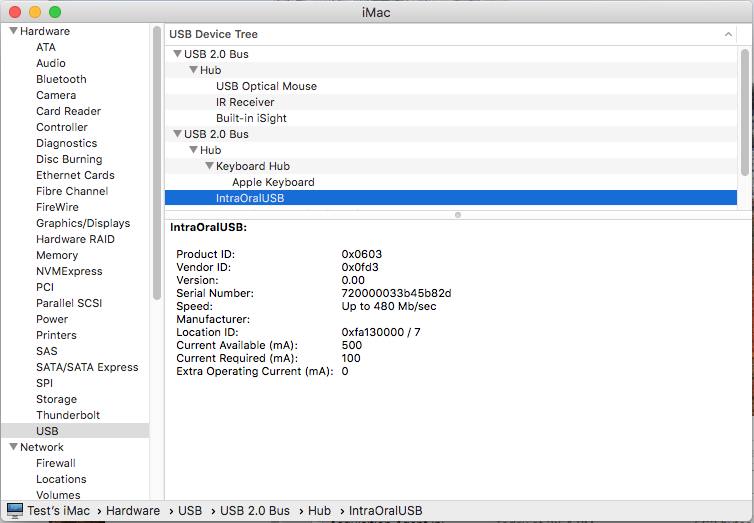
If the sensor does not appear, first refresh the page by pressing Cmd + R (or on the toolbar, go to File > Refresh Information).
If the sensor still does not appear, the issue could be with the USB port or the device. It is recommended that you try another USB port.
Correction Files
If the error message "Correction files could not be found" appears, do the following:
-
Browse to the Acquisition Agent.ini file, and then open it in TextEdit.
-
Confirm the Correction File path (e2vCorrectionPath), and then browse to that location.
-
If the correction files are not in the that location, place the correction files in that folder, restart the acquisition agent, and then try acquiring again.