TWAIN with Schick Sensor Setup Guide
This guide describes the installation and setup of the Schick intraoral sensor for use with Dentrix Ascend Imaging via a TWAIN driver.
Last updated: 11/1/2025
Overview
Dentrix Ascend Imaging supports the acquisition of intraoral images from Schick intraoral X-ray sensors via the Schick TWAIN driver on a computer running the Windows operating system. The Schick TWAIN driver supports most Schick digital X-ray sensors (current and legacy models), including Schick CDR 2000, Schick Elite, and Schick 33.
The Schick TWAIN driver must be installed on each computer that will acquire images from a Schick sensor.
Note: Prior to the installation of the Schick TWAIN driver, the acquisition agent application must be installed on each computer that will acquire images. Refer to Setting up the acquisition agent for instructions on downloading and installing the acquisition agent.
Installation
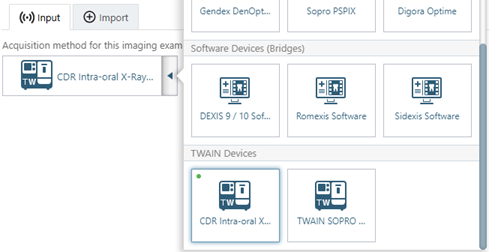
Note: It is possible that the Schick Twain driver has already been installed and configured upon the client workstation if the Schick sensor was working in the office prior to the office using Ascend Imaging. To verify if the Twain driver is already installed, go into Ascend Imaging and Acquisition (once Acquisition Agent is installed) and all installed Twain sources will be listed in the intraoral acquisition devices list. If Schick Twain driver is already listed, then there is nothing more to install and you can proceed to testing.
Note: It is possible that the Schick TWAIN driver has already been installed and configured on the computer if the Schick sensor was working in the office prior to the office using Dentrix Ascend Imaging. To verify if the TWAIN driver is already installed, once the acquisition agent has been installed, open Dentrix Ascend Imaging, start an acquisition, and expand the acquisition device menu to see if CDR Intra-oral X-ray Acquisition appears (under TWAIN Devices); if so, skip to the "Testing" section.
To install the TWAIN driver, do the following:
-
Launch the installer, which can be found on the Schick by Sirona website (https://www.schickbysirona.com/), as an administrator.
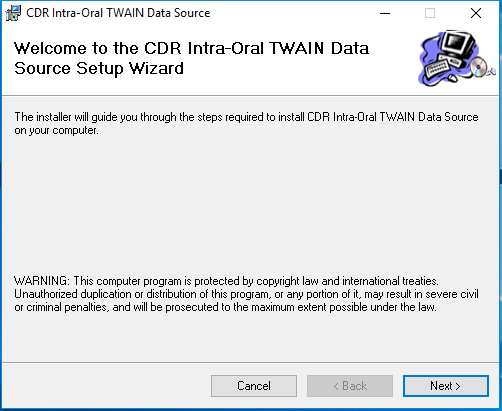
The Welcome screen appears.
-
Click Next.
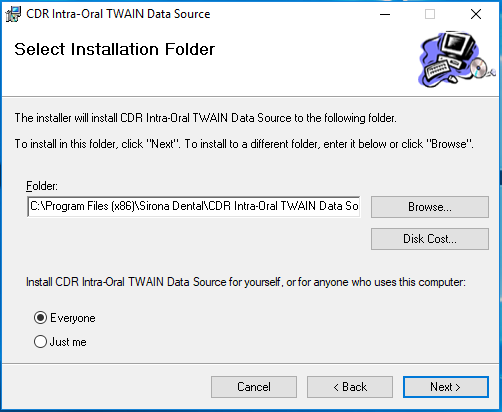
The Select Installation Folder screen appears.
-
Specify the installation folder, and who can use the TWAIN Data Source on the computer.
-
Click Next.
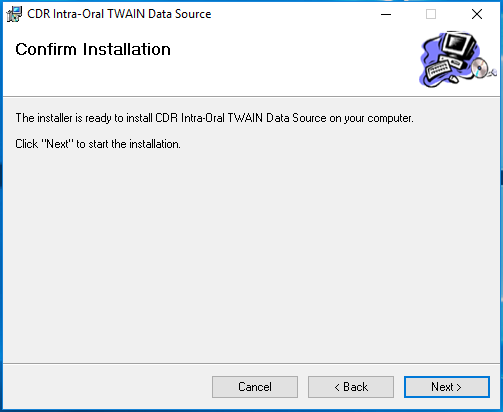
The Confirm Installation screen appears.
-
Click Next.
When the installation is finished, the Installation Complete screen appears.

-
Click Close.
-
Install the correct device drivers for your Schick CDR Intra-Oral X-ray sensor.
-
Plug the Schick CDR Intra-Oral X-ray sensor into the computer.
-
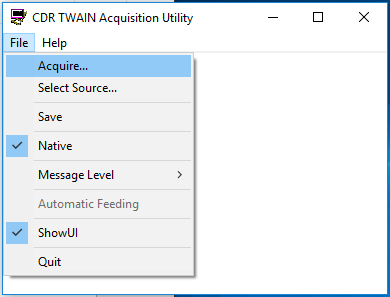
Start the CDR TWAIN Acquisition Utility (Start > All Programs > Sirona Dental > CDR TWAIN Acquisition Utility) as an administrator.
-
On the File menu, select Select Source.
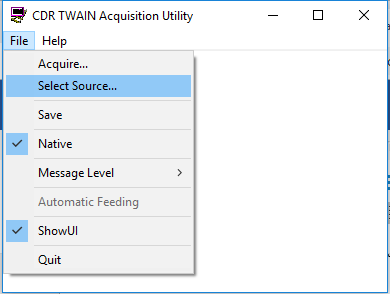
The Select Source dialog box appears.
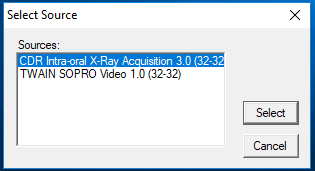
-
Select CDR Intra-Oral X-Ray Acquisition 3.0, and then click Select.
-
On the File menu, select Acquire.
The CDR Intro-Oral Sensor dialog box appears.
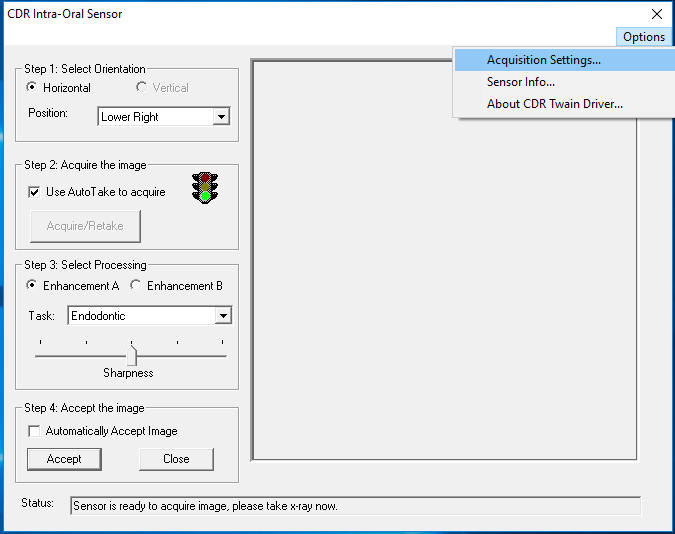
-
On the Options menu, select Acquisition Settings.
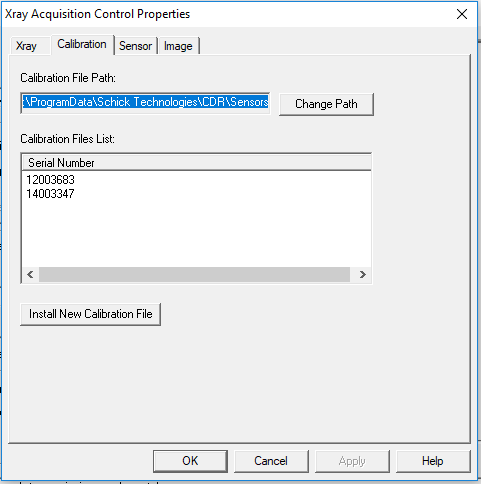
The Xray Acquisition Control Properties dialog box appears.
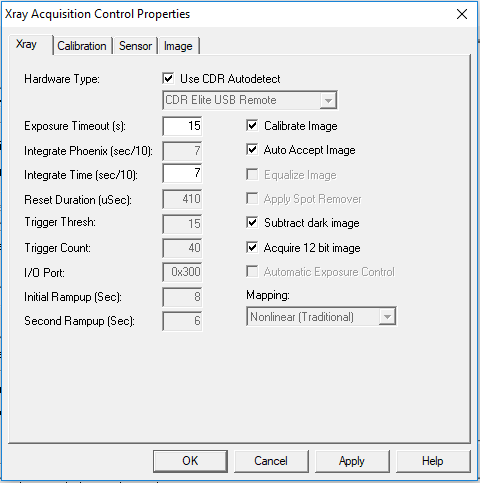
-
On the Xray tab, make sure the Auto Accept Image checkbox is selected.
-
Select the Calibration tab.
-
Click Install New Calibration File to install the calibration file for each Schick CDR sensor in your office.
-
Click OK.
-
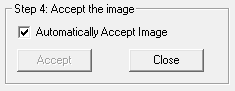
Select the Automatically Accept Image checkbox.
-
Place a test target on the Schick CDR Intra-Oral sensor, and then expose it to radiation.
-
If an image appears, exit the CDR TWAIN Acquisition Utility.
Configuration
Note: It is recommended that you configure the Schick 33 sensor to use Standard Resolution Acquisition Images. This will reduce image load times with physically smaller (in terms of file size) images compared to high-resolution images.
To configure the Schick 33 sensor to use standard resolution, do the following:
-
Open a File Explorer window, and navigate to C:\Program Files (x86)\Schick Technologies\Shared Files.
-
Right-click CDRSettings.exe, and then select Run as administrator.
-
Select the SynergyUSB folder.
-
Do one of the following:
-
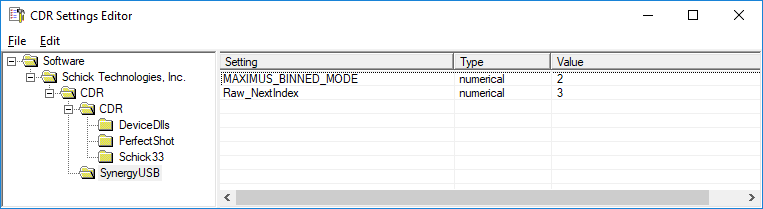
If there is a Setting for MAXIMUS_BINNED_MODE exists, verify that the Value is set to 2.
-
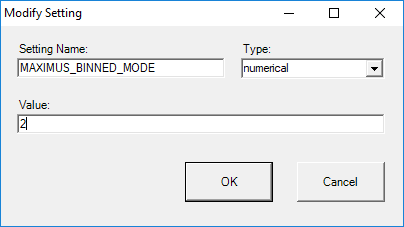
If there is not a Setting for MAXIMUS_BINNED_MODE, on the Edit menu, select Insert Setting. In the Modify Setting dialog box, enter MAXIMUS_BINNED_MODE as the Setting Name, select numerical as the Type, and enter 2 as the Value. Then, click OK.
Note: For Value, 2 enables binning mode, and 1 disables binning mode.
-
-
Close the CDR Settings Editor.
-
For the changes to take effect in Dentrix Ascend Imaging, you must stop the acquisition agent, which is running in the system tray. To stop the agent, right-click the icon, and then select Exit.
-
To restart the acquisition agent, open C:\Program Files (x86)\Acquisition Agent in a File Explorer window, and then double-click Acquisition Agent.exe.
Testing
The Schick CDR sensor is now functional in Dentrix Ascend Imaging. To acquire a test image, do the following:
-
Select the 1 Bitewing imaging procedure.

-
Select any teeth for the test.

-
On the Available Devices menu, select CDR Intra-oral X-ray Acquisition (under TWAIN Devices).
-
Click Start.

-
Acquire an image using the Schick CDR sensor.
Troubleshooting
To confirm that the Schick CDR device driver is loaded and recognized by Windows, do the following:
-
Plug in a Schick CDR sensor.
-
Open Device Manager.
-
Expand the CDR Device category.
-
Right-click CDR USB Remote XXX, and then select Properties.
-
Make sure "This device is working properly" appears.
If the device does not appear in Device Manager, or if Device Manager states that "This device is not working properly," one of the following issues might be the cause:
-
The drivers are not properly installed. Try removing and reinstalling them.
-
The sensor has a bad connection or is defective.