TWAIN with KaVo DIAGNOcam Vision Camera Setup Guide
This guide describes the setup of the KaVo DIAGNOcam Vision intraoral camera for use with Dentrix Ascend Imaging via a TWAIN driver.
Last updated: 11/1/2025
Overview
Dentrix Ascend Imaging supports the acquisition of intraoral images from KaVo DIAGNOcam Vision intraoral cameras via a TWAIN driver on a computer running the Windows operating system.
The TWAIN driver must be installed on each computer that will acquire images from a DIAGNOcam Vision intraoral camera.
Note: Prior to the installation of the TWAIN driver, the acquisition agent application must be installed on each computer that will acquire images. Refer to Setting up the acquisition agent for instructions on downloading and installing the acquisition agent.
Testing and Configuration
In Dentrix Ascend Imaging, to acquire a test image and configure TWAIN settings as needed, do the following:
-
Select the 2D Oral/Facial Photo Images imaging procedure.

-
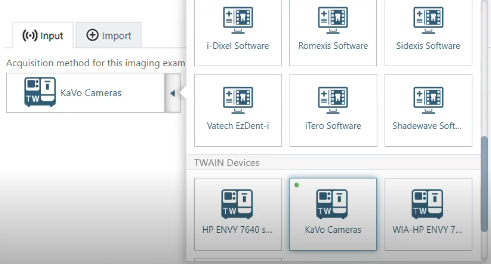
On the Available Devices menu, select KaVo Cameras (under TWAIN Devices).
-
Click Start.

KaVo's TWAIN Interface window opens.
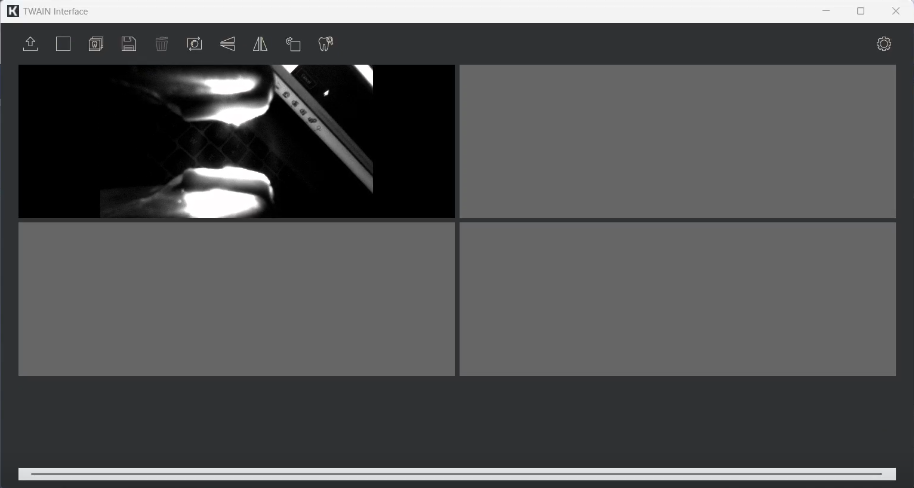
-
Use the camera to acquire images.
-
Place the DIAGNOcam Vision camera back into the holder.
-
As needed, do any of the following:
-
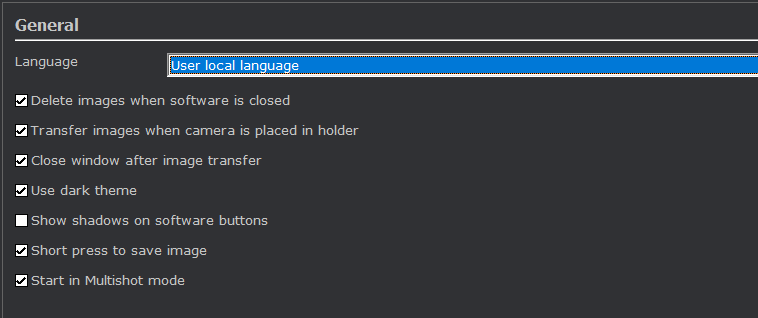
If the Transfer images when camera is placed in holder checkbox is selected, the images will begin to transfer to Dentrix Ascend Imaging automatically. If not, use the Transfer images option.
-
If the Close Window after image transfer checkbox si selected, the TWAIN Interface window closes automatically. If not, minimize or close the TWAIN Interface window.
-
-
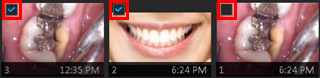
In Dentrix Ascend Imaging, on the snapshot panel, clear the check box of the snapshots that you do not want to save.
-
Click Assign Images.
-
Do any of the following:
-
To save one or more snapshots as intraoral images and assign tooth numbers, select the snapshots that pertain to the same teeth (deselect snapshots that do not pertain to the same teeth), and then drag them to the Select Teeth, UR/UL/LR/LL, Upper Jaw, or Lower Jaw box.
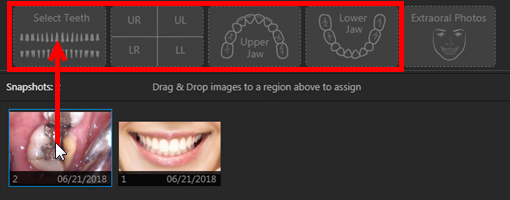
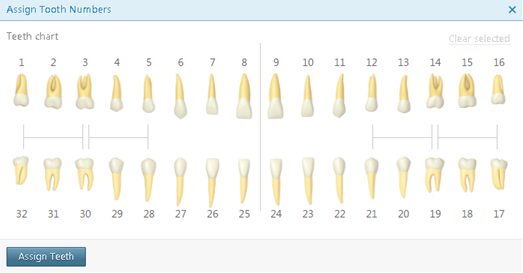
If you drag snapshots to the Select Teeth box, select the applicable teeth, and then click Assign Teeth.
-
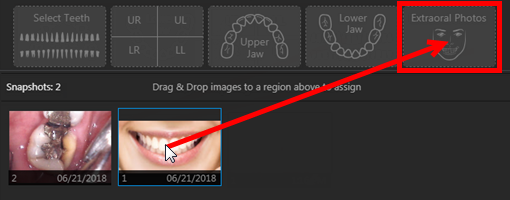
To save one or more snapshots as extraoral images, select the snapshots that are extraoral images (deselect snapshots that are not extraoral images), and then drag them to the Extraoral Photos box.
-
To save the snapshots on the snapshot panel as intraoral images, but not assign tooth numbers, leave those snapshots on the snapshot panel.
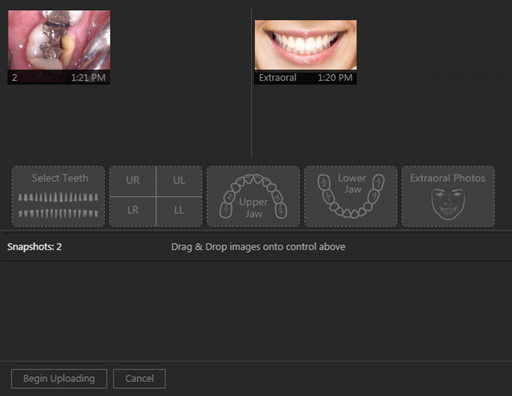
Assigned intraoral images appear on the left side of the preview area; extraoral on the right.
Note: If you have a mix of intraoral and extraoral images, they map to one procedure (D0350), which will appear in the progress notes with two icons. Also, you can delete or reassign the intraoral or extraoral exam as needed in the future.
-
-
Click Begin Uploading.