Still Pin Support Setup Guide
This guide covers the installation of still pin support for acquiring images with an intraoral camera in Dentrix Ascend Imaging. Still pin support allows Dentrix Ascend Imaging to recognize the button on many intraoral cameras for capturing and saving images.
Last updated: 11/1/2025
Overview
Dentrix Ascend Imaging supports the acquisition of intraoral images from many intraoral cameras, generic or name brand (such as the DEXIS DEXCam 4 HD camera or MouthWatch camera).
Note: Prior to the installation of a camera, the acquisition agent application must be installed on each computer that will acquire images. Refer to Setting up the acquisition agent for instructions on downloading and installing the acquisition agent.
Minimum Version
-
Acquisition agent v1.2.7230.28996
Installing Still Pin Support
Notes:
-
Still pin support can be installed only an administrator.
-
Not all cameras support still pin acquisition. You might need to check with the manufacturer to see if your camera supports it.
To install still pin support, do the following:
-
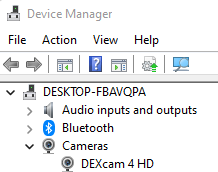
Connect the camera to the computer, and verify that the proper drivers are installed in Device Manager. The device may appear in the Imaging Devices or Cameras category.
-
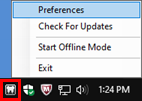
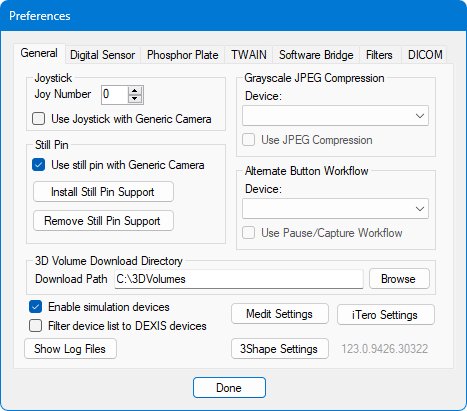
Click the Acquisition Agent icon in the notification area, and then select Preferences.
-
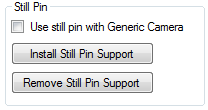
Click Install Still Pin Support.
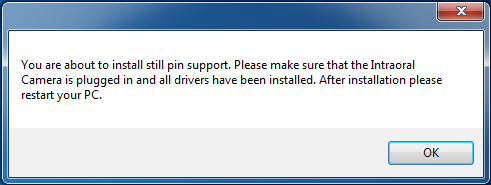
-
On the confirmation message that appears, click OK.
-
If a User Account Control window opens, click Yes.
-
Select which cameras you want to have supported. For each camera that appears, type a "y" for yes or an "n" for no, and then press the Enter key.
Note: Be sure to select the correct camera. Any and all cameras that have been plugged into this computer will be listed, not only the cameras currently plugged in. The camera will have the same name as shown in Device Manager.

-
Once the end of the list has been reached, press the Enter key to close the command window.

-
Restart the computer.
Testing
The camera is now functional with still pin support in Dentrix Ascend Imaging. To acquire a test image, do the following:
-
Select the 2D Oral/Facial Photo Images imaging procedure.

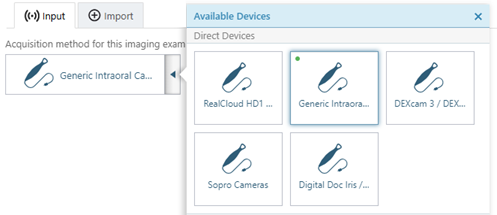
-
On the Available Devices menu, select Generic Intraoral Camera.
-
Click Start.

-
Press the button on your camera to pause or freeze the live video stream.
-
Press (or press and hold down) the button on your camera to capture the current video frame and return to the live video stream.
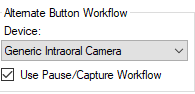
The functionality of the second button press is determined by the Alternate Button Workflow options in the acquisition agent preferences (with Generic Intraoral Camera selected as the Device, the state of the Use Pause/Capture Workflow checkbox).
-
With the Use Pause/Capture Workflow checkbox clear (the default):
-
If the second button press is short, the live video becomes live again without the image being saved.
-
If the second button press is long (you hold down the button for at least one full second), the current video frame is captured, the resulting image is added to the snapshot panel, and the video stream automatically becomes live again.
-
-
With the Use Pause/Capture Workflow checkbox selected:
-
If the second button press is short, the current video frame is captured, the resulting image is added to the snapshot panel, and the video stream automatically becomes live again
-
If the second button press is long (you hold down the button for at least one full second), the live video becomes live again without the image being saved.
-
Note: The functionality of holding down the button is not supported on every brand of generic intraoral cameras and depends on the specific button implementation on the camera's hand piece.
-
Removing Still Pin Support
To remove still pin support, do the following:
-
Disconnect all cameras from the computer.
-
Click the Acquisition Agent icon in the notification area, and then select Preferences.
-
Click Remove Still Pin Support.
-
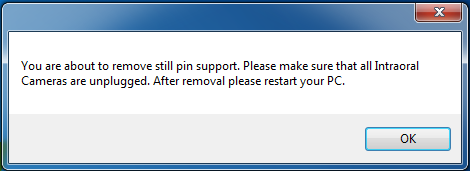
On the confirmation message that appears, click OK.
-
If a User Account Control window opens, click Yes.
-
Press the Enter key to close the command window.

-
Restart the computer.
Troubleshooting
Device Driver (MouthWatch Camera)
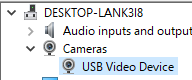
Make sure that the MouthWatch camera is recognized by Windows. Open Device Manager, and then verify that the device appears (in the Imaging Devices or Cameras category, it appears as USB Video Device).
Still Pin Support Not Working
If still pin support is not working for your camera, try the following, checking to see if the issue is resolved with each step:
-
Restart the computer.
-
Open the acquisition agent preferences, and make sure that the Use still pin with Generic Camera checkbox is selected.
-
In the acquisition agent preferences, remove and then reinstall still pin support.
-
Make sure that the RealCloudFilterDriver.sys file was copied to the C:\Windows\System32\Drivers folder. If it was not copied try step 3 again. If the file still has not been copied, try copying it from the acquisition agent's installation directory (the default installation location is C:\Program Files (x86)\Aquisition Agent) to the C:\Windows\System32\Drivers folder.
Note: Not all cameras support still pin acquisition. You might need to check with the manufacturer to see if your camera supports it.