Sirona/Schick USB 3/AE Sensors Setup Guide
This guide describes the installation and setup of the Sirona/Schick USB 3/AE intraoral sensors for use with Dentrix Ascend Imaging.
Last updated: 11/1/2025
Overview
Dentrix Ascend Imaging supports the acquisition of intraoral images from Sirona/Schick USB 3/AE intraoral X-ray sensors on a computer running the Windows operating system. Drivers for the sensor must be installed on each computer that the sensor will be connected to. Calibration (correction) files must be installed on each computer that the sensor will be connected to.
Notes:
-
Prior to the installation of the sensor, the acquisition agent application must be installed on each computer that will acquire images. Refer to Setting up the acquisition agent for instructions on downloading and installing the acquisition agent.
-
As of December 31, 2024, support for Schick Driver v5.16 and Schick AE driver has ended. Sirona recommends transitioning to IOSS v3.2 drivers for continued support.
-
For a Schick CDR 2000 sensor, it may be necessary to use the old Schick drivers because the IOSS drivers are not compatible.
Installing IOSS
To install the Intraoral Sensor Software (IOSS), do the following:
-
Download the Intraoral Sensor Software from the Sirona website (http://dsgo.to/schick).

-
Right-click the installer, and then select Run as Administrator.
Note: If User Account Control prompts you to confirm that you want to proceed, click Yes.
-
Select the Install Intraoral Sensor Software checkbox.

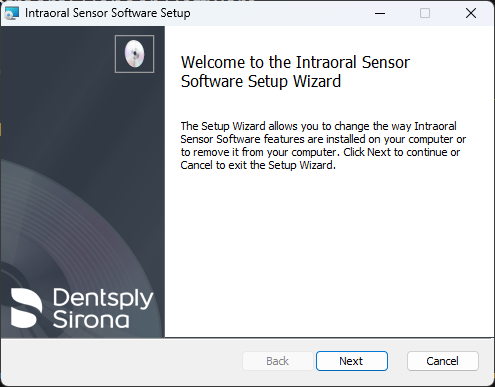
The Intraoral Sensor Software Setup starts.
-
Click Next, and follow the instructions in the installer.
-
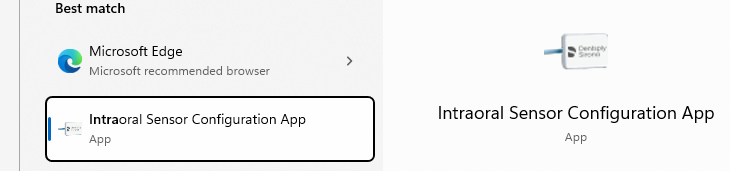
After the installation is complete, the Intraoral Sensor Configuration application might open, but you can close it at this time.
-
Plug in the sensor, and it should be ready to use with Dentrix Ascend Imaging.
Installing Correction Files
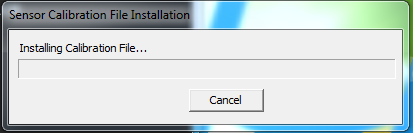
The correction files are stored in the sensor and will be installed automatically the first time you attempt to arm the sensor. To install the correction files, do the following:
-
Select the 1 Bitewing imaging procedure.

-
Select any teeth for the test.

-
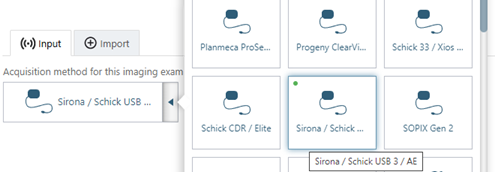
On the Available Devices menu, select Sirona / Schick USB 3/ AE.
-
Click Start.

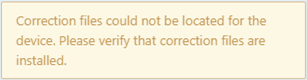
An error message appears, indicating that the correction files could not be found. This occurs because it takes a few seconds for the files to be installed from the sensor.
-
Once the correction files are installed, cancel the acquisition.
-
Configure and test the sensor as needed. For information about configuring sensor settings, refer to the "Configuration" section below. For information about testing the sensor, refer to the "Testing" section below.
Configuration
Note: It is possible to view the configuration of the sensor in the old imaging software by following the steps here: https://pattersonsupport.custhelp.com/app/answers/detail/a_id/18773/~/schick-33-sensor---general-information.
The acquisition agent contains settings for the Sirona filters. So, if the image from the sensor does not suit your preferences, you can adjust the filters. Do the following:
-
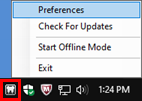
Click the acquisition agent icon in the system tray, and then select Preferences.
-
In the Preferences dialog box, select the Filters tab.

-
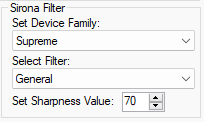
Under Sirona Filter, select a family from the Set Device Family list. The Select Filter list is populated according to the selected device family.
Note: The Sirona device families are as follows:
-
Supreme:
-
Xios XG Supreme.
-
Schick 33.
-
-
AE:
-
Xios AE.
-
Schick AE.
-
Note: Xios XG Select/Schick Elite sensors have their own filtering that is not accessible in the acquisition agent preferences.
-
-
In the Set Sharpness Value box, raise or lower the value to suit your preferences. You can set to value to a number between 0 and 100, where 0 is no enhancement, and 100 is the highest level of enhancement.
-
Click Done.
Testing
The sensor is now functional in Dentrix Ascend Imaging. To acquire a test image, do the following:
-
Select the 1 Bitewing imaging procedure.
-
Select any teeth for the test.
-
On the Available Devices menu, select Sirona / Schick USB 3/ AE.
-
Click Start.
-
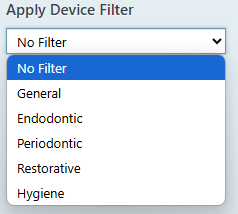
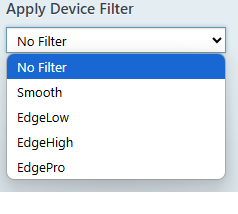
Select a filter from the Apply Device Filter list.
Schick 33/XIOS XG
Schick Elite
Schick AE
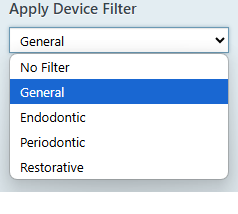
Notes:
-
Each Sirona and Schick device uses its own filter options to enhance the image. These enhancements are combinations of display and sharpening filters that create images that are more tuned to a specific task, such as Periodontic (which is optimized for tissue and uses less sharpening) or Endodontic (which is optimized for canals and uses more sharpening). The list of enhancements dynamically updates for the connected sensor. Make sure that only one sensor is connected at a time.
-
You can change these filter any time prior to or during the acquisition of images.
-
-
Acquire an image using your sensor.
Troubleshooting
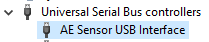
Device Manager
Verify that your Schick device has been properly installed in Device Manager. Your device will appear as an AE Sensor.
Device Not Found
A "device not found error" can appear if another imaging software has locked the sensor. Try the following:
-
Restart the computer, and try again.
-
Unplug and then re-plug the sensor, and try again.
-
Try a different USB port on the computer, preferably a USB port on the back of the computer that is directly connected to the motherboard, and try again.
-
Confirm that the IOSS drivers are installed, and uninstall any other Schick drivers that may be installed on the computer.
-
If the sensor is still not found, open the Intraoral Sensor Configuration App, and then select the Sensors tab.

-
Click Refresh Sensors, and then check if the sensor is detected in this window. If it is, select it, and check the status for more information.

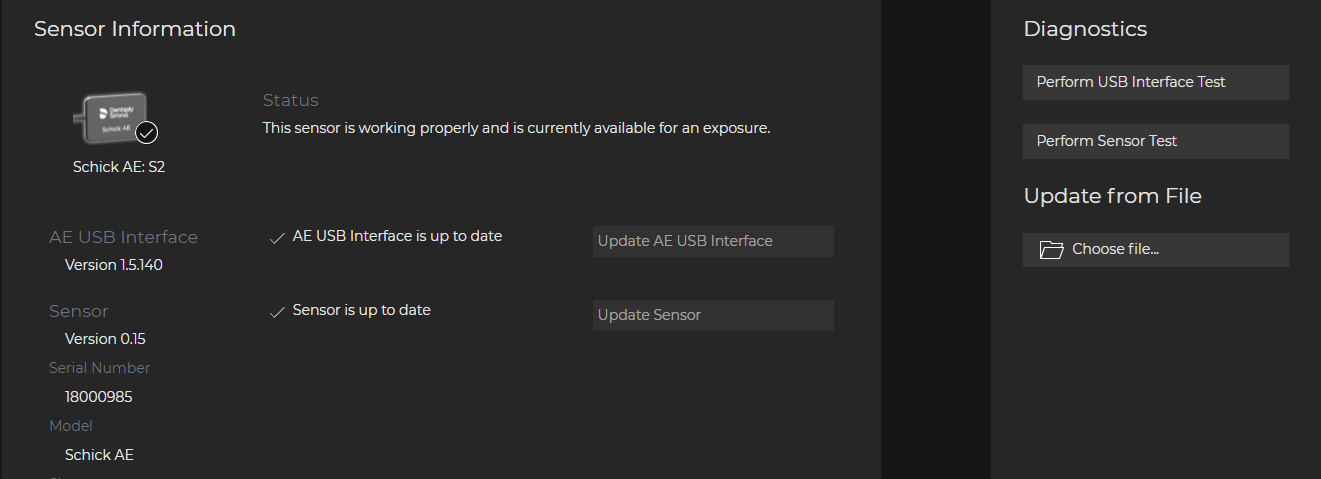
-
Perform a sensor or USB interface test.
Note: It may be necessary to close the acquisition agent before you attempt the test, so the sensor is not locked.
-
If completing these steps does not resolve the issue, or if the sensor test fails inside of the configuration app, contact Sirona support for assistance.