Scanning documents
You can scan documents into a patient's record from a scanner connected to your computer.
Notes:
-
A TWAIN driver built on version 1.9 or later of the TWAIN standard is required to use this feature.
-
All modes (such as native and buffered) are supported.
-
Single-image transfers, but not multiple-image transfers, are supported.
-
Automatic document feeders (ADF) are not supported.
-
The TWAIN Direct standard (which is different from TWAIN) is not supported.
-
-
An acquisition agent (provided by Henry Schein One) must be downloaded and installed; this is the same acquisition agent used by Dentrix Ascend Imaging.
-
Scanning is available only on a Windows computer.
To scan documents
-
If the correct patient is not already selected, use the Patient Search box to access the patient's record.

-
On the Patient menu, under General, select Document Manager.
The patient's Document Manager page opens.
-
Click (or tap) Scan.

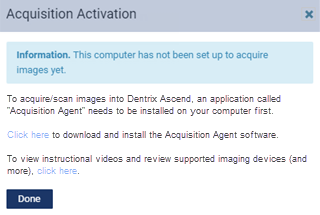
Note: If the acquisition agent is not installed, the Acquisition Activation dialog box appears. Click (or tap) the Click here link to download and install the acquisition agent installer. Then, click (or tap) Done. After you install the acquisition agent, you can begin scanning documents.
-
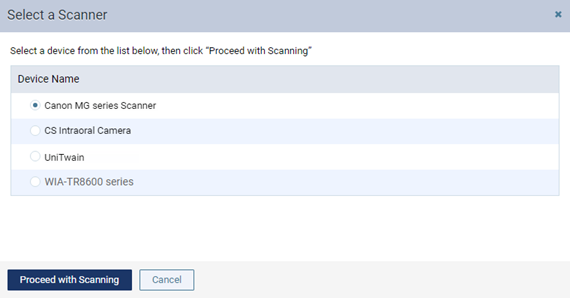
The Select a Scanner dialog box appears.
-
Select a device in the Device Name list.
-
Click (or tap) Proceed with Scanning.
The third-party application for the selected device opens.
-
Scan documents, and then close the third-party application.
The scanned documents appear in the Scan Files dialog box.
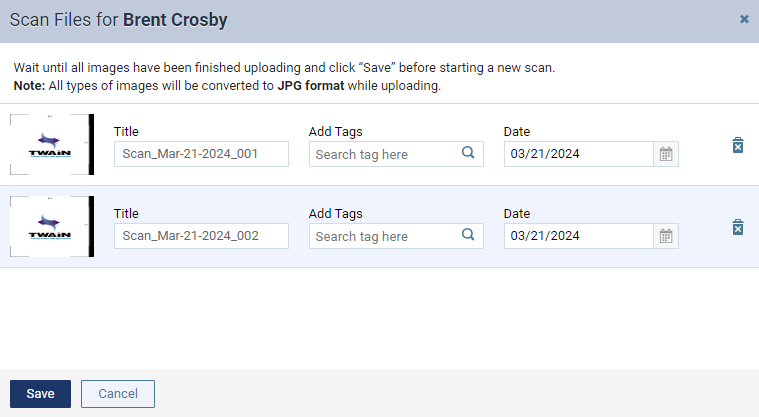
Note: Documents are uploaded to Dentrix Ascend as .jpg files.
-
Do any of the following as needed:
-
To change the name of an item, in the Title box, enter the name as you want it to appear in the document manager.
-
To remove an item so it does not get added to the patient's record, click (or tap) the corresponding Delete button
 , and then click (or tap) Delete on the confirmation message that appears.
 -
To add tags to an item to categorize it so you can find it more easily later, click (or tap) in the corresponding Add Tags box, begin typing to search for a tag, continue typing as needed to narrow the results list, and then select the correct tag. Repeat this process as needed to add other tags to the item. An item can have up to five tags.
Note: If you do not add a tag right now (for example, if you cannot find an applicable tag), you can add tags later.
-
-
Click (or tap) Done.