Routing patients
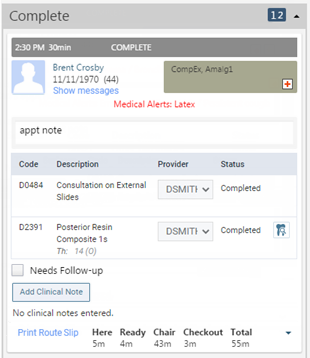
With the routing panel, you can track patients throughout their visits as you and other staff members change the statuses of appointments.
Note: When you initially open the routing panel, the Status Tracker tab is selected by default. Appointments are grouped by status, and each status section is collapsed by default. The number of appointments within a given status appears on the section header. You can click (or tap) a section header to expand that section and view the corresponding appointments.
To route a patient electronically
-
The receptionist at the front desk has the Calendar page open because he or she just finished scheduling an appointment for a patient who called in. The routing panel is also open. When a patient arrives at the office, the receptionist clicks (or taps) the Here status button for that patient on the routing panel.
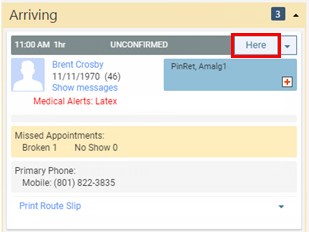
Note: The Here status button is not available if the patient is a new patient who booked the appointment online and if you have not assigned or created a patient record for the patient.
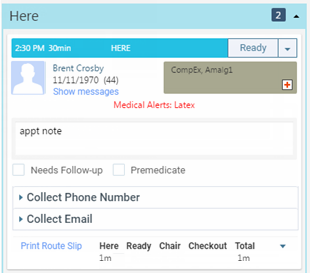
The appointment's status changes to Here, and the patient now appears on the routing panel under Here.
-
When the patient is all checked in, the receptionist opens the routing panel (if it is not already open) and then clicks (or taps) the Ready status button.
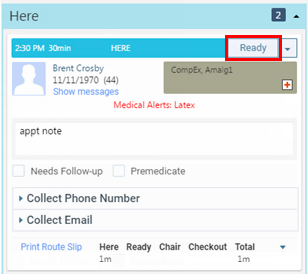
The appointment's status changes to Ready. The hygienist in the back office, at his or her computer, sees the notification of the status change, and the patient now appears on the routing panel under Ready.
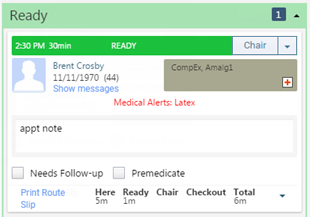
-
After escorting the patient to an operatory chair, the hygienist clicks (or taps) the Chair status button.
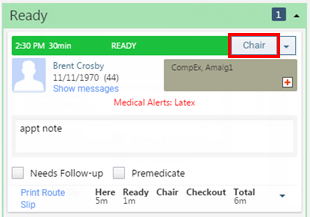
The appointment's status changes to Chair, and the appointment now appears on the routing panel under Chair.
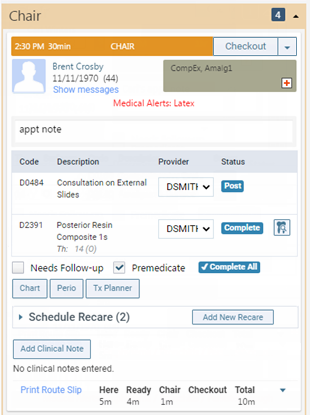
-
The hygienist clicks (or taps) the notification.
The corresponding patient becomes available (if not already visible) on the routing panel.
-
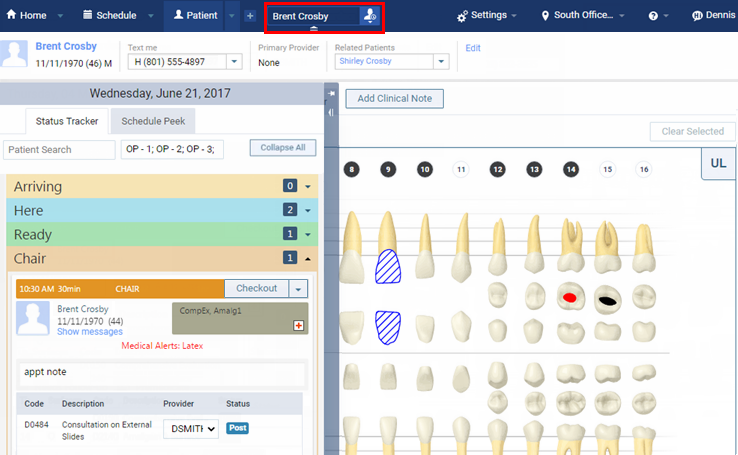
On the routing panel, the hygienist clicks (or taps) the name of the patient who is currently in the chair.
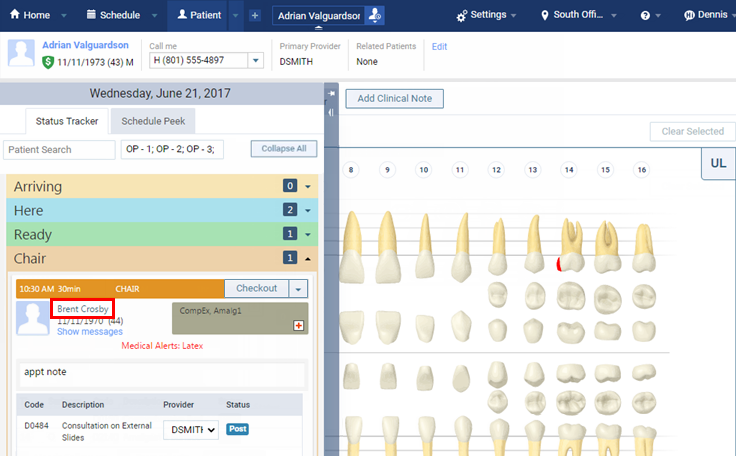
The hygienist had the clinical chart of the previous patient open, so the clinical chart of the patient in the chair now appears.
-
After work is completed on the patient, the hygienist opens the routing panel (if it is not already open) and then clicks (or taps) the Checkout status button. The patient starts walking to the front desk to check out.
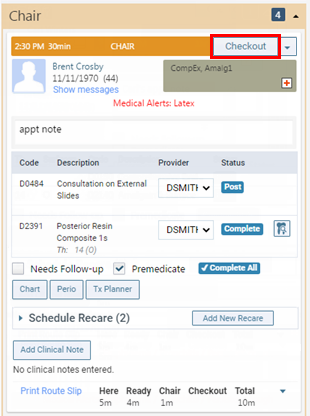
The appointment's status changes to Checkout. The receptionist at the front desk, at his or her computer, sees the notification of the status change, and the appointment appears on the routing panel under Checkout.
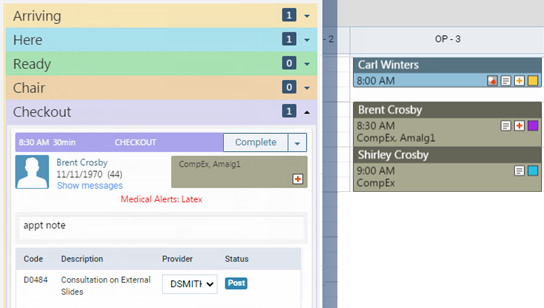
Note: The receptionist at the front desk had the Ledger page of the patient who he or she last checked out open on his or her computer. Then, he or she opened the Calendar page open to schedule an appointment for a patient who called in, and that is the page that he or she is currently viewing when the notification of the status change for the patient that needs to be checked out next appears.
-
The receptionist clicks (or taps) the notification.
The corresponding patient becomes available (if not already visible) on the routing panel.
-
On the routing panel, the receptionist clicks (or taps) the name of the patient who needs to be checked out.
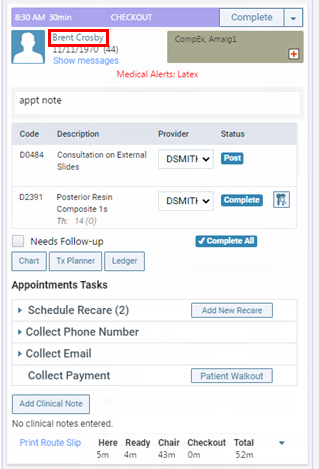
The Ledger page for that patient opens (because the Ledger page was the last page of another patient's record that was viewed before the receptionist opened the Calendar page).
-
When the receptionist finishes checking out the patient, on the routing panel, the receptionist clicks (or taps) the Complete status button to complete the appointment.
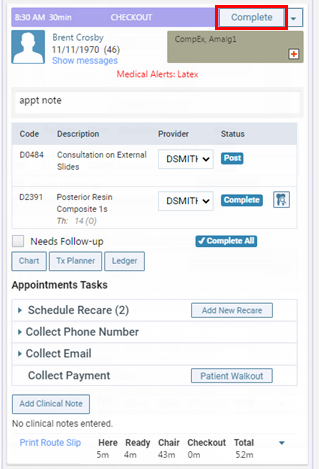
If all the tasks for that patient's appointment are complete, the corresponding patient now appears under Complete on the routing panel.