Romexis Software Bridge Setup Guide
This guide describes the installation and setup of the Romexis software bridge for use with Dentrix Ascend Imaging.
Last updated: 10/31/2025
Overview
Dentrix Ascend Imaging supports the acquisition of intraoral, extraoral, CAD/CAM, and CBCT images from the Romexis software on a computer running the Windows operating system. The Romexis software must be installed on each computer that the software bridge will be used.
Notes:
-
All acquisition devices must be functioning in the Romexis software on each computer that will acquire images using the Romexis software bridge.
-
The DIDAPI Kit must be installed on each computer that the Romexis software is installed on.
-
Prior to the installation of any imaging devices or setting up the Romexis software, the acquisition agent application must be installed on each computer that will acquire images using the software bridge. Refer to Setting up the acquisition agent for instructions on downloading and installing the acquisition agent.
-
The acquisition agent must be configured to support DICOM files so CBCT acquisition is functional.
-
To use the Romexis software bridge for CAD/CAM and CBCT acquisitions, the 3D and CAD/CAM options must be selected during the Romexis installation.
Recommended Version
-
Romexis v6.3.0 or later
Minimum Version
-
Romexis v4.6.1.R or later
Romexis Configuration
Note: The changes explained in this section must to be made on the server.
To configure the Romexis software, do the following:
-
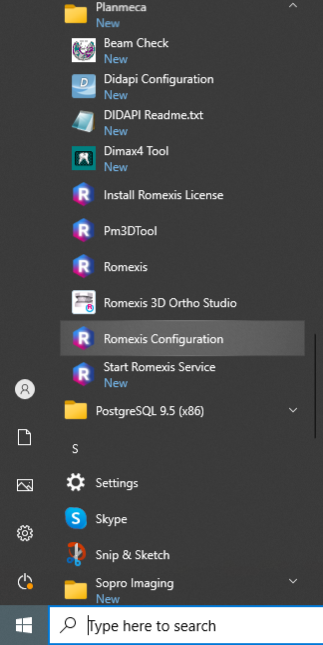
Open the Romexis Configuration application (it can be found under Planmeca on the Windows Start menu).
-
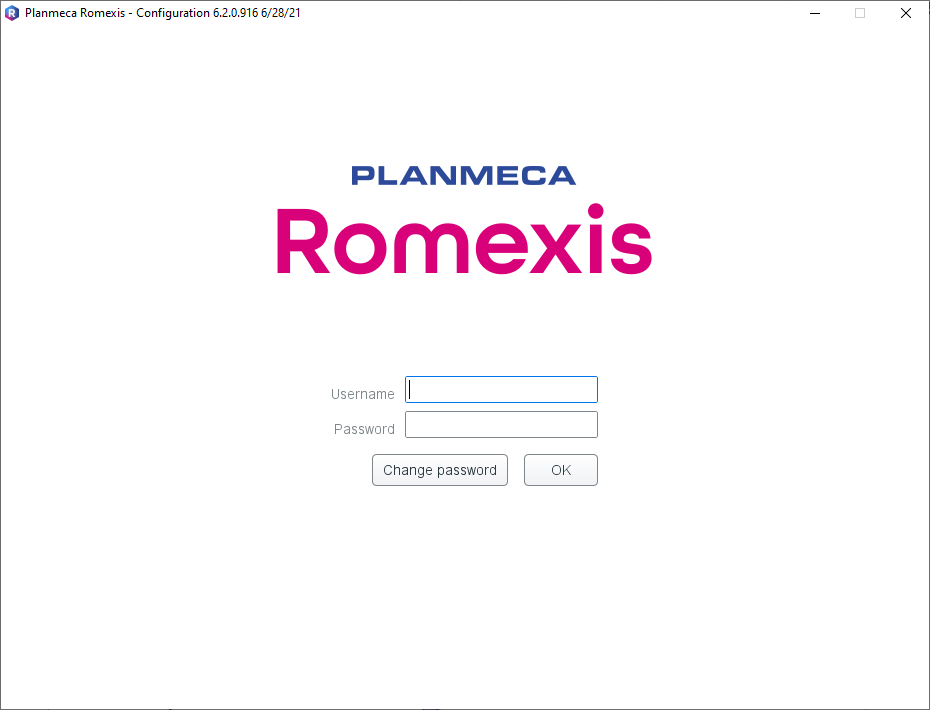
Enter your username and password, and then click OK.
Note: The default username is sysadm, and the default password is promax.
-
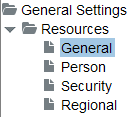
Expand the General Settings folder and then the Resources folder. Then, select the General folder.
-
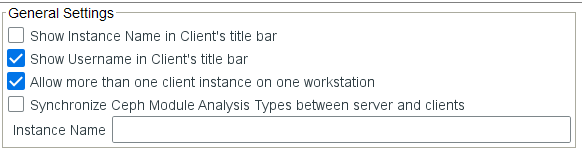
Select the Allow more than one client instance on one workstation checkbox.
-
Click OK.

-
After the installation, open the Romexis Application.

-
On the menu on the left, click Admin.

-
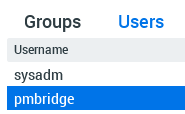
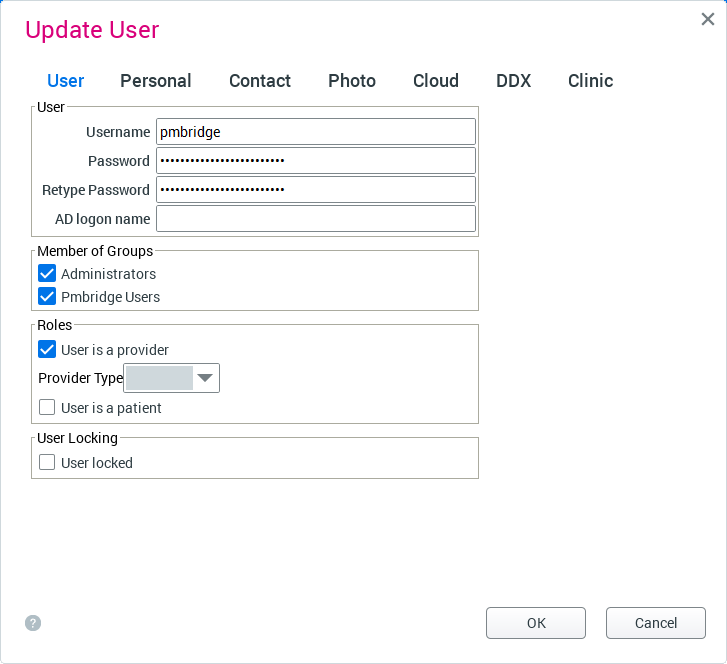
Select the Users tab, and then double-click the pmbridge user.
-
Select the Administrators checkbox, then click OK.
-
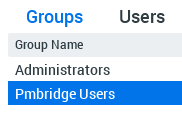
Select the Groups tab.

-
Double-click the Pmbridge Users group.
-
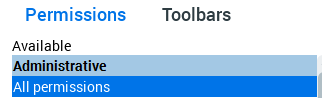
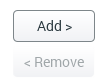
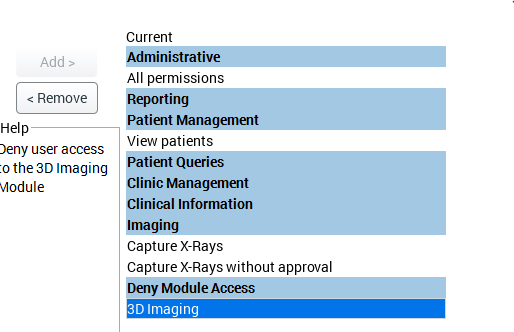
Select All permissions.
-
Click Add.
-
Remove any necessary Deny Module Access permission settings. (For example, 3D Imaging is sometimes under Deny Module Access by default, but is needed for CAD/CAM and 3D Volume acquisition.)
-
Click OK.

-
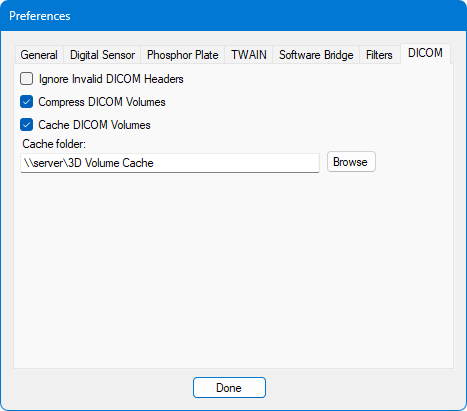
Open the acquisition agent preferences. On the DICOM tab, if applicable for your needs, select the Compress DICOM Volumes and Cache DICOM Volumes checkboxes. Specify the Cache folder to be a shared folder with plenty of storage space so each computer can use the same cache for efficiency.
Testing
The Romexis software bridge is now functional in Dentrix Ascend Imaging. To acquire a test intraoral image or 3D volume, do the following:
-
Do one of the following:
-
Select the 1 Bitewing imaging procedure.

-
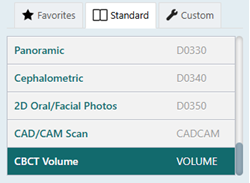
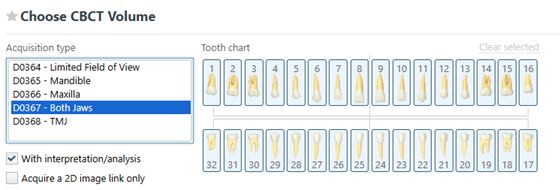
Select the CBCT Volume imaging procedure.
-
-
Do one of the following:
-
For a bitewing acquisition, select any teeth for the test.

-
For a 3D acquisition, select an Acquisition type. Depending on the selected acquisition type, you may also need to select teeth for the test.
-
-
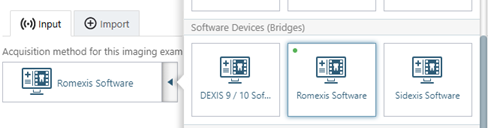
On the Available Devices menu, select Romexis Software.
-
For a 3D acquisition, the Acquire a 2D image link only checkbox must be selected so a 2D image of the volume instead of the full volume will be transferred. The 2D image is linked to the full volume in the Romexis software.
-
Click Start.

-
Acquire an image in the Romexis software. The captured image appears in Dentrix Ascend Imaging automatically.
Troubleshooting
If you attempt to acquire an image by clicking Proceed with Acquisition and receive an error message, refer to the "Romexis Configuration" section.