Planmeca Device Setup Guide
This guide describes the installation and setup of Planmeca devices for use with Dentrix Ascend Imaging.
Last updated: 10/31/2025
Overview
Dentrix Ascend Imaging supports the acquisition of intraoral and extraoral images from any Planmeca panoramic machine (which includes the Planmeca ProMax, ProLine, and ProOne) or intraoral sensor (which includes the Pro Sensor HD) that is supported by the Planmeca SDK (DIDAPI) on a computer running the Windows operating system. The Planmeca DIDAPI Kit must be installed on each computer that will acquire images from a Planmeca device.
Notes:
-
Prior to the installation of the Planmeca device, the acquisition agent application must be installed on each computer that will acquire images. Refer to Setting up the acquisition agent for instructions on downloading and installing the acquisition agent.
-
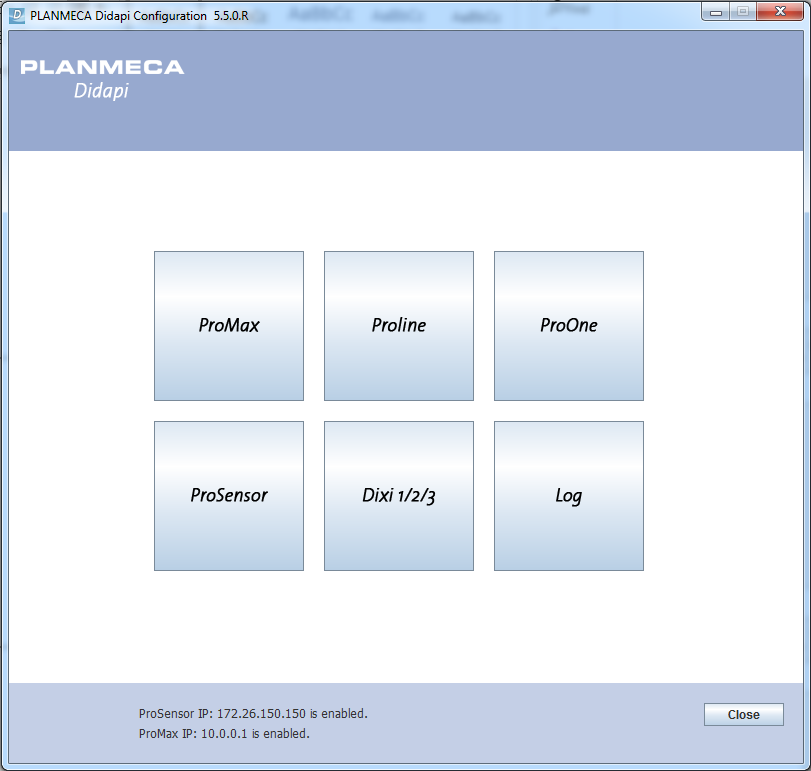
Planmeca provides a utility (DidapiConfig.exe) that you use to configure specific Planmeca panoramic machine models for use with a computer. This guide explains the setup of only the Planmeca ProSensor DidapiConfig.exe. If additional assistance is required, contact Planmeca support. Contact Planmeca for guidance (and an updated installer package) and/or Planmeca Technical Support for assistance with installing the DIDAPI Kit.
DIDAPI Kit Installation
To install the DIDAPI Kit, do the following:
-
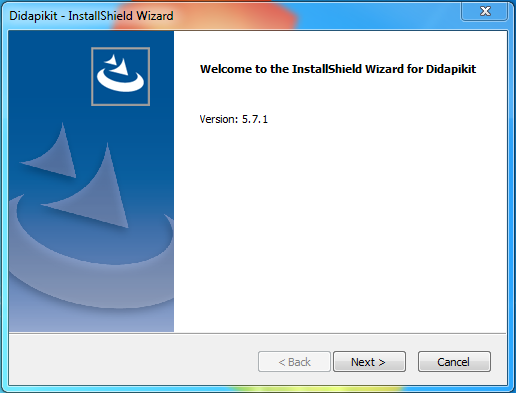
Start the DIDAPI Kit installation wizard.
The Welcome screen appears.
-
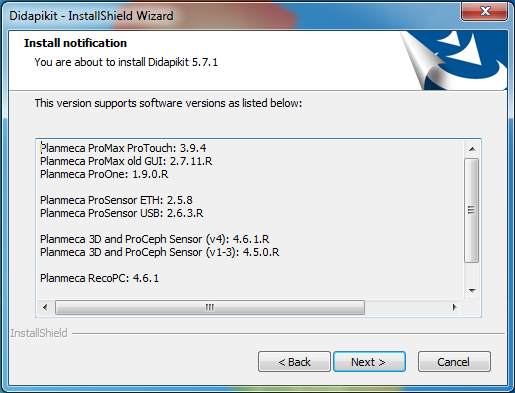
Click Next.
The Installation notification screen appears.
-
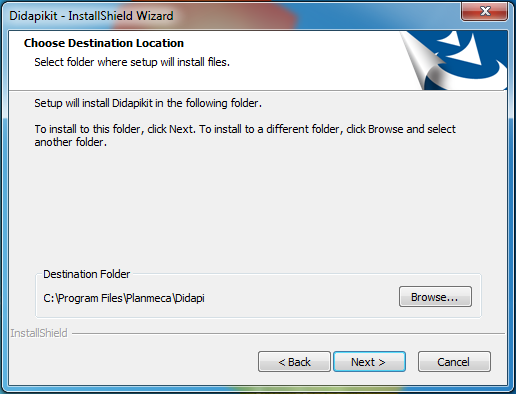
Click Next.
The Choose Destination Location screen appears.
-
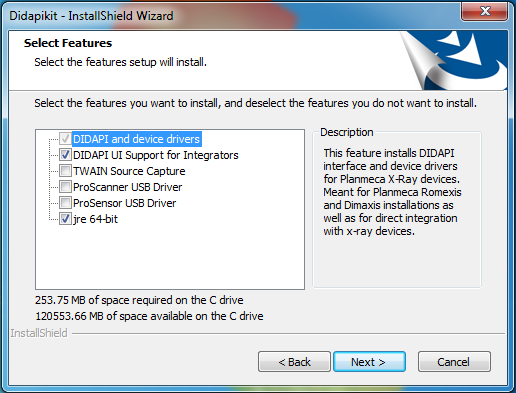
Click Next.
The Select Features screen appears.
-
Select the checkbox of each feature that is needed for the device being used, and then click Next.
Note: If you are setting up the ProSensor via USB, make sure that the ProSensor USB Driver checkbox is selected.
-
The Ready to Install the Program screen appears.

-
Click Install.
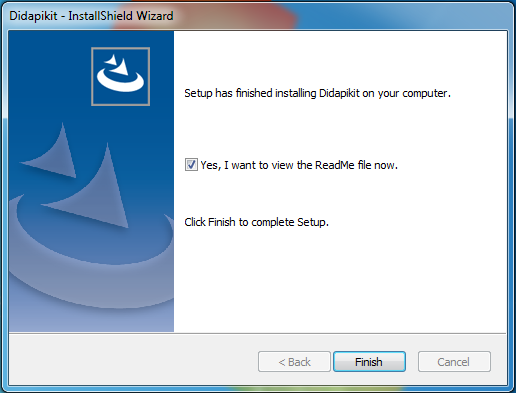
The Setup has finished screen appears.
-
Click Finish.
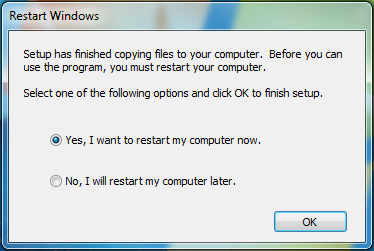
The Restart Windows dialog box appears.
-
With the Yes option selected, click OK to restart the computer.
Control Box IP Address Settings
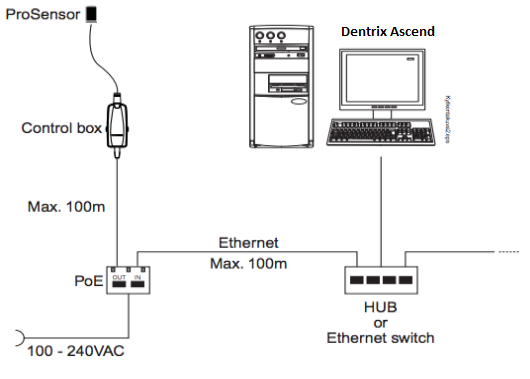
The control box for the Planmeca ProSensor has an IP address. The default IP address for the control box is 172.26.150.150. You can change the settings for the control box by logging into the Web interface.
You can access the Web interface by opening a Web browser and navigating to the index.html page at the control box's IP address. For example, to access the control box at the default IP address, navigate to 172.26.150.150/index.html.
If you cannot access the Web interface, you might need to add a secondary IP address. To add a secondary IP address do the following:
-
Open the Control Panel, and then select Network and Internet.

-
Select Network and Sharing Center.

-
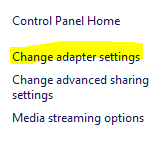
On the left, select Change adapter settings.
-
Right-click the Ethernet adapter that is connected to the control box, and then select Properties.
-
Select Internet Protocol Version 4 (TCP/IPv4), and then select Properties.
-
Select Use the following IP address and Use the following DNS server addresses.
-
Open a Command Prompt window, type ipconfig /all, and then press Enter.
-
Use the information from the Command Prompt window to specify the IP address, Subnet mask, Default gateway, and Preferred DNS server.
-
Click OK, and then re-open the Properties for IPv4.
-
Click Advanced.
-
Click Add, and then enter an IP address that can access the IP address of the control box. For example, if the IP address of the control box were the default, you would add the IP address 172.26.150.100.
-
Click Add, and then click OK. If the secondary IP has been set up properly, you should be able to access the Web interface for the control box.
Note: It is recommended that you set the IP address of the control box to an IP address that is accessible by the computers on your network without needing to set up a secondary connection on every computer.
DidapiConfig Utility Setup
To set up the DidapiConfig utility, do the following:
-
Open DidapiConfig.exe, which is located at C:\Program Files\Planmeca\Didapi.

The Planmeca Didapi Configuration window appears.
-
Click ProSensor.
-
Select the Network settings tab.

-
Enter the IP address of the control box, and then click Ping IP to test the connection.

If the IP address is correct, a reply should be received.

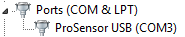
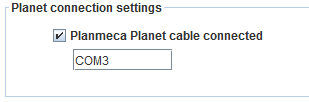
Notes: If you are setting up the ProSensor via USB, use Device Manager to determine the COM port that the device is connected to, and update the Planmeca connection settings.
-
Click Apply to apply the changes, and then click OK.

Testing
The Planmeca device is now functional in Dentrix Ascend Imaging. To acquire a test image, do the following:
-
Select the 1 Bitewing imaging procedure.

-
Select any teeth for the test.

-
On the Available Devices menu, select Planmeca ProSensor.
-
Click Start.

-
Acquire an image using the Planmeca ProSensor.
Troubleshooting
The Planmeca drivers can deliver demo images without hardware attached. To use the Planmeca test mode, do the following:
-
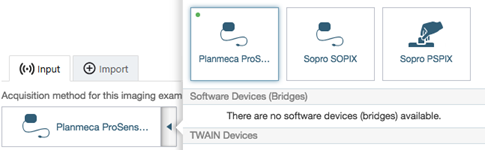
Confirm that the Planmeca intraoral or extraoral device is listed and can be selected on the Acquisition Method for this imaging exam menu for an intraoral or extraoral acquisition.
-
Rename _db_Image_pan0.tif to db_Image_pan0.tif (for an extraoral image) or _db_image_intra0.tif to db_image_intra0.tif (for an intraoral image).
-
Acquire an intraoral or extraoral image in Dentrix Ascend Imaging. If the demo image appears, the acquisition agent and Planmeca DIDAPI Kit are installed properly; the issue is likely with the Planmeca hardware or configuration, so you should contact Planmeca technical support to have them assist you with troubleshooting hardware issues or configuration issues (such as setting the IP address of the panoramic machine via the Planmeca configuration utility).
Note: To revert back to normal operation, rename the file back to the original name (add the underscore back to the beginning of the file name).