Owandy 3D Device Setup Guide
This guide describes the installation and setup of Owandy 3D devices for use with Dentrix Ascend Imaging.
Last updated: 10/31/2025
Overview
Dentrix Ascend Imaging supports the acquisition of 3D volumes from Owandy 3D devices on a computer running the Windows operating system. Drivers for the Owandy 3D devices must be installed on each computer that the Owandy 3D devices will be connected to.
Note: Prior to the installation of the Owandy 3D device, the acquisition agent application must be installed on each computer that will acquire images. Refer to Setting up the acquisition agent for instructions on downloading and installing the acquisition agent.
Minimum Versions
-
Acquisition agent 1.2.8784.29845
Installation
Note: If the drivers for the device are not installed, and you are unsure what drivers are needed or do not have the installer for the device, it is recommended that you have an Owandy support technician do the installation for the device. Owandy support and drivers can be found on the following website: https://www.owandy.com/technical-support-drivers-download-owandy/.
To install device drivers for Owandy 3D devices, do the following:
-
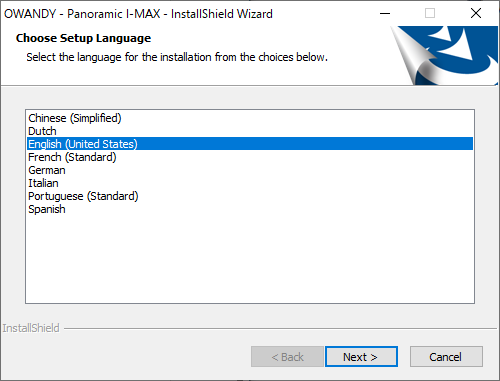
Run the installer for the device.
-
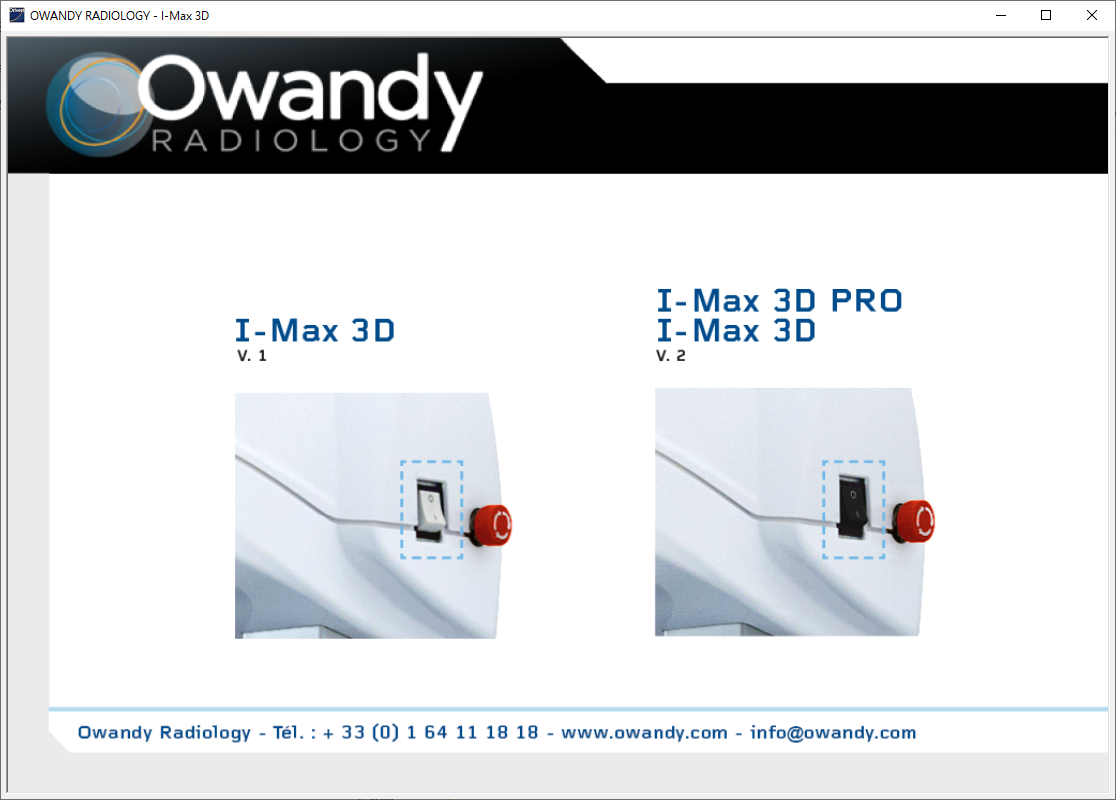
Select your device.
-
Follow the Installer's instructions to install the drivers.
Testing
The Owandy 3D device is now functional in Dentrix Ascend Imaging. To acquire a test image, do the following:
-
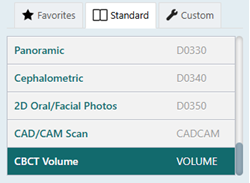
Select the CBCT Volume imaging procedure.
-
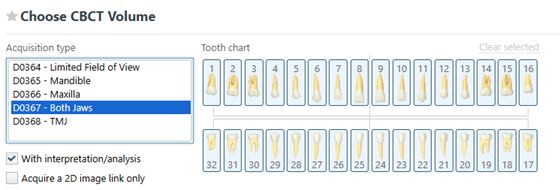
Select an Acquisition type. Depending on the selected acquisition type, you may also need to select teeth for the test.
-
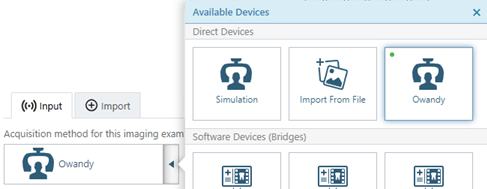
On the Available Devices menu, select Owandy.
-
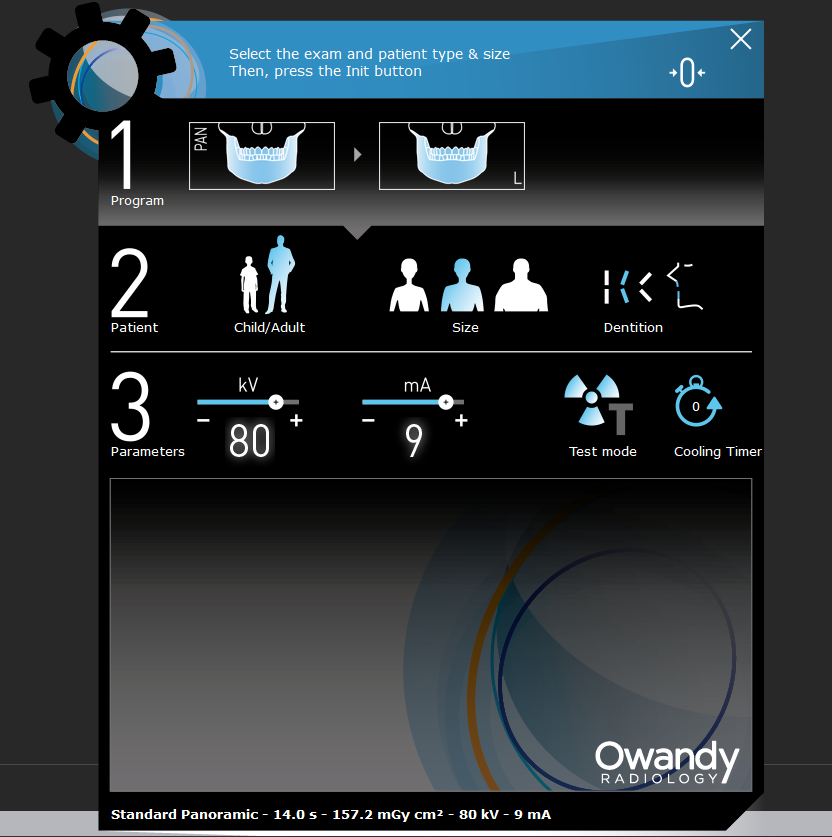
Click Start.

-
Acquire a 3D volume. The captured 3D volume appears in Dentrix Ascend Imaging automatically.
Troubleshooting
If you are having trouble connecting to or setting up the 3D device, contact Owandy Support for assistance at https://www.owandy.com/technical-support-drivers-download-owandy/.