Managing a patient's preferred pharmacy
You can add a preferred pharmacy to a patient's record. The specified pharmacy is for reference only and is not used for entering electronic prescriptions. You can also change or remove the patient's preferred pharmacy as needed.
To add a preferred pharmacy
-
Do one of the following:
-
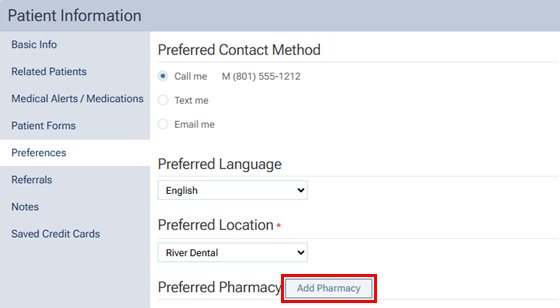
In the Preferences section of a patient's Patient Information page, click (or tap) Add Pharmacy.
-
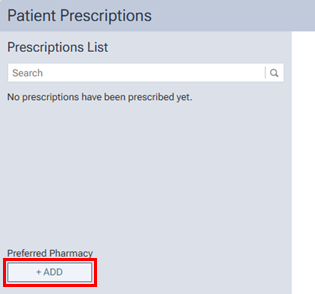
On a patient's Patient Prescriptions page, click (or tap) +ADD.
Do the following:
-
If the correct patient is not already selected, use the Patient Search box to access the patient's record.

-
On the Patient menu, under General, select Prescriptions.
The patient's Patient Prescriptions page opens.
-
Under Preferred Pharmacy, click (or tap) +ADD.
-
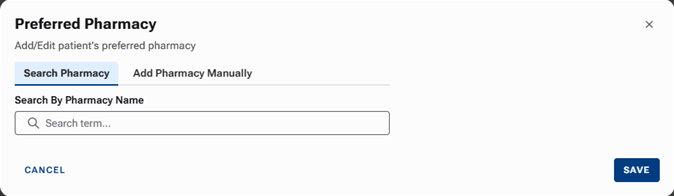
The Preferred Pharmacy dialog box appears. The Search Pharmacy tab is selected by default.
-
-
In the Search By Pharmacy Name box, begin typing the name of the pharmacy (according to the NPPES registry), continue typing as needed to narrow down the search results list, and then select the correct pharmacy.
If you are unable to find the correct pharmacy using the search, proceed to the next step; otherwise, ignore the next step.
-
Select the Add Pharmacy Manually tab, and then enter the pharmacy details: name, address, phone number, and fax (optional).
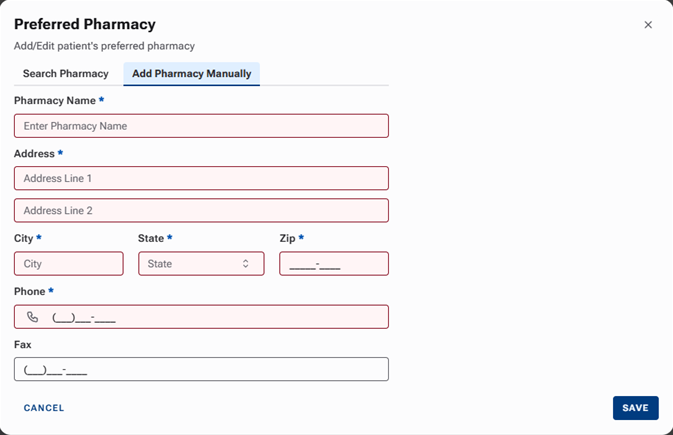
Note: A pharmacy that has been added manually will appear in the search results the next someone searches for it.
-
Click (or tap) Save.
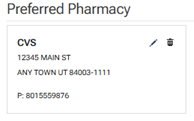
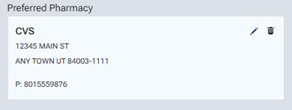
The pharmacy is saved in the patient's preferences.
-
On the Preferences tab:
-
On the Patient Prescriptions page:
-
To specify a different preferred pharmacy for a patient
On the Preferences tab of a patient's Patient Information page, or on a patient's Patient Prescriptions page, under Preferred Pharmacy, click (or tap) the Edit button ![]() next to the name of the pharmacy, select (or manually enter) a pharmacy, and then click (or tap) Save.
next to the name of the pharmacy, select (or manually enter) a pharmacy, and then click (or tap) Save.
To remove a patient's preferred pharmacy
On the Preferences tab of a patient's Patient Information page, or on a patient's Patient Prescriptions page, under Preferred Pharmacy, click (or tap) the Delete button ![]() next to the name of the pharmacy, and then click (or tap) Delete on the confirmation message that appears.
next to the name of the pharmacy, and then click (or tap) Delete on the confirmation message that appears.