KaVo IXS Sensor Setup Guide (Mac OS)
This guide describes the installation and setup of the KaVo IXS intraoral sensor for use with Dentrix Ascend Imaging via the DTX Studio Bridge.
Last updated: 10/31/2025
Overview
Dentrix Ascend Imaging supports the acquisition of intraoral images from the KaVo IXS intraoral X-ray sensor on a computer running the Mac operating system.
Note: Prior to the installation of the sensor, the acquisition agent application must be installed on each computer that will acquire images. Refer to Setting up the acquisition agent for instructions on downloading and installing the acquisition agent.
Minimum Versions
-
Acquisition agent v1.2.7354.26702
-
DTX Studio Bridge v1.2.2.2
Installation
To install DTX Studio Bridge, do the following:
-
Download the DTX Studio Bridge installer (the installer and authorization code are available from KaVo).
-
Start the installer.
The Install DTX Studio Bridge window opens.
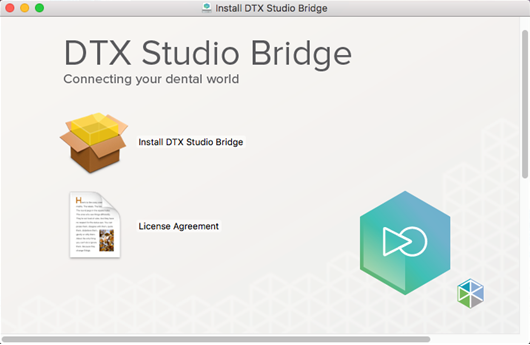
-
Click Install DTX Studio Bridge.
The Introduction page is selected.
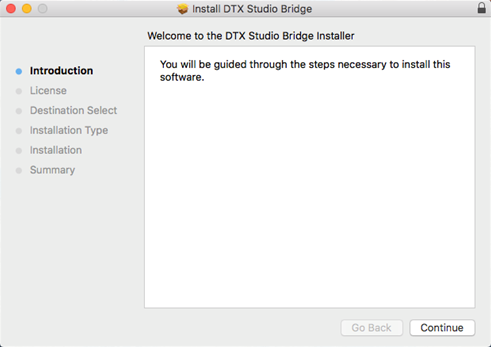
-
Click Continue.
The License page is selected.
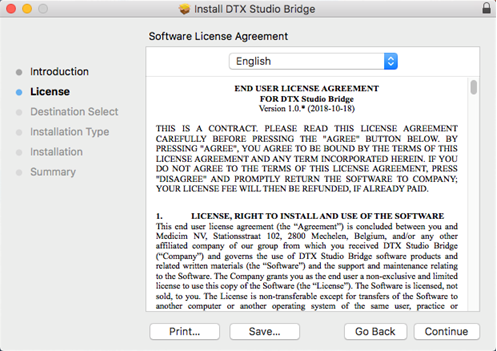
-
Click Continue.
-
On the message that appears, click Agree.
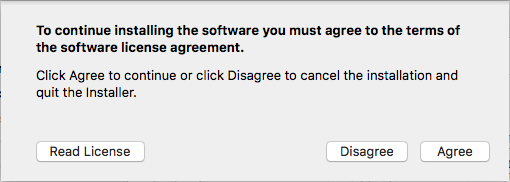
The Installation Type page is selected.
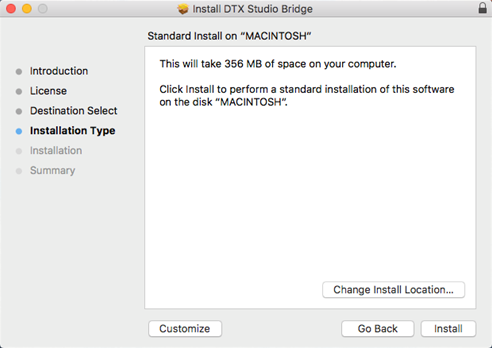
-
Click Install.
-
If the computer prompts you to enter your user name and password, do so, and then click Install Software.
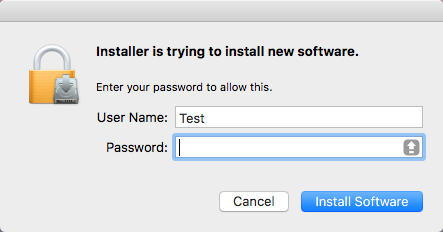
The Summary page is selected.
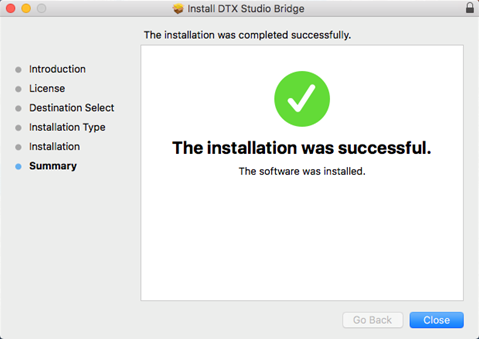
-
Click Close.
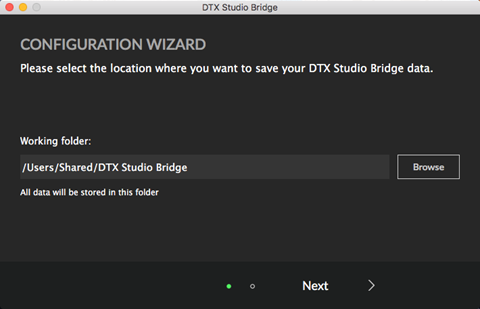
The Configuration Wizard screen appears.
-
Verify that the location of the Working folder is correct. All data will be stored in the specified folder. To select a different folder, click Browse.
-
Click Next.
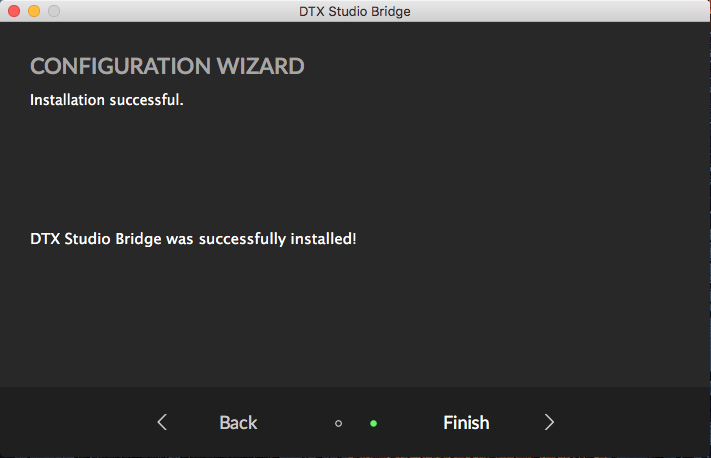
When the installation is complete, the Installation successful screen appears.
-
Click Finish.
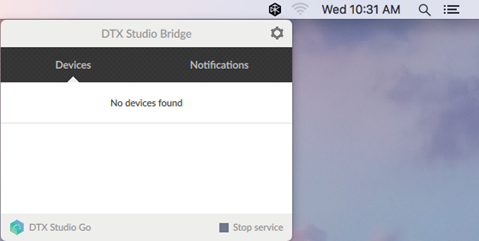
The DTX Studio Bridge icon is now be visible on the toolbar.
-
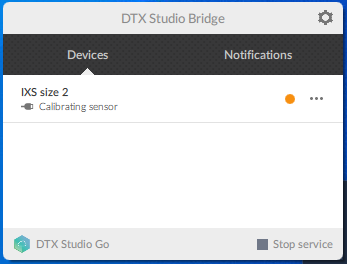
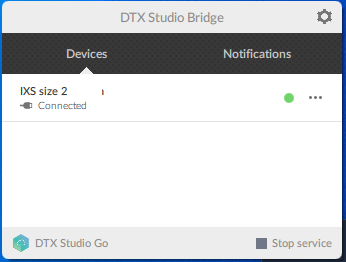
Connect the KaVo IXS sensor, and the calibration files will download automatically. Click the DTX Studio Bridge icon on the toolbar. When the KaVo IXS sensor is ready to use, a green dot appears, and the sensor's status is "Connected."
Binning Modes
You can enable or disable binning with the KaVo IXS sensor. Do the following:
-
Click the DTX Studio Bridge icon on the toolbar, click the 3 dots next to the device, and then select Device settings.
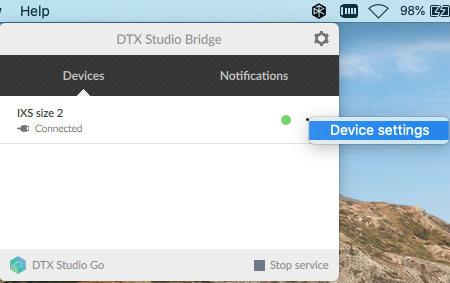
The Device Settings dialog box appears.
-
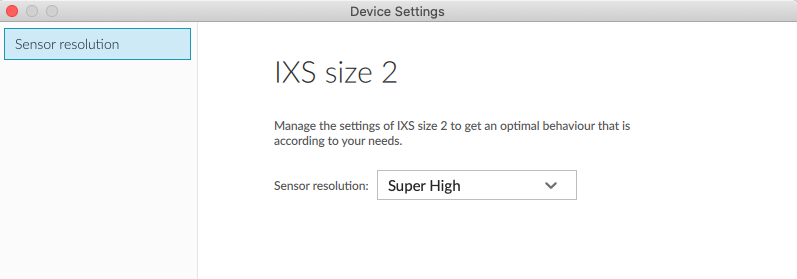
To change the binning mode, select one of the following options from the Sensor resolution list: High (binned) or Super High (unbinned).
-
Click OK.
-
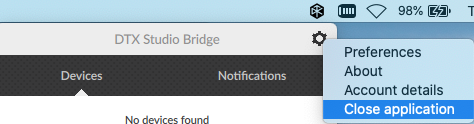
Close DTX Studio Bridge by selecting Close application on the settings menu (gear icon), and then restart it for the change to take effect.
Testing
The KaVo IXS sensor is now functional in Dentrix Ascend Imaging. To acquire a test image, do the following:
-
In the Imaging Procedures list, select Bitewing Single Image.

-
Select any teeth for the test.

-
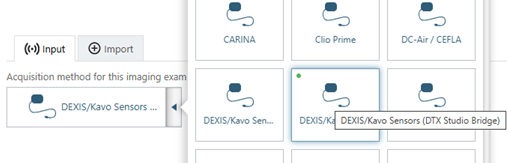
On the Acquisition Method for this imaging exam menu, select DEXIS Platinum/Titanium/KaVo IXS.
-
Click Proceed with Acquisition.

-
Acquire an image using the KaVo IXS sensor.
Note: If an error appears, try restarting the computer to correct the issue.
Troubleshooting
To confirm that the device is connected and being recognized by the Mac OS, open System Information, select Hardware > USB, and then make sure that the camera is listed.
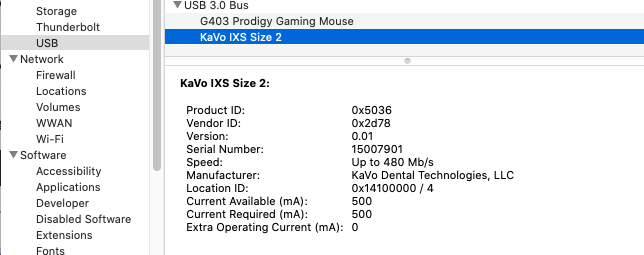
Note: The list might need to be refreshed. To do this, on the toolbar with System Information in focus, go to File > Refresh Information.
Close the acquisition agent app, and then verify that the DexisForcePlatinumFallback parameter is set to False in the Acquisition Agent.ini file (located in ~/Library/AcquisitionAgent).
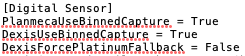
Note: Any changes you make to the Acquisition Agent.ini file must be made while the acquisition agent app is not running; otherwise, the changes will not be saved.
Then, restart the computer to see if the issue has been resolved.