KaVo Device Setup Guide
This guide describes the installation and setup of KaVo devices for use with Dentrix Ascend Imaging.
Last updated: 10/31/2025
Overview
Dentrix Ascend Imaging supports the acquisition of 3D volumes and 2D extraoral images from various KaVo 3D CBCT devices and 2D panoramic devices on a computer running the Windows operating system.
Notes:
-
Prior to the installation of the KaVo device, the acquisition agent application must be installed on each computer that will acquire images. Refer to Setting up the acquisition agent for instructions on downloading and installing the acquisition agent.
-
Before you can use a KaVo device in Dentrix Ascend Imaging, it must be set up properly. For setup instructions, refer to other setup guides or device manuals, or contact the manufacturer.
Installation
Notes:
-
If your KaVo device has already been set up with the DTX Studio Driver dashboard, you can skip to the "Testing" section of this guide.
-
The following setup instructions are for a DIGORA Optime. If you need help adding you particular device to the DTX Studio Driver dashboard, contact the manufacturer.
To install a DIGORA Optime, do the following:
-
Download the most recent drivers (at the time of writing this guide, they are located at https://kavokerr.widen.net/content/ag3ensjfz0/original/DTX_Studio_Driver_24.2.zip?u=6r91uc&download=true).
Note: The drivers can also be found at https://dexis.com/en-eu/download-center.
-
In the system tray, right-click the DTX Studio Driver dashboard icon, and select Settings.
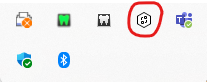
The Settings dialog box appears.
-
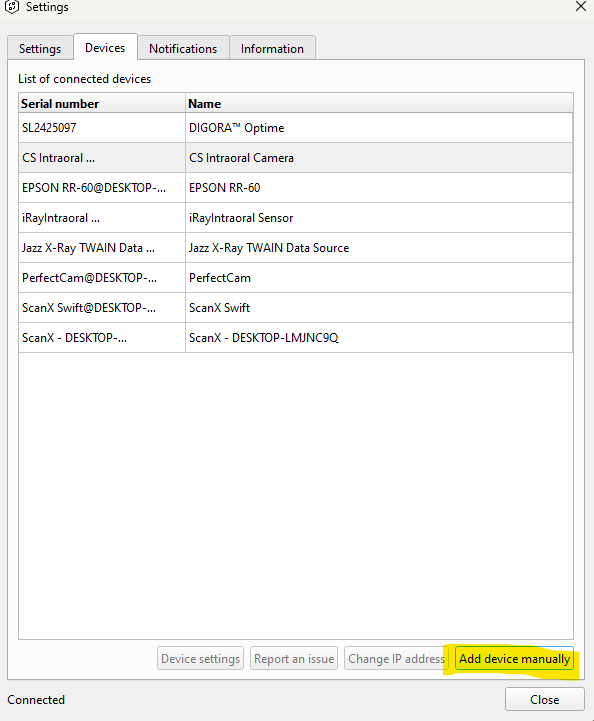
Select the Devices tab.
-
If the device does not appear in the list of connected devices, click Add device manually.
The Add a device dialog box appears.
-
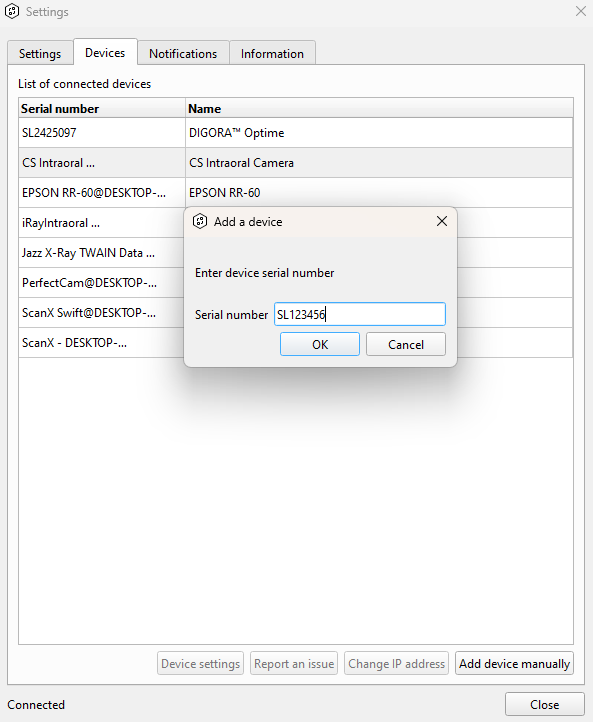
Enter the serial number of the device, and then click OK.
-
Start the acquisition of an image in Dentrix Ascend Imaging. Select the Panoramic, Cephalometric, or CBCT Volume imaging procedure; select Kavo Devices as the acquisition device; and then click Start.
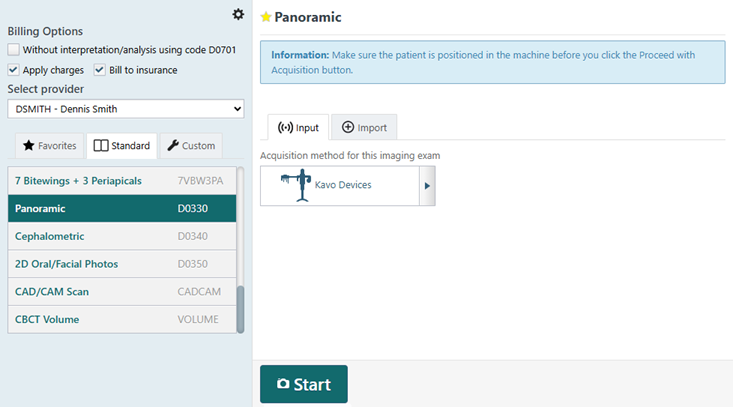
The DTX Studio Driver dashboard opens.

-
If no device is available, click Settings.
The Settings dialog box appears.
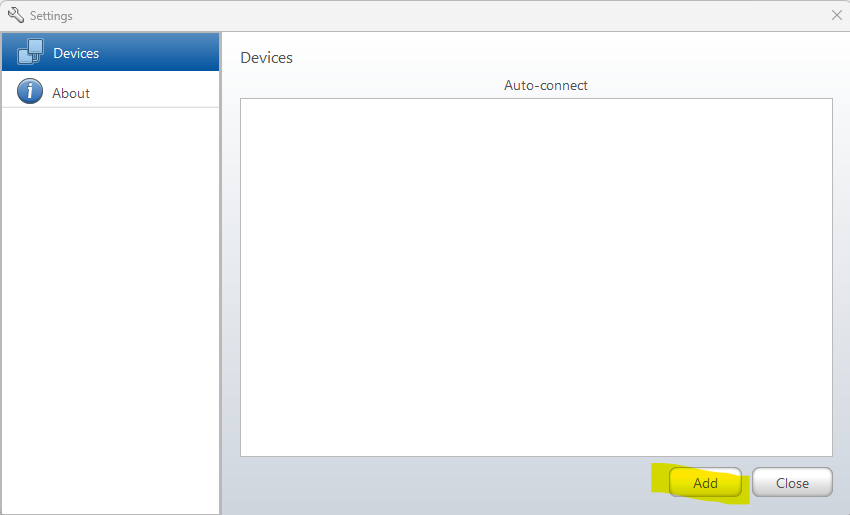
-
Click Add.
The Add Device Wizard opens.
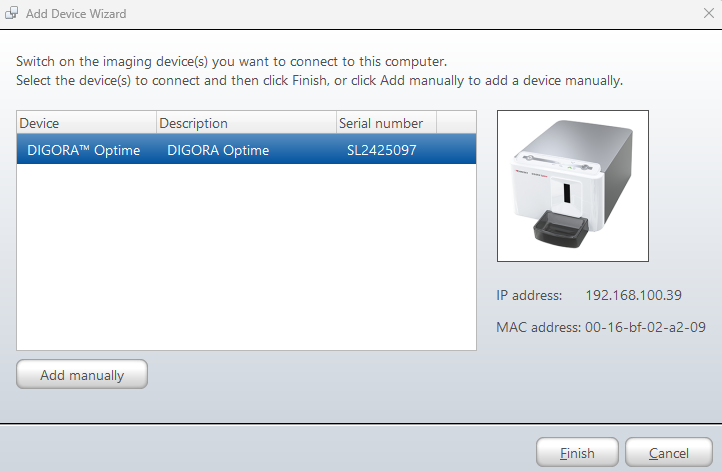
-
Select the device that you want to add, and then click Finish.
Testing
The KaVo device is now functional in Dentrix Ascend Imaging. To acquire a test image, do the following:
-
Select the Panoramic, Cephalometric, or CBCT Volume imaging procedure; select Kavo Devices as the acquisition device; and then click Start.
Note: Make sure you select the correct image modality when you are acquiring; otherwise, issues may occur.
-
The DTX Studio Driver dashboard opens. For some devices, a separate window for acquisition may open as well.
-
When the acquisition is complete, click Return all to transfer the image into Dentrix Ascend Imaging.

Troubleshooting
Make sure the device has been set up correctly (the drivers are installed, it is connected to the network if applicable, and so forth). If the device is not working or does not appear in the DTX Studio Driver dashboard, contact the manufacturer for help with getting the device added to the DTX Studio Driver dashboard.
Some image acquisitions will acquire more than one image. In those cases, select only the image that you want to keep, and then click Return all.
