Handy Sensor Setup Guide
This guide describes the installation and setup of the Handy intraoral sensor for use with Dentrix Ascend Imaging.
Last updated: 10/31/2025
Overview
Dentrix Ascend Imaging supports the acquisition of intraoral images from the Handy intraoral X-ray sensor on a computer running the Windows operating system. Drivers for the Handy sensor must be installed on each computer that the Handy sensor will be connected to. Correction files (for improved image quality) must be installed on each computer that the Handy sensor will be connected to (see "Correction Files" in the "Troubleshooting" section.
Note: Prior to the installation of the Handy sensor, the acquisition agent application must be installed on each computer that will acquire images. Refer to Setting up the acquisition agent for instructions on downloading and installing the acquisition agent.
Minimum Version
-
Acquisition agent v1.2.8903.x
Installation
Drivers for the Handy sensor are provided by the manufacturer. To install the drivers, do the following:
-
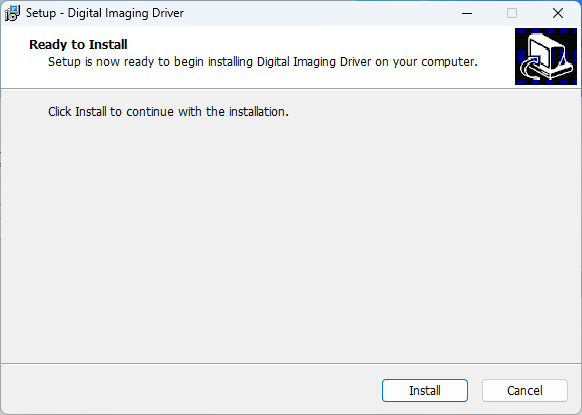
As an Administrator, run the Digital Imaging Driver installer for the Handy sensor drivers.

-
Follow the Setup's instructions to install the drivers.
Testing
The Handy sensor is now functional in Dentrix Ascend Imaging. To acquire a test image, do the following:
-
Select the 1 Bitewing imaging procedure.

-
Select any teeth for the test.

-
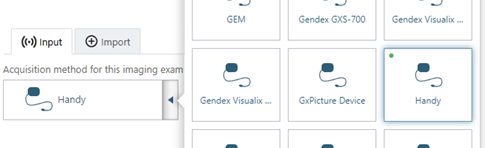
On the Available Devices menu, select Handy.
-
Click Start.

-
Acquire an image using the Handy sensor.
Troubleshooting
Device Driver
To confirm that the Handy device driver is loaded and recognized by Windows, do the following:
-
Plug in a Handy sensor.
-
Open Device Manager.
-
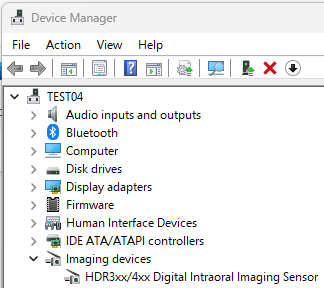
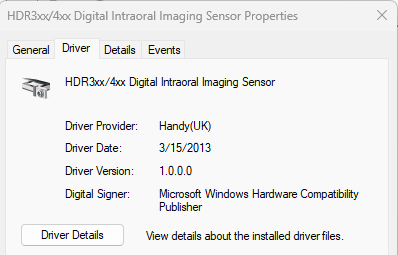
Expand the Imaging Devices category, and make sure that the HDR3xx/4xx Digital Intraoral Imaging Sensor device appears.
-
Right-click HDR3xx/4xx Digital Intraoral Imaging Sensor, and then select Properties.
-
Make sure "This device is working properly" appears.
HDR Setting
If you do not like the image quality produced by your Handy HDR sensor, you can enable the HDR setting for the sensor in the Acquisition Agent.ini file. This setting affect the high dynamic range for the sensor; with high dynamic range enabled, the image quality may improve.
To modify the .ini file, do the following:
-
Right-click the Acquisition Agent icon in the system tray, and then select Exit.
-
In File Explorer, browse to the location where the acquisition agent program files are installed (the default location is C:\Program Files (x86)\Acquisition Agent).
-
Open the Acquisition Agent.ini file in a text editor, such as Notepad.
-
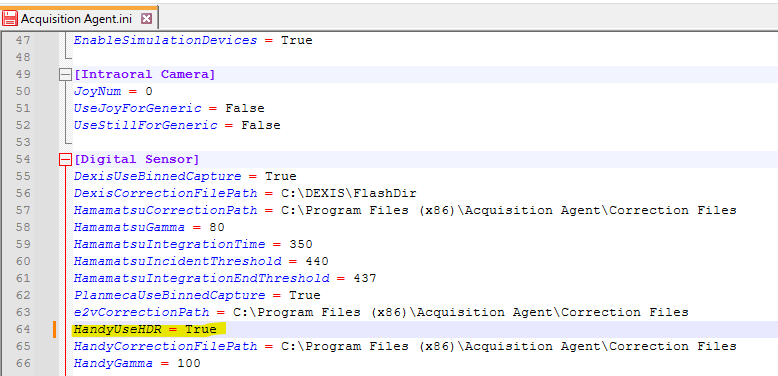
Under [Digital Sensor], enable the HandyUseHDR parameter: HandyUseHDR = True.
-
Save the change to the .ini file, and then double-click Acquisition Agent.exe (in the same folder as the .ini file).
-
Acquire a test image again to see if the image quality has improved.
Correction Files
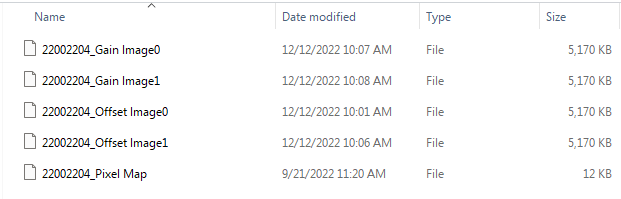
Correction files are used to correct visual defects for images from a specific sensor. Correction files are unique to each sensor and can be used to improve image quality.
The default correction file path for the Handy sensor is C:\Program Files (x86)\Acquisition Agent\Correction Files. Put any correction files for the sensor in this folder.
The following image shows what the correction files for a sensor with serial number "22002204" look like.