GxPicture with DEXIS Titanium Sensor Setup Guide
This guide describes the installation and setup of the DEXIS Titanium intraoral sensor for use with Dentrix Ascend Imaging via the GxPicture universal driver suite.
Last updated: 1/19/2026
Overview
Dentrix Ascend Imaging supports the acquisition of intraoral images from the DEXIS Titanium intraoral X-ray sensor on a computer running the Windows operating system.
Notes:
-
Prior to the installation of GxPicture, the drivers for the DEXIS Titanium sensor must be installed; otherwise, the device will not be listed as an option in the GxPicture installer.
-
Prior to the installation of GxPicture, the acquisition agent application must be installed on each computer that will acquire images. Refer to Setting up the acquisition agent for instructions on downloading and installing the acquisition agent.
Minimum Versions
-
Minimum Acquisition Agent required: v1.2.7510.29950
-
Minimum GxPicture required: v4.0.2
Installation
To install GxPicture, do the following:
-
Download GxPicture (https://dexis.com/en-us/download-center).
Note: This guide uses the GxPicture 4.2.0 (Web Installer).
-
Right-click the downloaded .zip file, and then select Properties. On the General tab of the Properties sheet, clear the Unblock checkbox, and then click Apply and OK.

-
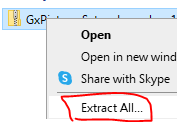
Right-click the zip file, and then select Extract All. Follow the instructions to extract the contents.
-
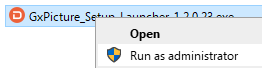
Right-click GxPicture_Setup_Launcher_[xxxx].exe, and then select Run as administrator.
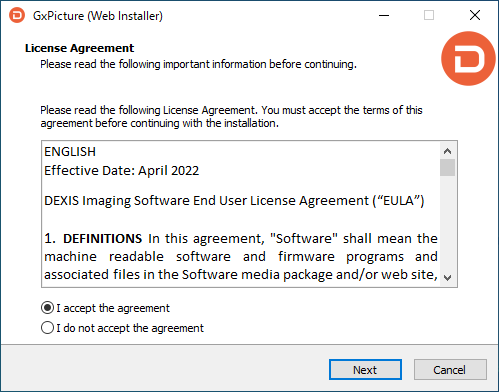
The GxPicture (Web Installer) starts and displays the License Agreement screen.
-
Select the I accept the agreement checkbox, and then click Next.
The Ready to Install screen appears.

-
Click Install.
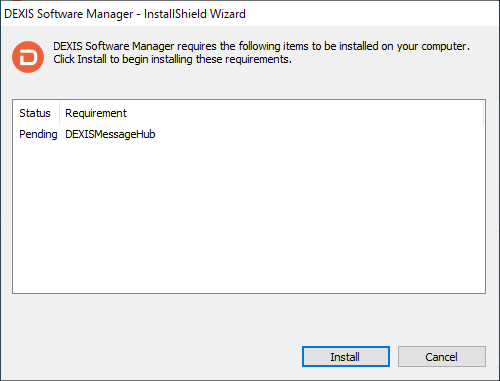
The Status screen appears.
-
Click Install.
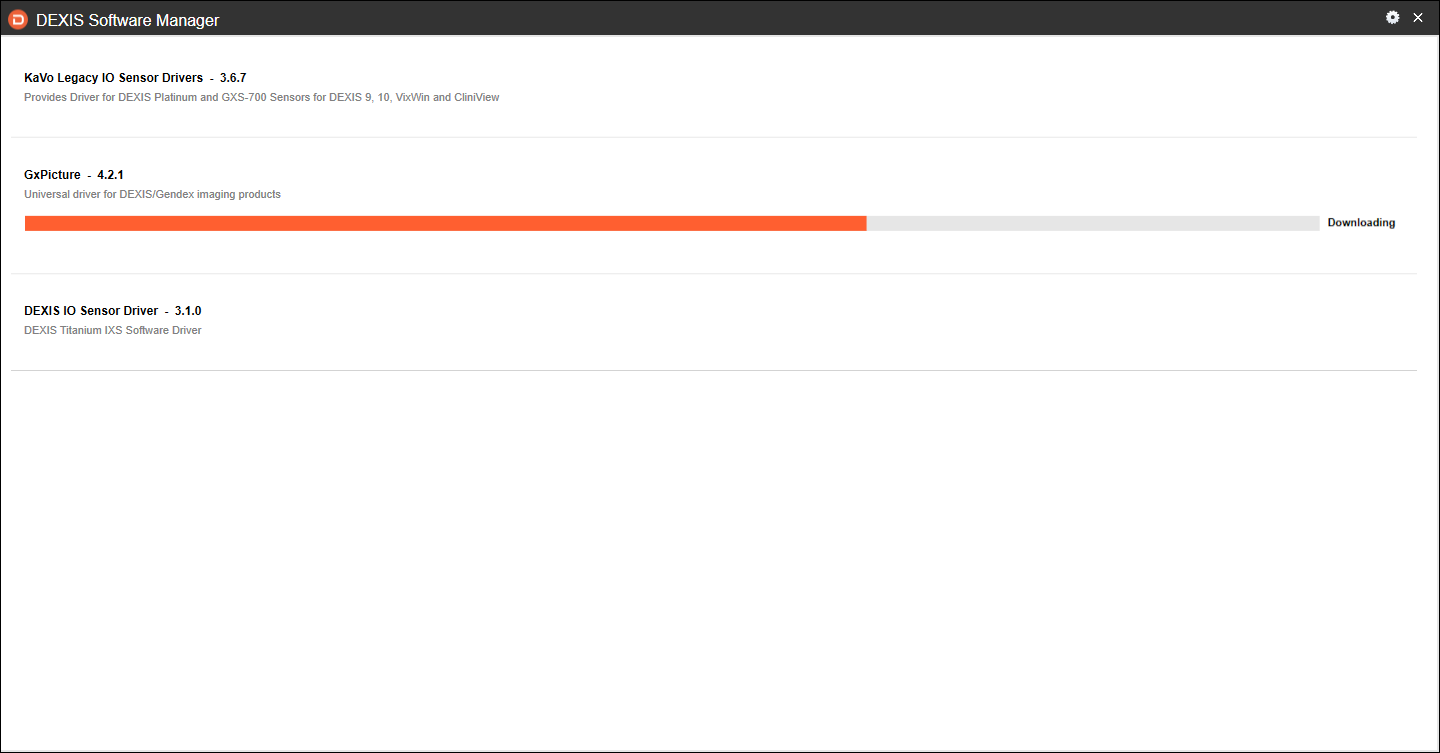
After DEXIS Software Manager is installed, drivers are downloaded automatically.
The KaVo Legacy IO Sensor Drivers - InstallShield Wizard starts.
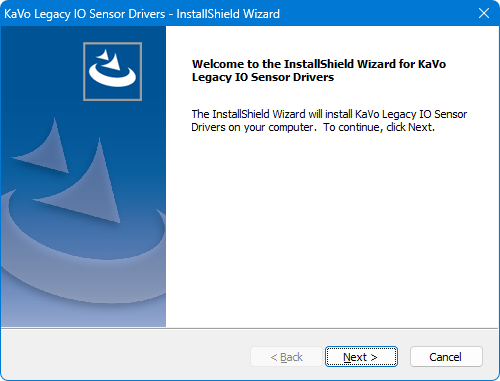
-
Click Next.
The Ready to Install the Program screen appears.
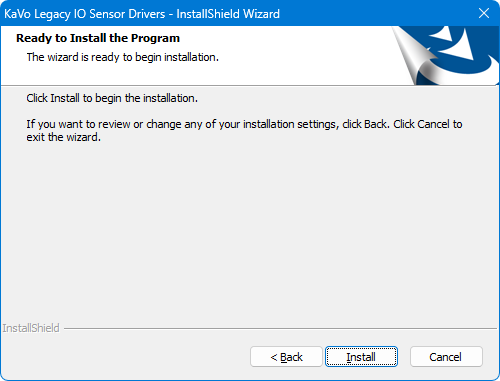
-
Click Install.
When the installation is complete, the Complete screen appears.
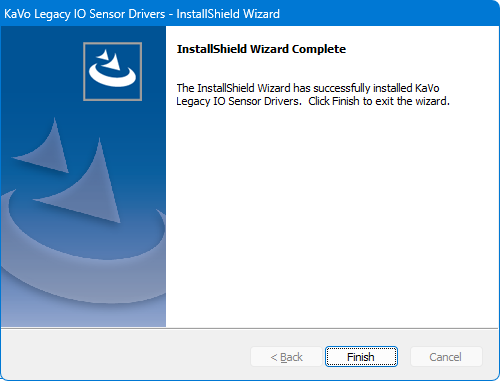
-
Click Finish.
The DEXIS IO Sensor Drivers - InstallShield Wizard starts.
-
Click Next.
The License Agreement screen appears.
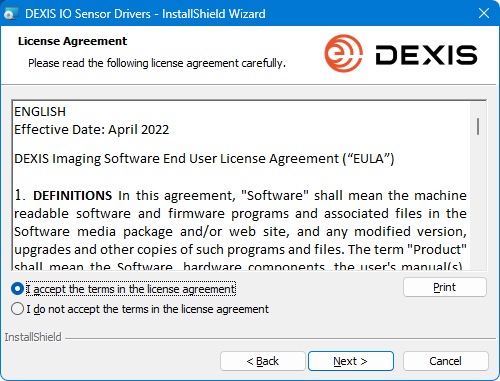
-
Select the I accept the terms in the license agreement option, and then click Next.
The Setup Type screen appears.

-
Leave the Typical option selected (or select Custom), and then click Next.
The Ready to Install the Program screen appears.
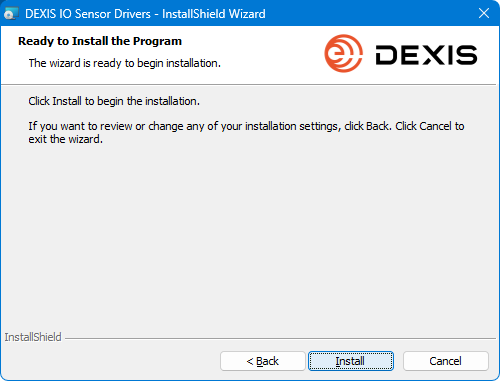
-
Click Install.
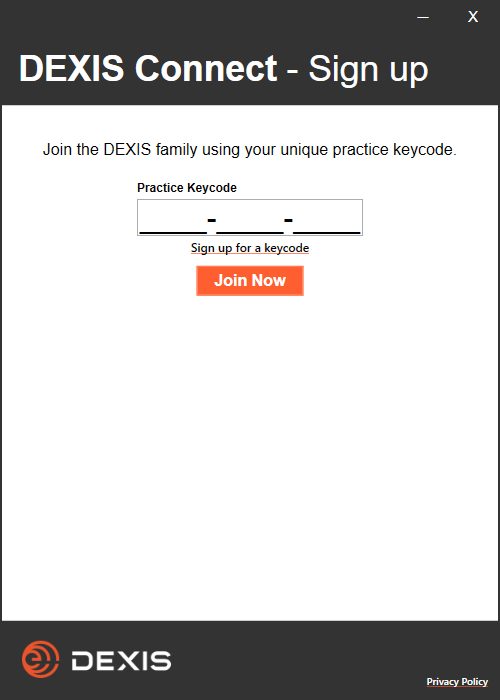
-
If a DEXIS Connect - Sign up dialog box appears, you can join DEXIS with a keycode; otherwise, close the dialog box.
When the installation is complete, the Completed screen appears.
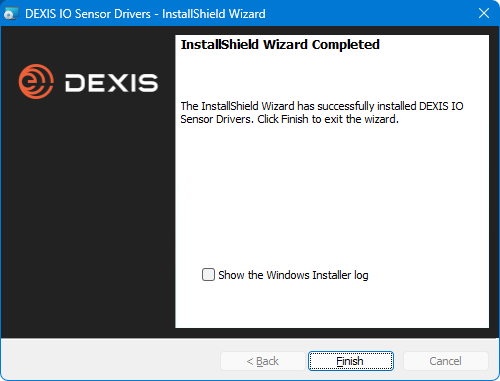
-
Click Finish.
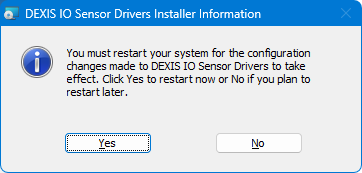
-
If a message appears and asks if you want to reboot, click No.
The GxPicture Driver Suite - InstallShield Wizard starts.
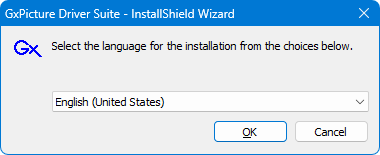
-
Click OK.
The Welcome screen appears.

-
Click Next.
The License Agreement screen appears.
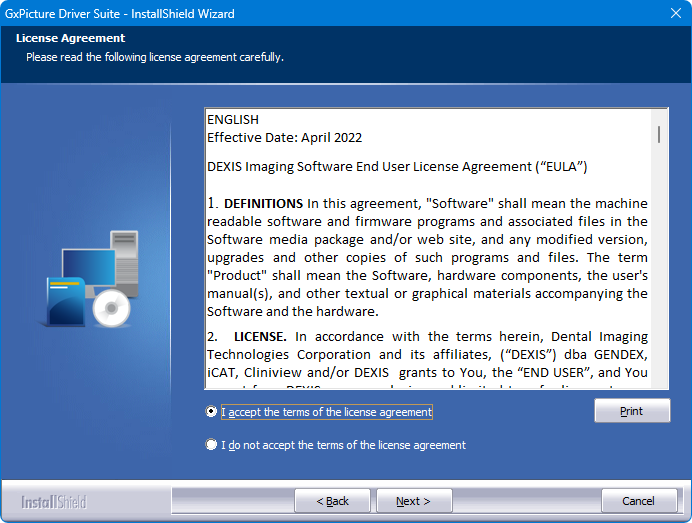
-
Select the I accept the terms of the license agreement option, and then click Next.
The Select your Dental Imaging Software screen appears.
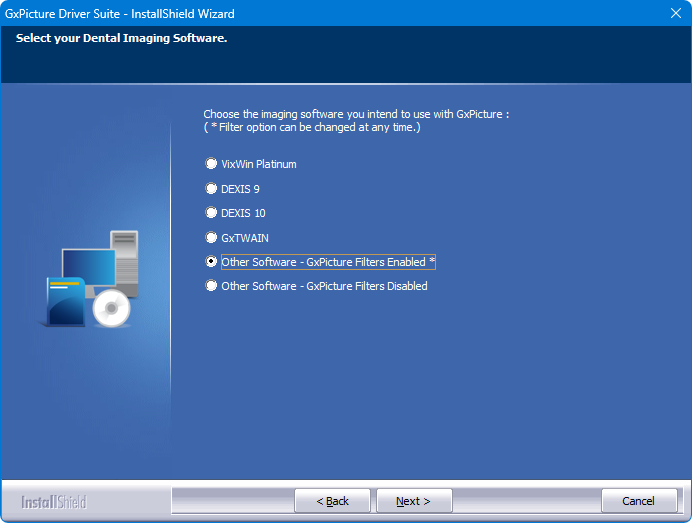
-
Select the Other Software - GxPicture Filters Enabled* option.
The Select Products screen appears.
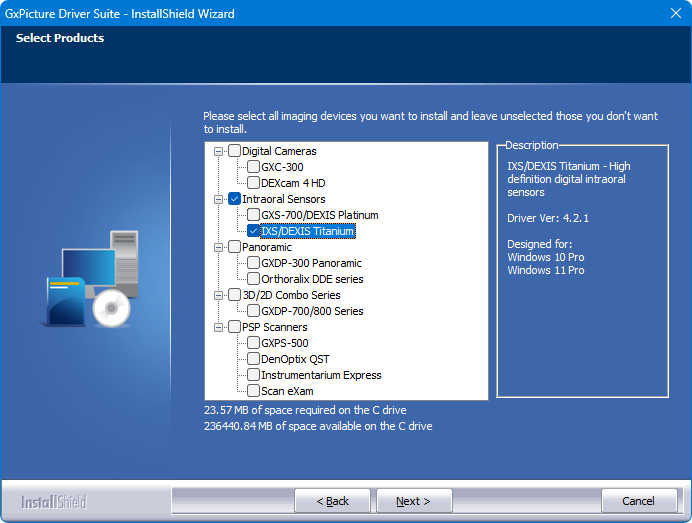
-
Select the IXS/DEXIS Titanium checkbox to install the corresponding drivers, and then click Next.
The Ready to Install the Program screen appears.
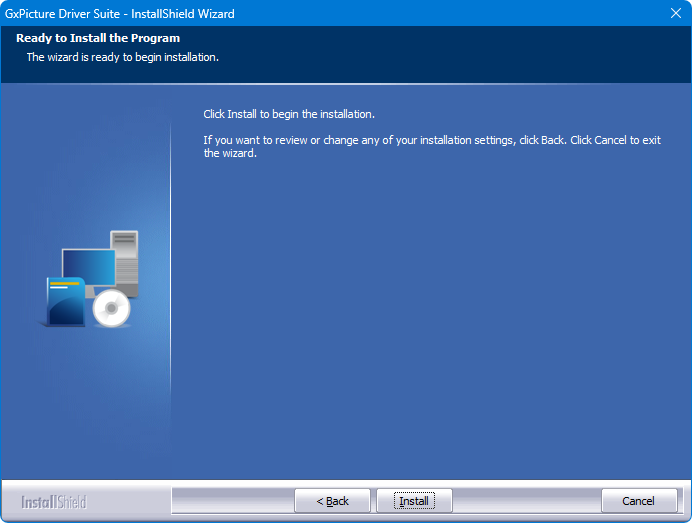
-
Click Install.
The GxFilter Setup dialog box appears.
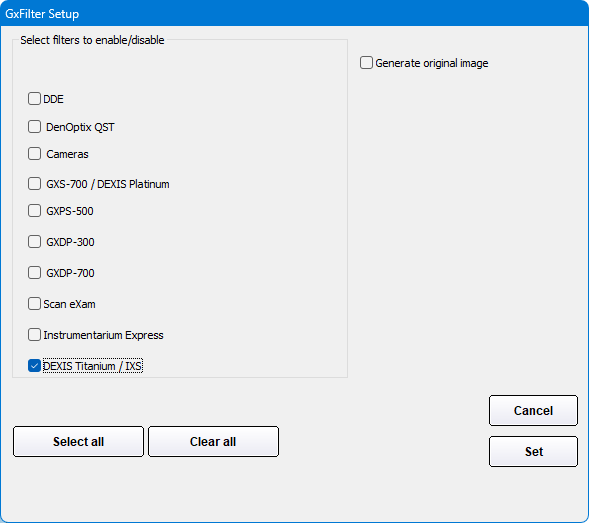
-
Select the DEXIS Titanium / IXS checkbox to enable GxFilters for that device, and then click Set.
The Internet access is required screen appears.
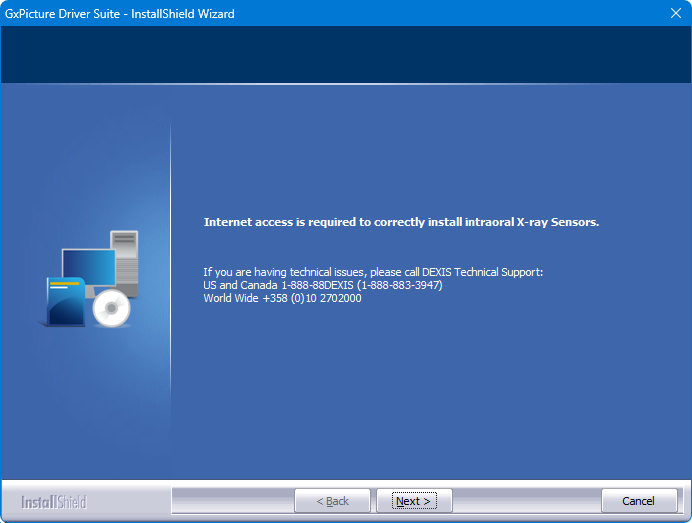
-
Click Next.
The first Reminder screen, regarding the installation of correction files, appears.
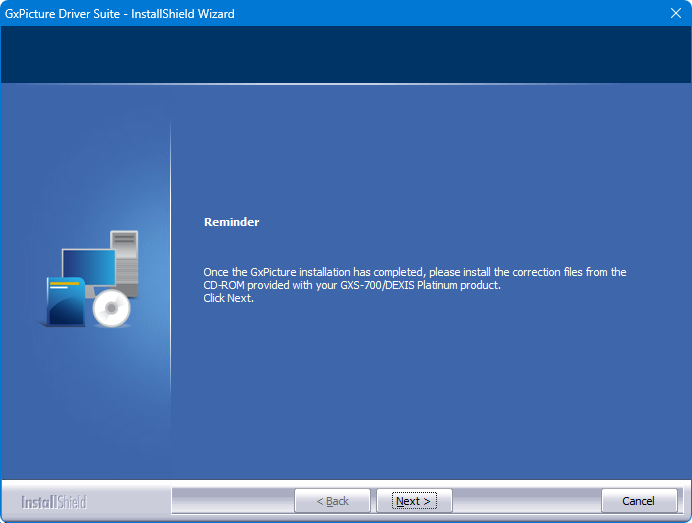
-
Click Next.
The second Reminder screen, regarding the installation of correction files, appears.
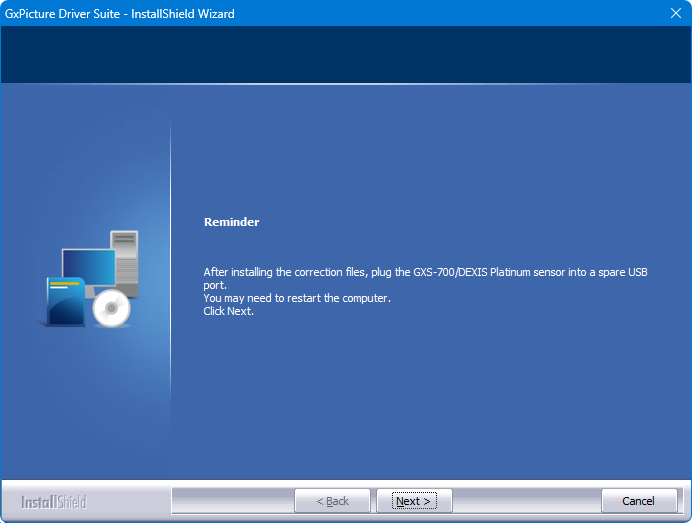
-
Click Next.
The Complete screen appears.
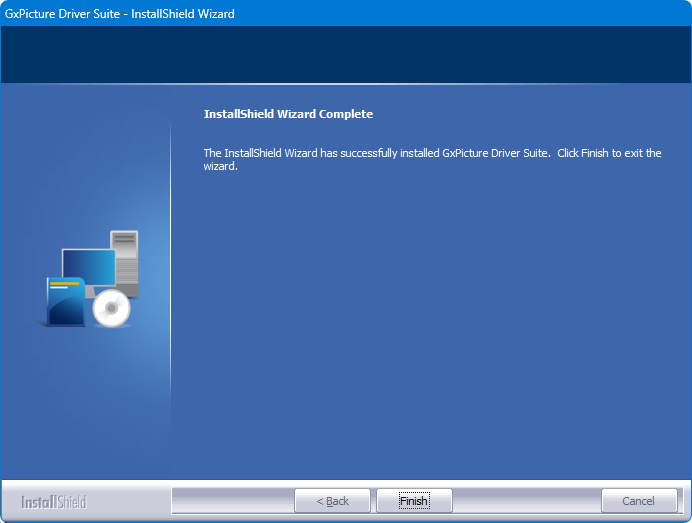
-
Click Finish.
-
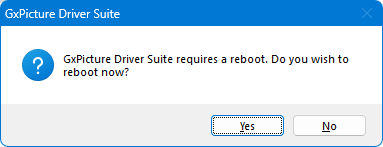
If a message appears and asks if you want to reboot, click Yes.
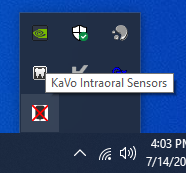
There should now be a KaVo Intraoral Sensors icon in the system tray.
-
Connect the KaVo IXS sensor to the computer
The calibration files will start downloading automatically. Do not disconnect the sensor from the computer until the download is complete.
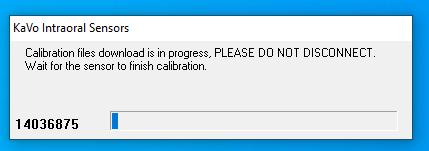
Note: It typically takes a couple of minutes for the calibration file to download before the sensor can be used.
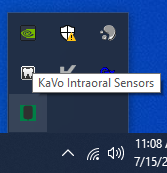
If the KaVo Intraoral Sensors icon is green, the sensor is ready to use.
Testing
The DEXIS Titanium sensor is now functional in Dentrix Ascend Imaging. To acquire a test image, do the following:
-
Select the 1 Bitewing imaging procedure.

-
Select any teeth for the test.

-
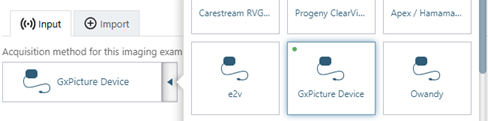
On the Available Devices menu, select GxPicture Device.
-
Click Start.

-
Acquire an image using the KaVo IXS sensor.
Note: If an error appears, try restarting the computer to correct the issue.
Troubleshooting
App
Verify that the device app is running by looking in the system tray. Make sure the app's icon is green.
![]()
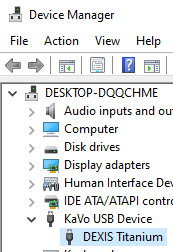
Device Manager
Make sure that the DEXIS Titanium sensor is detected by the computer. Open Device Manager, and then verify that the device appears.
Sensor Hardware Errors
The hardware error codes shown below can be found in C:\ProgramData\DEXIS Imaging\Polaris\Log.
|
Error Code |
What to Do |
|
7 - DETECTOR_CURRENT_TOO_HIGH |
Bypass any extension cables, plug sensor into multiple ports on front and back of PC if possible. If you still receive this error, refer to Dexis for a hardware issue. |
|
9 - DARK_IMAGE_MEAN_TOO_HIGH |
This indicates an issue with the sensor, refer to Dexis for a hardware issue. |
|
10 - DARK_IMAGE_MEAN_TOO_LOW |
This indicates an issue with the sensor, refer to Dexis for a hardware issue. |
|
70 - NO_SENSOR_ATTACHED |
Bypass any extension cables, plug sensor into multiple ports on front and back of PC if possible. If you still receive this error, refer to Dexis for a hardware issue. |