Granting access to multiple locations
For a given user account, you can grant access to one or more locations in your organization as needed.
To grant access to locations
-
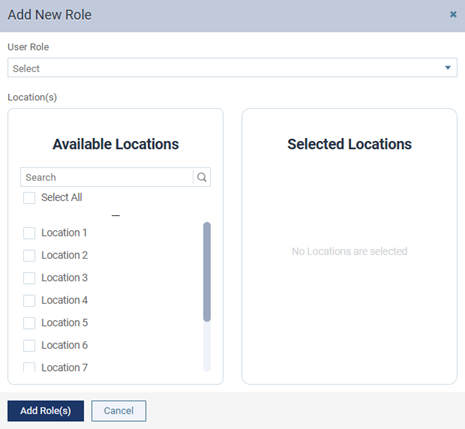
While you are adding or editing a user account, on the User Roles & Locations tab, click (or tap) Add Role.

The Add Role dialog box appears.
-
From the User Role list, select the user role that you want to assign to the user. The role will be associated with all selected locations, but you can change the role for a given location later.
-
In the Available Locations list, select the locations that you want to assign to the user. You can begin typing a location name in the Search box to filter the list. To quickly select all locations, select the Select All check box.
Note: To unassign a location, clear its checkbox in either the Available Locations or Selected Locations list.
-
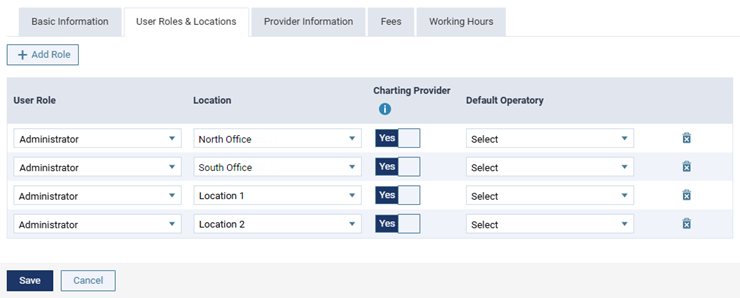
Click Add Role(s).
The role-location combinations appear.
-
For any of the user's role-location combinations, you can do any of the following:
-
Change the User Role.
-
Change the Location (only unassigned locations are available for selection). A user can have only one role assigned for each location. The next time the user logs in to Dentrix Ascend, he or she will be able to access the selected location, according to the specified rights of the selected user role.
-
Indicate whether the user is a Charting Provider or not (for a provider only).
-
Select the Default Operatory.
-
Delete it by clicking (or tapping) its Delete button
 .
.
-
-
Set up or change other user account information as needed, and then click (or tap) Save.