Gendex GXS-700 Sensor Setup Guide
This guide describes the installation and setup of the Gendex GXS-700 intraoral sensor for use with Dentrix Ascend Imaging.
Last updated: 10/31/2025
Overview
Dentrix Ascend Imaging supports the acquisition of intraoral images from the Gendex GXS-700 intraoral X-ray sensor on a computer running the Windows operating system. Drivers for the Gendex GXS-700 sensor must be installed on each computer that the Gendex sensor will be connected to. Calibration (correction) files must be installed on each computer that the Gendex sensor will be connected to.
Note: Prior to the installation of the Gendex sensor, the acquisition agent application must be installed on each computer that will acquire images. Refer to Setting up the acquisition agent for instructions on downloading and installing the acquisition agent.
Installation
Notes:
-
Gendex GXS-700 and DEXIS Platinum sensors use the same installer (Fusion Driver and API Update.exe). Therefore, if the DEXIS Platinum sensor has already been installed and is working on this computer, the Gendex GXS-700 sensor does not require further configuration and is available for selection in Dentrix Ascend Imaging. However, you may need to either copy the Gendex GXS-700 sensor's calibration files to the folder specified in the acquisition agent preferences where the acquisition agent looks for the calibration files, or change the folder in the acquisition agent preferences where the acquisition agent looks for the Gendex GXS-700 sensor's calibration files to reference the correct folder that contains the calibration files.
-
Dentrix Ascend Imaging supports the Gendex GXS-700 sensor directly without the need for Gendex GxPicture to be installed. If GxPicture has been installed previously with the checkbox for GXS-700 sensor support selected, launch the GxPicture installer again, clearing the checkbox for GXS-700 sensor support.
To install the Gendex GXS-700 device drivers, do the following:
-
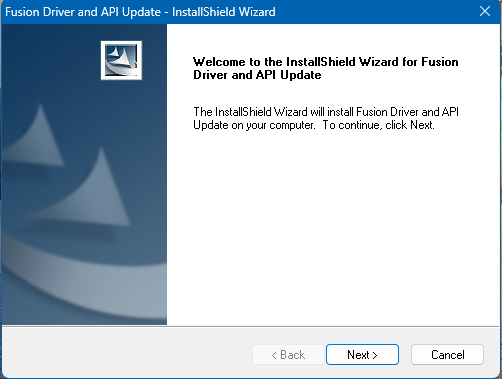
Right-click Fusion Driver and API Update.exe, and then select Run as administrator.
The Welcome screen appears.
-
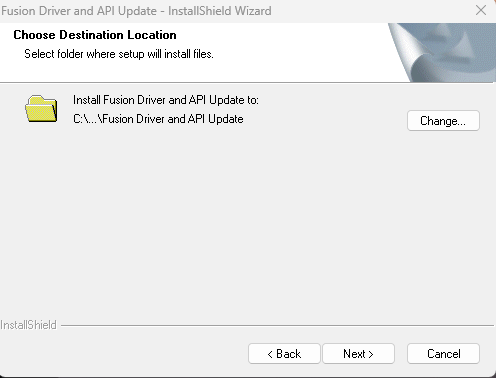
Click Next.
The Choose Destination Location screen appears.
-
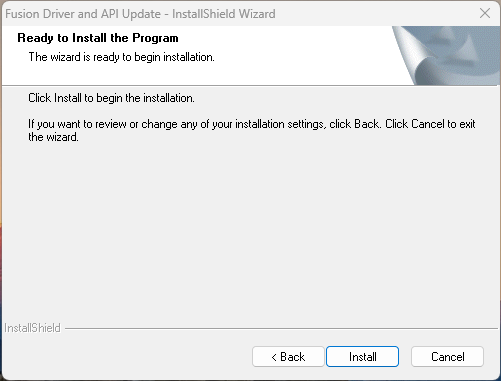
Click Next.
The Ready to Install the Program screen appears.
-
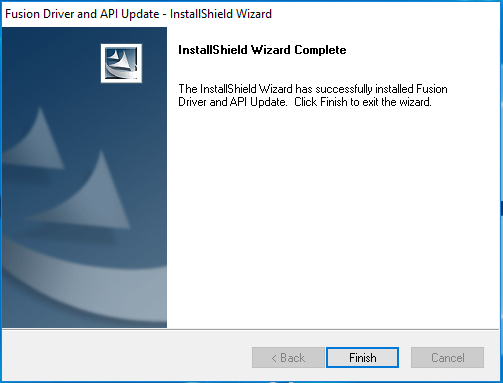
Click Install.
When the installation is complete, the InstallShield Wizard Complete screen appears.
-
Click Finish.
-
For each Gendex GXS-700 sensor that will be connected to this computer, install the correction file that matches the serial number of that Gendex GXS-700 sensor. Plug the sensor into every USB port on the computer, giving the operating system enough time to load the driver each time; in some cases, Windows may be set to always check Windows Update, so it may take a minute or two for Windows to search Windows Update before it attempts to install the driver that was copied to the computer by the Fusion Driver and API Update installer.
Note: The sensor will not operate without the correct (matching serial number) calibration files. The calibration/correction files are packaged with the sensor on a disc labeled "Gendex GXS-700 Sensor File." A sensor's serial number is located on its USB cable by the connector. In most cases, Gendex can supply the calibration/correction files for the specific serial number of the sensor if the disc cannot be located and the calibration files are not already copied onto the computer.
-
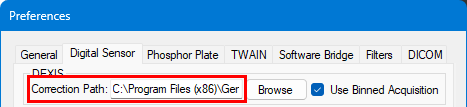
If a Gendex GXS-700 sensor was installed on this computer previously and was used with a different imaging software, and if you were not using a DEXIS Platinum sensor on this computer, you can change the folder in the acquisition agent preferences where the acquisition agent looks for the calibration files to reference where Gendex installs calibration files, which is C:\Program Files (x86)\Gendex\GXS700_CorrectionFiles.
If you also use a DEXIS Platinum sensor on this computer, the Gendex calibration file installer will detect this and copy the Gendex calibration files to the same folder where the DEXIS calibration files are installed. In this case, the folder in the acquisition agent preferences where the acquisition agent looks for the calibration files can remain set to the folder where DEXIS installs calibration files.
Testing
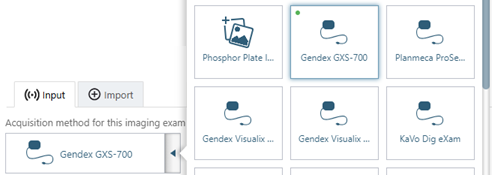
The Gendex GXS-700 sensor is now functional in Dentrix Ascend Imaging. To acquire a test image, do the following:
-
Select the 1 Bitewing imaging procedure.

-
Select any teeth for the test.

-
On the Available Devices menu, select Gendex GXS-700.
-
Click Start.

-
Acquire an image using the Gendex GXS-700 sensor.
Note: If an error appears, try restarting the computer to correct the issue.
Troubleshooting
To confirm that the Gendex GXS-700 device driver is loaded and recognized by Windows, do the following:
-
Plug in a Gendex GXS-700 sensor.
-
Open Device Manager.
-
Expand the Dental Intraoral X-ray Sensor category.

-
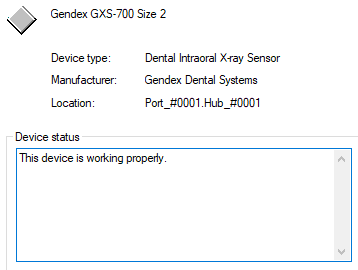
Right-click Gendex GXS-700 (Size 1) or Gendex GXS-700 (Size 2), and then select Properties.
-
Make sure "This device is working properly" appears.
If the device does not appear in Device Manager, or if Device Manager states that "This device is not working properly," one of the following issues might be the cause:
-
The drivers are not properly installed. Try removing and reinstalling them.
-
The sensor has a bad connection or is defective.