Dürr VistaScan Scanner (with VistaEasy) Setup Guide
This guide describes the installation and setup of the Dürr VistaScan phosphor plate scanner for use with Dentrix Ascend Imaging via via VistaEasy.
Note: This guide has been created with Dürr Dental North American distribution, an OEM partner of Air Techniques, which is the manufacturer of the ScanX Swift phosphor plate scanner. For this reason, screenshots in this guide reference the ScanX Swift scanner; however, the setup for the VistaScan scanner should be the same.
Last updated: 10/31/2025
Overview
Dentrix Ascend Imaging supports the acquisition of intraoral images from the VistaScan phosphor plate scanner on a computer running the Windows operating system. Drivers for the VistaScan scanner must be installed on each computer that the scanner will be connected to.
Note: Prior to the installation of the VistaScan scanner, the acquisition agent application must be installed on each computer that will acquire images. Refer to Setting up the acquisition agent for instructions on downloading and installing the acquisition agent.
Installation
To install the VistaScan drivers, do the following:
-
Insert the driver disk provided with your VistaScan device, and run the installer.
Note: The driver installer is also available for download from www.airtechniques.com/drivers/.
-
If a User Account Control window opens, click Yes.
A .zip file extractor will then run.
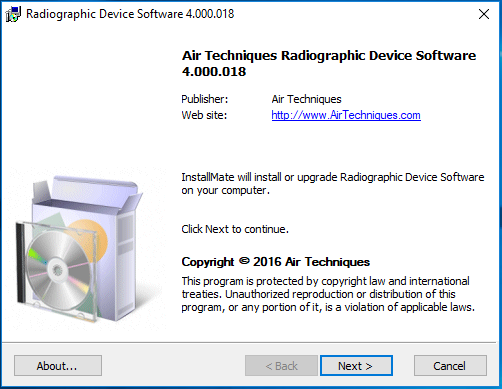
The InstallMate installer window opens.
-
Click Next.
-
Click Next.
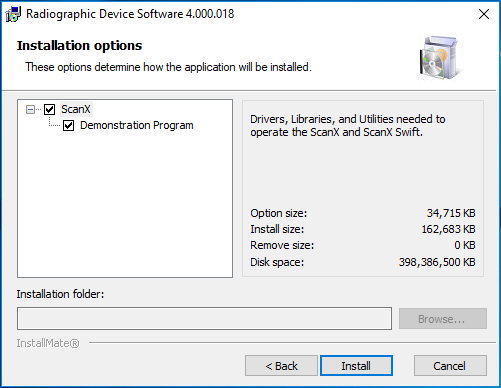
The Installation options screen appears.
-
Select the components that you want to install, and then click Install.
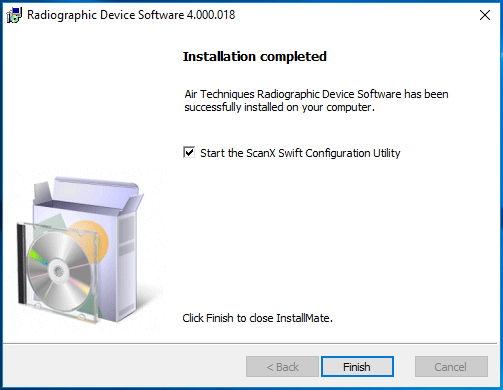
The Installation completed screen appears.
-
Select the Start VistaScan Configuration Utility checkbox, and then click Finish.
-
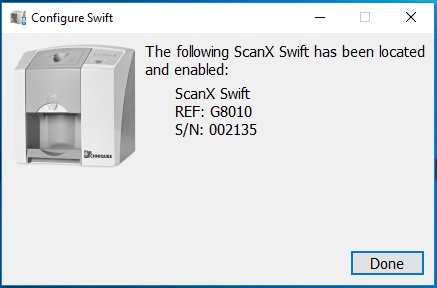
Connect the VistaScan scanner to the computer, and then turn on the scanner.
Note: If the device is not connected or is not powered on before you click Finish, you may receive a message stating "No VistaScan could be found." If the message appears, make sure the power is on and that it is properly connected, and then click Search Again.

The configuration utility will find your device and display the serial number.
-
Click Done.
-
Restart the computer before continuing.
Dynamic Rendering
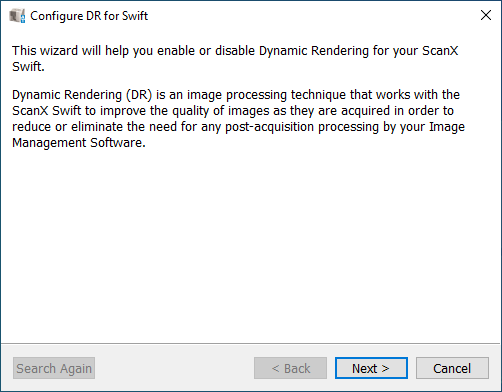
Important: Dynamic Rendering can be applied automatically to images that are scanned with your VistaScan device. When Dynamic Rendering is applied, the scanned images will appear slightly sharper and darker. Without Dynamic Rendering applied, the scanned images will appear slightly brighter and similar to traditional film images.
To enable Dynamic Rendering, do the following:
-
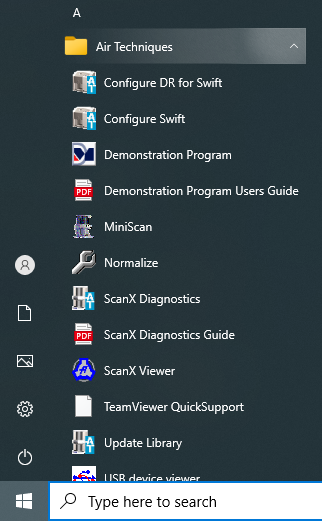
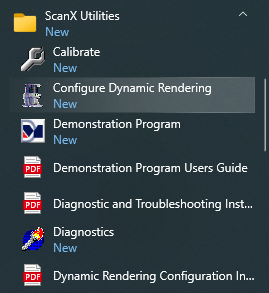
On the Windows Start menu, in the Air Techniques or ScanX Utilities folder, select Configure DR for Swift or Configure Dynamic Rendering.
Note: The folder name and program name depend on the driver version that is installed.
-
If a user account control window opens, Click Yes.
The Dynamic Rendering wizard starts.
-
Click Next.
After the ScanX has been located, the Locating the ScanX Swift screen appears.
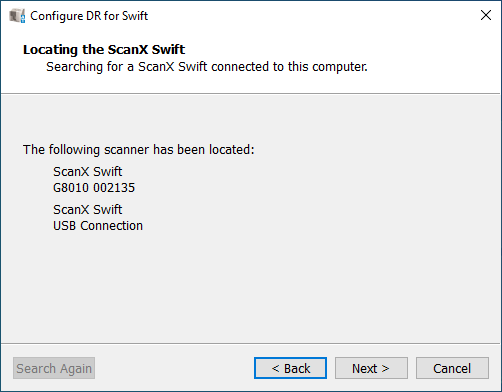
-
Click Next.
The Select Processing Technique screen appears.
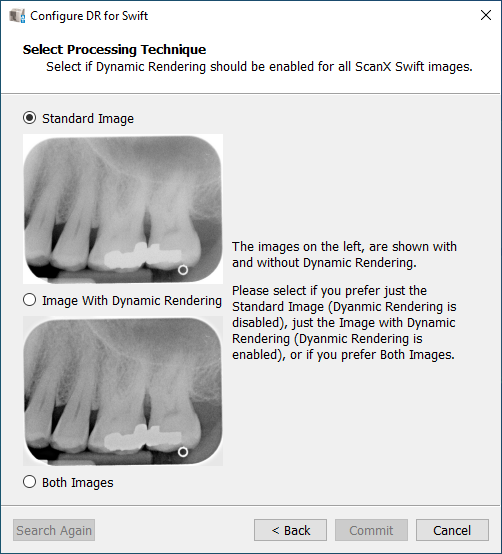
Note: The Standard Image option renders an image with Dynamic Rendering. The Image With Dynamic Rendering option renders an image with Dynamic Rendering (sharpness, brightness/contrast, and so forth). The Both Images option renders both types of images.
-
Choose a Dynamic Rendering option, and then click Commit.
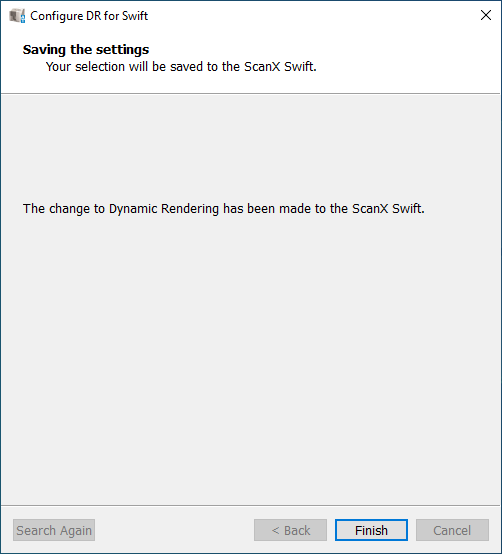
The Saving the settings screen appears.
-
Click Finish.
VistaEasy Configuration
VistaEasy is enabled by default and will open when you start acquiring images using Dürr VistaScan as the acquisition device in Dentrix Ascend Imaging. However, if you want the captured images to go directly into Dentrix Ascend Imaging instead of opening VistaEasy first, do the following:
-
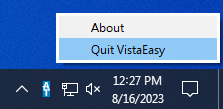
If VistaEasy is open, close it by right-clicking the VistaEasy icon in the system tray and then selecting Quit VistaEasy.
-
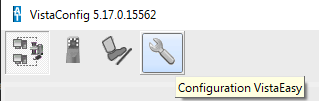
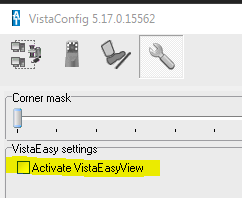
Open VistaConfig.

-
Select the Configuration VistaEasy option (wrench icon).
-
Change the state of the Activate VistaEasyView checkbox so it matches the corresponding setting in the acquisition agent preferences.
Testing
The VistaScan scanner is now functional in Dentrix Ascend Imaging. To acquire a test image, do the following:
-
Select the 1 Bitewing imaging procedure.

-
Select any teeth for the test.

-
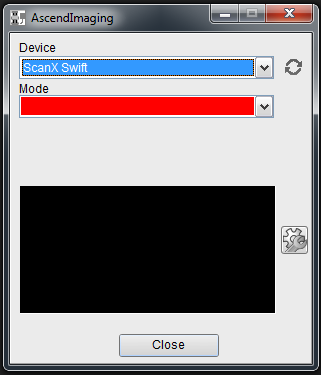
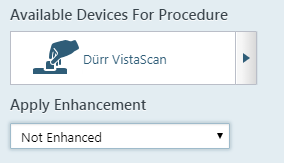
On the Available Devices menu, select Dürr VistaScan.

-
Click Start.

Note: If the VistaEasy program is not already open, it will open while the device is getting ready. The VistaEasy program does take some time to open, which results in the "Getting Device Ready" message to appear until the program is open.
When the device is ready, the VistaEasy interface appears.
-
Select the mode to determine the quality of the image.
After you scan a plate, if "Use VistaEasy View" is enabled, the VistaEasyView window opens and displays the image. There are options for editing the image.
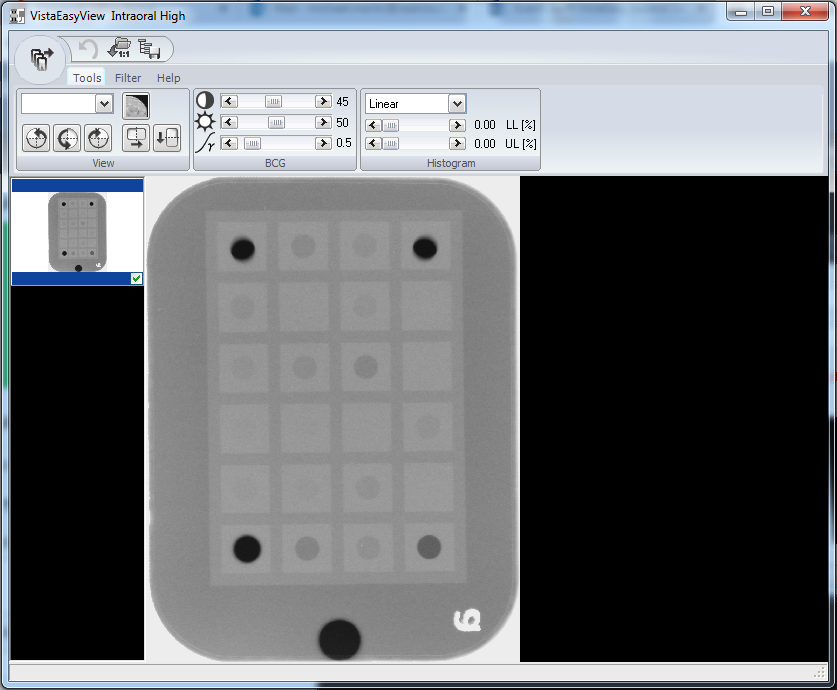
-
After editing the image, click the Save all marked images button (in the upper-left corner).
Notes:
-
If you are going to use the editing options provided in the VistaEasyView window, you should turn off image enhancements in Dentrix Ascend Imaging before clicking the Save all marked images button.
-
After the image has been scanned, but before the image has been sent to Dentrix Ascend Imaging, the image is stored in a folder located at C:\ProgramData\Air Techniques\Images. So, if you close the VistaEasyView window before the image has been transferred, you can find the image locally and import it into Imaging.
-
Troubleshooting
VistaScan Driver
To confirm that the VistaScan device driver is loaded and recognized by Windows, do the following:
-
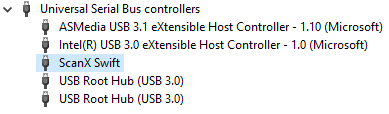
Open Device Manager.
-
Expand the Universal Serial Bus controllers category.
-
Right-click VistaScan, and then select Properties.

-
Make sure "This device is working properly" appears.
Note: The VistaEasy program creates a running.dat file located at C:\ProgramData\Air Techniques\Jobs. The running.dat file does not appear unless VistaEasy is running. By opening the running.dat file in a text editor, such as Notepad, you can view information relating to the devices that work through VistaEasy.
More than one Device
If you have more than one device working through VistaEasy, you must configure the Acquisition Agent.ini file (the default location is C:\Program Files (x86) \Acquisition Agent) to set the preferred device, or else the first device in the list is selected as the preferred device. Before you edit the .ini file, close the acquisition agent by right-clicking on the Acquisition Agent icon in the system tray and selecting Exit. After saving the change to the .ini file, restart the Acquisition Agent.exe.
"Device is already being used" Error
When the VistaEasy interface indicates that the device is ready, a job is added to the VistaEasy program. Only one job at a time can occur per device. If an error message states that the device is already being used, click the VistaEasy icon in the system tray, and then delete the job.

Overprocessed Images
If white spots appear around the teeth in images, this could be a result of the image being over processed. If this is the case, it is recommended that you turn off Dynamic Rendering and use the settings specified in the "Acquisition Filters" instructions.
Acquisition Orientation
To make sure that images get rotated properly when scanning, do the following:
-
Make sure that the edge of the phosphor plate with the dot or letter is pointing upward for all vertical placements or pointing toward the back of the mouth for all horizontal placements.
-
When the scanner is ready, put the phosphor plate, with the edge with the dot or letter pointing up, in the scanner according to the manufacturer's instructions.
Acquistion Filters
Note: The following settings are recommended for VistaScan devices with Dynamic Rendering disabled.
To adjust the image provided by the VistaScan scanner, do the following.
-
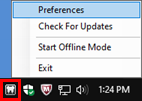
Right-click the Acquisition Agent icon in the system tray, and then select Preferences.
-
Select the Filters tab.

-
Under Acquisition Filters, select Dürr VistaScan from the Device list, and then configure the settings to match the screenshot above.
-
Click Done.
Acquisition Preferences
To adjust the preferences for the VistaScan, do the following:
-
Right-click the Acquisition Agent icon in the system tray, and then select Preferences.
-
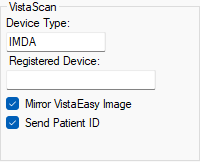
Select the Phosphor Plate tab.

-
Under VistaScan, adjust Device Type, Registered Device, and Mirror VistaEasy Image as needed.
-
Click Done.
Image Mirroring
If the images are mirrored after being acquired, to change the mirroring setting, do the following:
-
Open VistaConfig.

Note: Mirroring can also be adjusted in the acquisition agent preferences. For more information, see the "Acquisition Preferences" instructions.
-
Press F2 to reveal additional tabs.
-
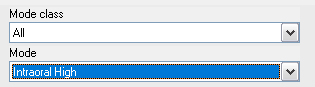
Select the Acquisition Modes tab.

-
From the Registered Devices list, select ScanX Swift.

-
From the Mode list, select the mode that will be used during acquisition.
Note: It is recommended that you change all the modes to use the same mirroring setting.
-
Click the Edit button.

-
Under Operations, change the Mirror image horizontally value.
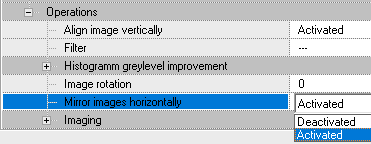
-
Click the Save button.

-
Click Close configuration.
