Digital Doc IRIS Camera Setup Guide (Mac OS)
This guide describes the installation and setup of the Digital Doc IRIS intraoral camera for use with Dentrix Ascend Imaging.
Last updated: 10/31/2025
Overview
Dentrix Ascend Imaging supports the acquisition of intraoral images from the Digital Doc IRIS camera on a computer running the Mac operating system.
Notes:
-
Prior to the installation of the camera, the acquisition agent application must be installed on each computer that will acquire images. Refer to Setting up the acquisition agent for instructions on downloading and installing the acquisition agent.
-
The 32-bit Mac OS app VideoGlide (supplied by Digital Doc) does not work with Mac OS later than Mojave (10.14) because Apple deprecated all 32-bit apps after Mojave. Do not update your Mac OS beyond Mojave (High Sierra currently works best with VideoGlide).
Installation
Drivers for the Digital Doc IRIS camera must be installed on each computer that the camera will be plugged into.
To install the drivers, do the following:
-
Connect the Iris interface box to the workstation, plug in the power supply, and connect the hand piece.
-
Insert the driver installation disc that was included with your Iris camera, and then double-click the disc icon on the desktop
Note: You can also obtain drivers from Digital Doc Customer Support. For this guide, the DigiDoc_Iris_Mac_1.0.5 installation disc is used.
-
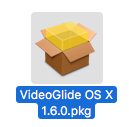
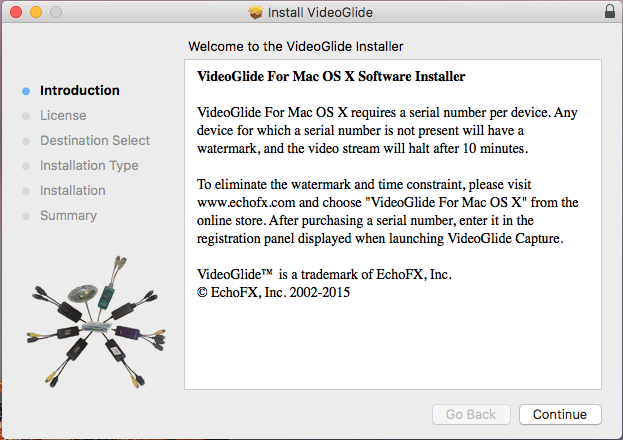
Double-click the VideoGlide OS X installer package.
The Install VideoGlide window opens, and the Welcome page is selected.
-
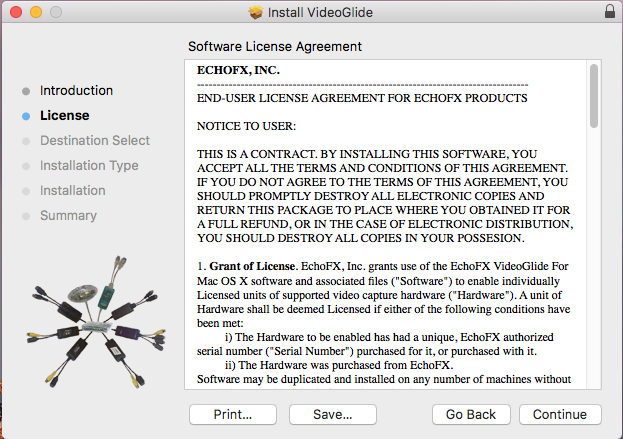
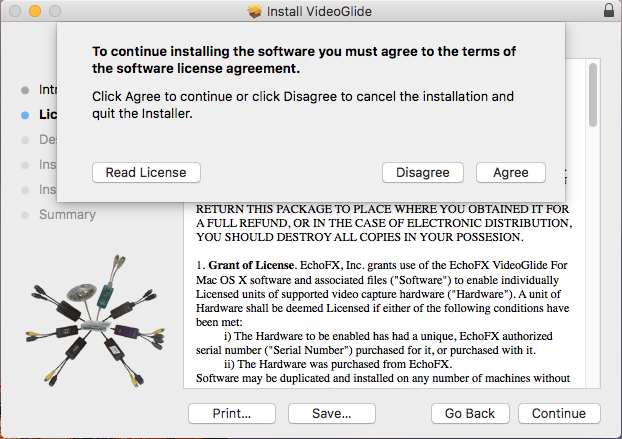
Click Continue.
The Software License Agreement page is selected.
-
Click Continue.
-
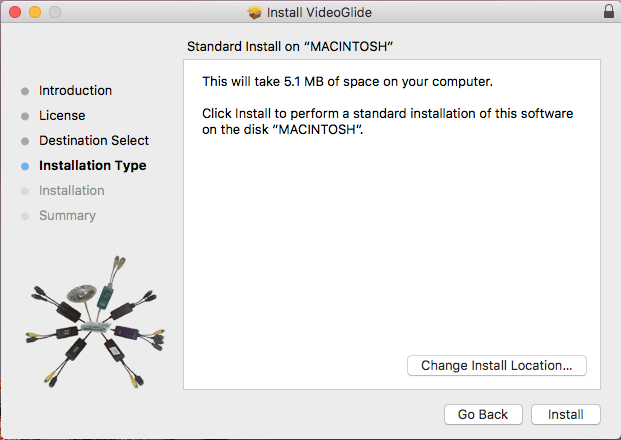
On the message that appears, click Agree.
The Installation Type page is selected.
-
Click Install.
-
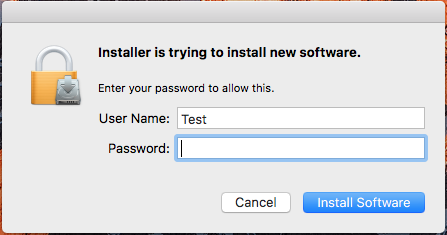
If the computer prompts you to enter your user name and password, do so, and then click Install Software.
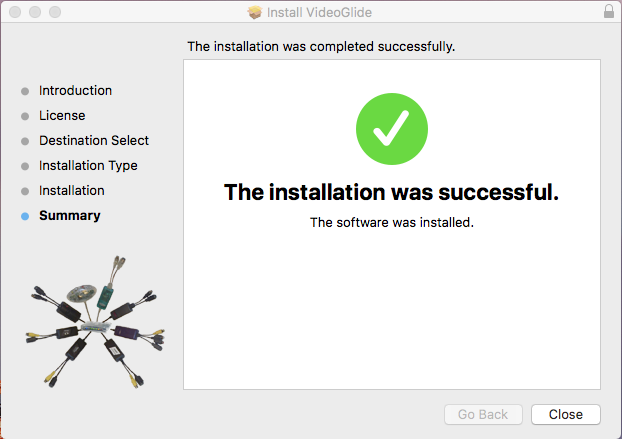
The Summary page is selected, click close to finish installation.
-
Click Close.
-
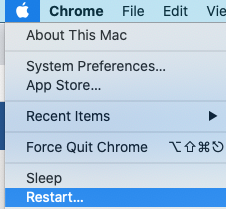
Restart the computer.
-
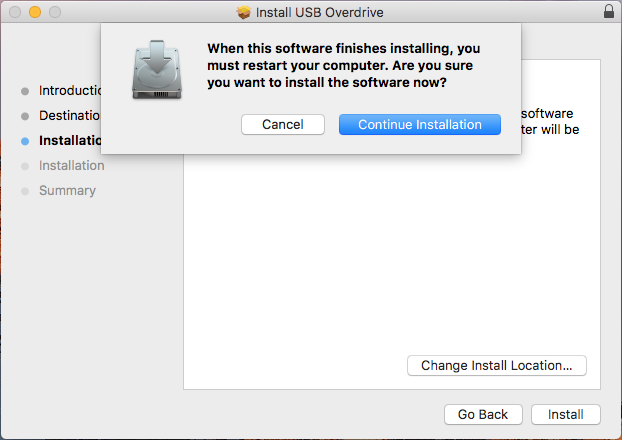
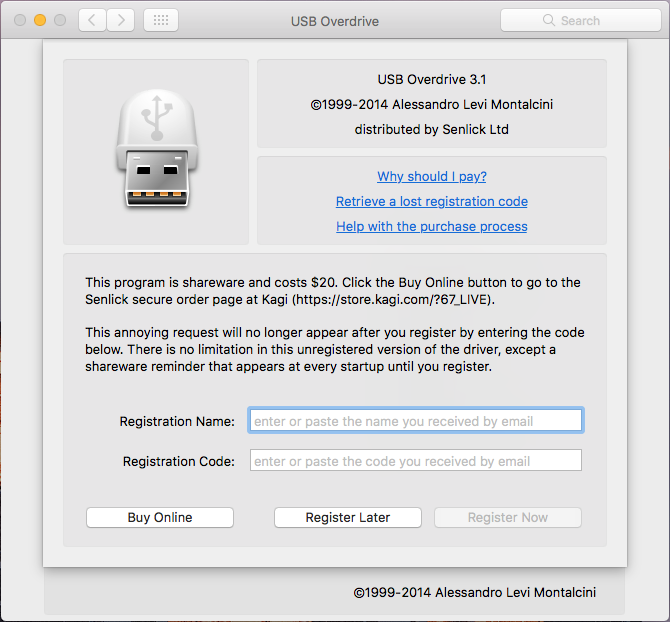
When the computer has rebooted, you will need to install USB Overdrive, which is included on the installation disc.
-
Open the contents of the installation disc, and then double-click the Install USB Overdrive installer package.
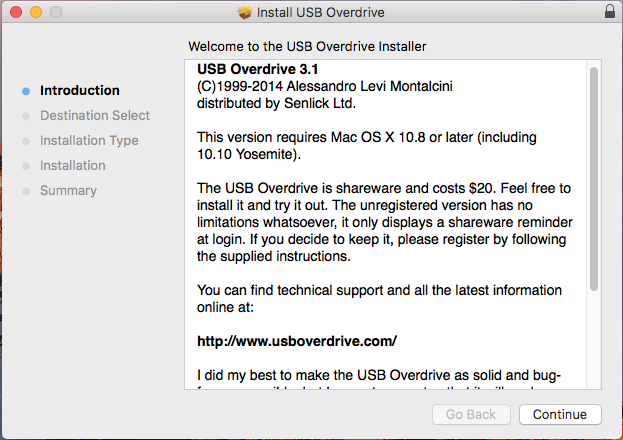
The Install USB Overdrive window opens, and the Introduction page is selected.
-
Click Continue.
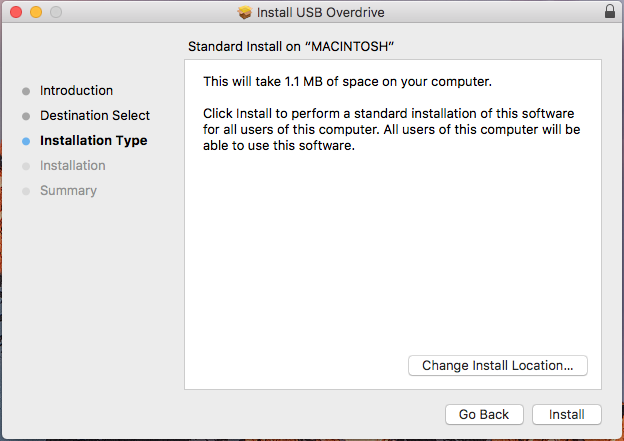
The Installation Type page is selected.
-
Click Install.
-
On the message that appears, click Continue Installation.
-
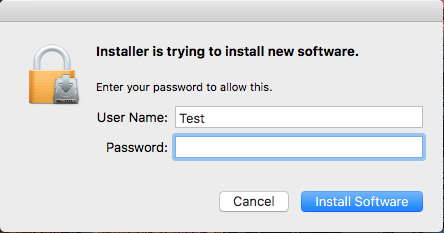
If the computer prompts you to enter your user name and password, do so, and then click Install Software.
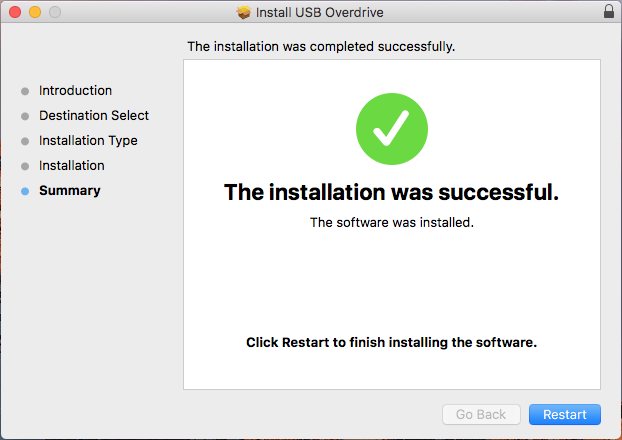
The Summary page is selected.
-
Click Restart.
-
When the computer has rebooted, a Welcome dialog box from USB Overdrive appears. Click Configure.
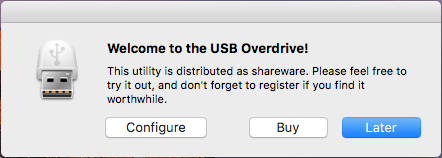
Note: If the dialog box does not appear automatically, click the Apple icon in the upper-left corner, and then navigate to System Preferences > USB Overdrive. -
The USB Overdrive window opens, and a registration dialog box appears. Fill in the USB Overdrive license information. The license can be found on the bottom of the camera's USB interface.
-
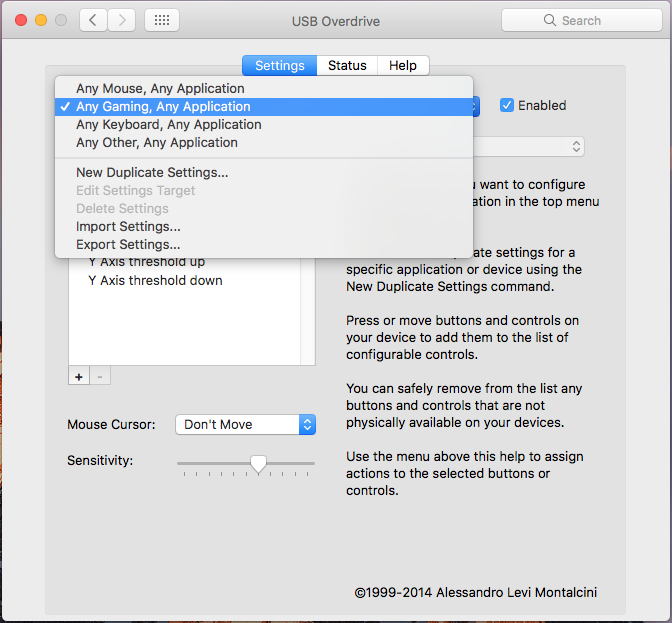
From the menu, select Any Gaming, Any Application.
-
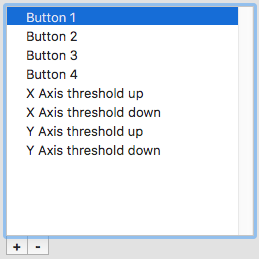
From the list on the left, select Button 1.
-
From the menu on the right, select Press Key.

-
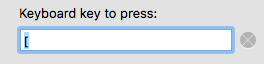
In the Keyboard key to press box, type a left bracket ( [ ).
-
Under Modifier keys, select the Command checkbox.

-
Close the USB Overdrive window.
Testing
The Digital Doc Iris camera is now functional in Dentrix Ascend Imaging. To acquire a test image, do the following:
-
Select the 2D Oral/Facial Photo Images imaging procedure.

-
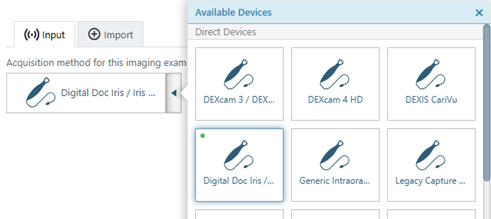
On the Available Devices menu, select Digital Doc Iris / Iris HD.
-
Click Start.

-
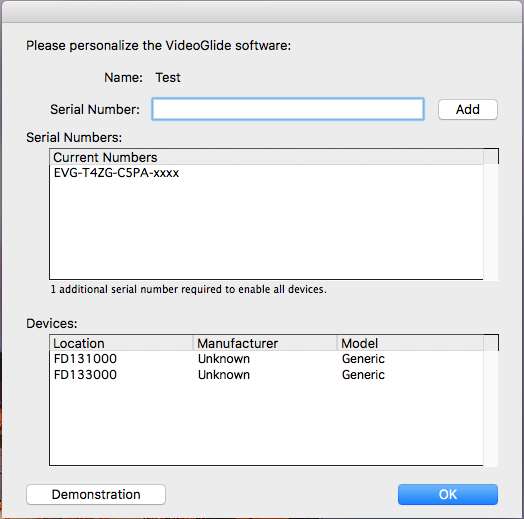
If the VideoGlide software prompts you for a serial number, enter the VideoGlide serial number.
Note: It is recommended that you reduce the size of your Chrome window at this time and move it to the left side of the screen because the acquisition agent will open a VideoGlide streaming window on the right side of the screen.
-
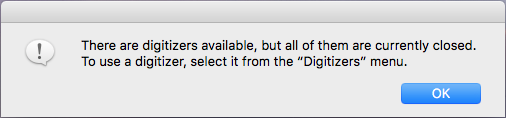
VideoGlide opens, and a message may appear and state that there are digitizers available but that all of them are currently closed. Click OK, and then select VideoGlide in the Digitizers menu at the top of the screen. The stream appears in the VideoGlide window.
-
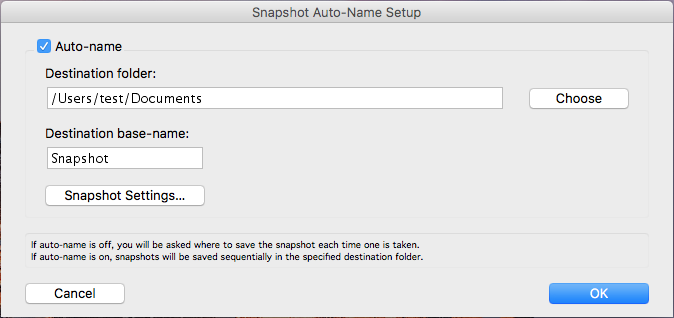
On the Snapshot menu, select Snapshot Auto-Name Setup.

-
Select the Auto-name checkbox. Then, make sure that the Destination folder is set to your Documents folder and that the Destination base-name is Snapshot.
A live video stream from your camera appears.

-
With the camera properly positioned, use the button on your camera to pause or freeze the live video stream (or click Pause Streaming).

-
Use the button on your camera to capture the current video frame (or click Take a snapshot). The resulting image is added to the snapshot panel, and the video stream automatically becomes live again.
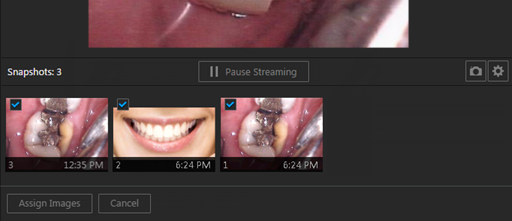
-
Repeat steps 8-9 as needed to acquire additional snapshots.
-
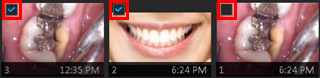
On the snapshot panel, clear the check box of the snapshots that you do not want to save.
-
Click Assign Images.
-
Do any of the following:
-
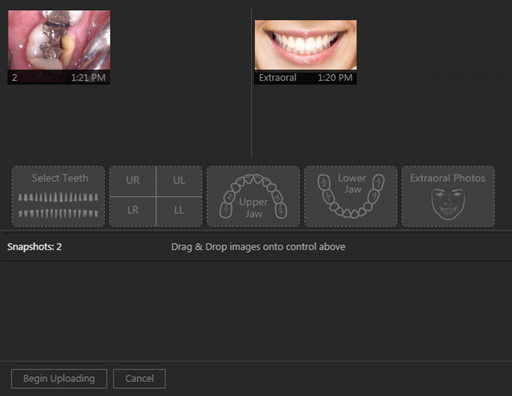
To save one or more snapshots as intraoral images and assign tooth numbers, select the snapshots that pertain to the same teeth (deselect snapshots that do not pertain to the same teeth), and then drag them to the Select Teeth, UR/UL/LR/LL, Upper Jaw, or Lower Jaw box.
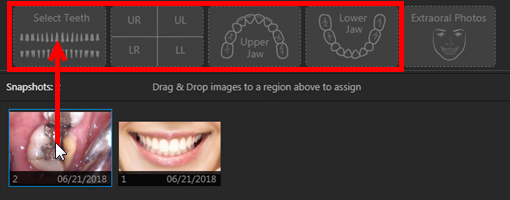
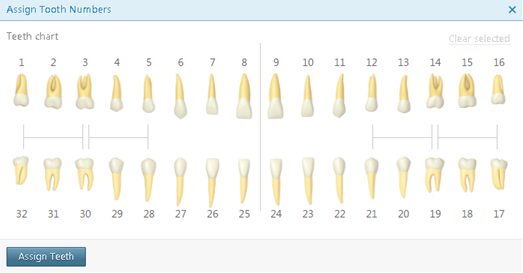
If you drag snapshots to the Select Teeth box, select the applicable teeth, and then click Assign Teeth.
-
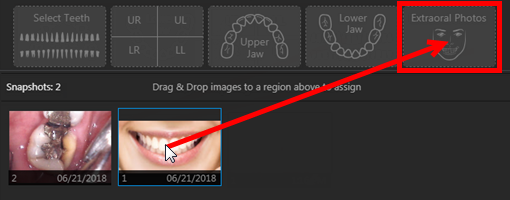
To save one or more snapshots as extraoral images, select the snapshots that are extraoral images (deselect snapshots that are not extraoral images), and then drag them to the Extraoral Photos box.
-
To save the snapshots on the snapshot panel as intraoral images, but not assign tooth numbers, leave those snapshots on the snapshot panel.
Assigned intraoral images appear on the left side of the preview area; extraoral on the right.
Note: If you have a mix of intraoral and extraoral images, they map to one procedure (D0350), which will appear in the progress notes with two icons. Also, you can delete or reassign the intraoral or extraoral exam as needed in the future.
-
-
Click Begin Uploading.