Deleting custom imaging procedures
You can delete a custom imaging procedure as needed. Deleting a custom imaging procedure does not affect images that have already been taken using that template.
To delete a custom imaging procedure (template)
-
If you are not already viewing the correct location, select it on the Location menu.
-
If the correct patient is not already selected, use the Patient Search box to access the patient's record.

-
On the Patient menu, under Clinical, select Chart, Progress Notes, Quick Exam, Perio, Tx Planner, or Imaging.
The patient's clinical record opens with the Chart, Progress Notes, Quick Exam, Perio, Tx Planner, or Imaging tab selected.
-
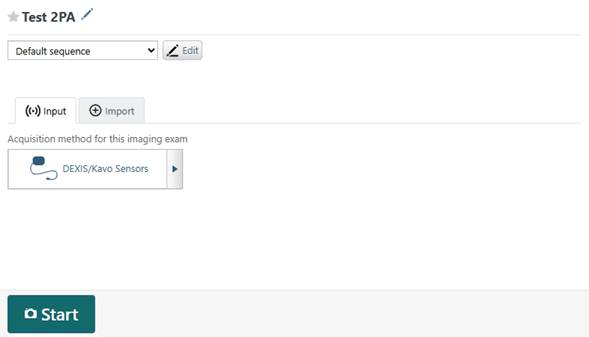
On the Imaging tab's menu, select Acquire Images.
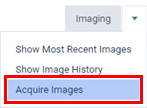
The options for acquiring images become available.
-
On the navigation panel, select the Custom tab.
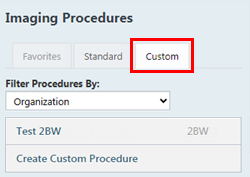
Any existing custom imaging procedures are listed.
Note: Custom and favorite imaging procedures are location specific.
-
Select an imaging procedure.
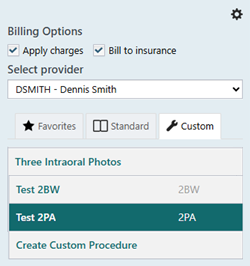
The options for the selected procedure become available.
-
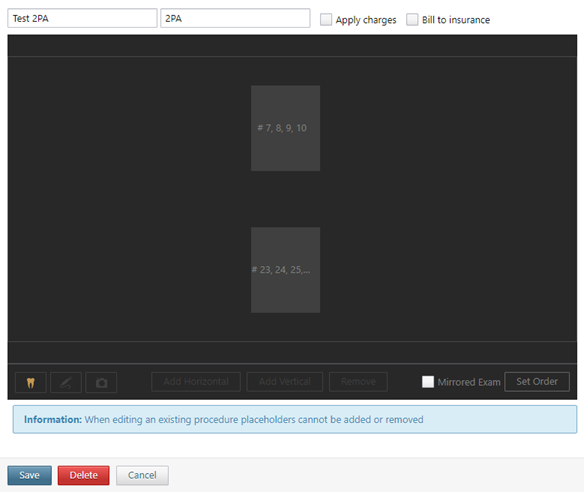
Click (or tap) the Edit button
 next to the procedure name.
The options to edit the imaging procedure become available.
-
Click (or tap) Delete.
A confirmation message appears.
-
Click (or tap) Yes.