Charting dentition
You can change the graphical tooth chart to show a patient's dentition: primary, permanent, or mixed.
Tip: You can also chart dentition while charting a quick exam.
To chart a patient's dentition
-
If the correct patient is not already selected, use the Patient Search box to access the patient's record.

On the Patient menu, under Clinical, select Chart.
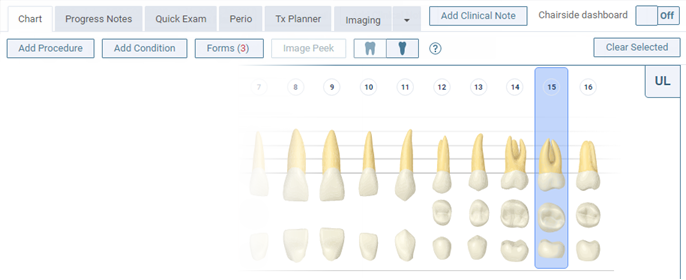
The patient's clinical record opens with the Chart tab selected.
-
Select the teeth whose dentition you want to change in the graphical tooth chart, or leave no teeth selected to change the dentition for the whole mouth (this is the same as selecting all the teeth).
-
Click (or tap) the Permanent Dentition or Primary Dentition button
 .
.All the selected teeth now show in the graphical chart according to the specified dentition. For example, changing the dentition to permanent changes tooth F to 9, or changing the dentition to primary changes tooth 15 to *.