Apex/Hamamatsu Sensor Setup Guide
This guide describes the installation and setup of the Apex/Hamamatsu intraoral sensor for use with Dentrix Ascend Imaging.
Last updated: 10/30/2025
Overview
Dentrix Ascend Imaging supports the acquisition of intraoral images from the Apex/Hamamatsu intraoral X-ray sensor on a computer running the Windows operating system. Drivers for the Apex/Hamamatsu sensor must be installed on each computer that the Apex/Hamamatsu sensor will be connected to.
Note: Prior to the installation of the Apex/Hamamatsu sensor, the acquisition agent application must be installed on each computer that will acquire images. Refer to Setting up the acquisition agent for instructions on downloading and installing the acquisition agent.
Installation
To install the Apex/Hamamatsu device drivers, do the following:
-
For a 64-bit operating system, launch DriverSetup_64bit.exe as an administrator; for a 32-bit operating system, launch DriverSetup_32bit.exe as an administrator.
-
If a User Account Control window opens, click Yes.
-
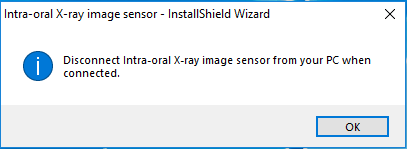
The Intra-oral X-ray image sensor installer starts. On the message, regarding disconnecting the sensor, that appears, click OK.
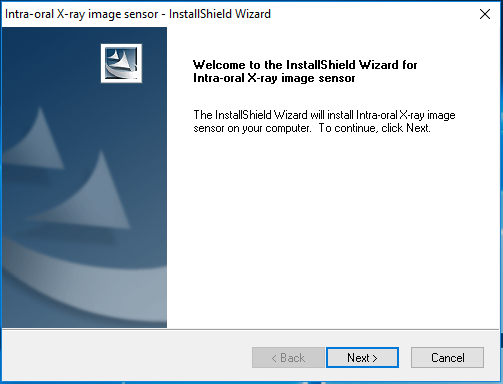
The Welcome screen appears.
-
Click Next.
-
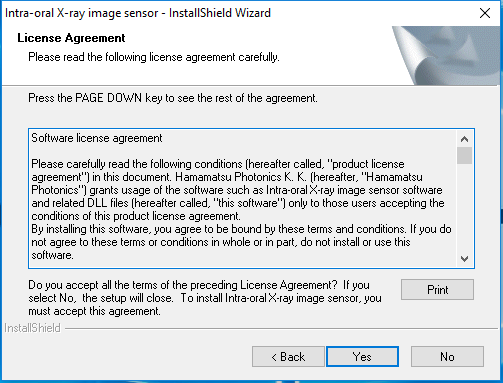
The License Agreement screen appears.
-
Click Yes.
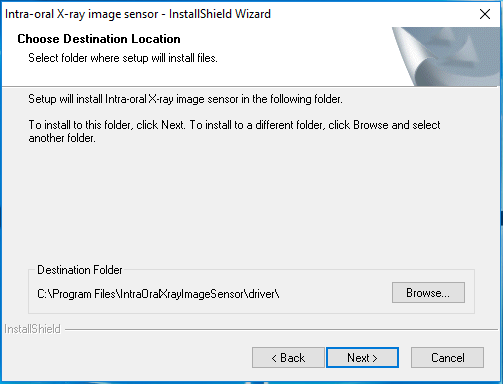
The Choose Destination Location screen appears.
-
Click Next.
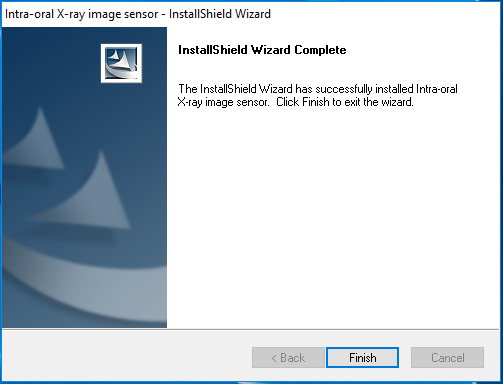
The Complete screen appears.
-
Click Finish.
Testing
The Apex/Hamamatsu sensor is now functional in Dentrix Ascend Imaging. To acquire a test image, do the following:
-
Select the 1 Bitewing imaging procedure.

-
Select any teeth for the test.

-
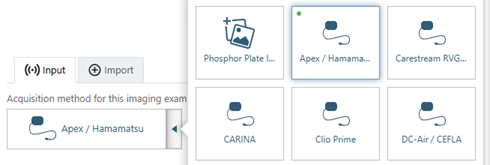
On the Available Devices menu, select Apex/Hamamatsu.
-
Click Start.

-
Acquire an image using the Apex/Hamamatsu sensor.
Troubleshooting
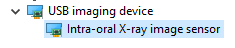
Make sure that the Apex/Hamamatsu sensor is detected by the computer. Open Device Manager, and then verify that the device appears under USB imaging device as Intra-oral X-ray image sensor.