Adding payer connections
To use Eligibility Pro requests to get enhanced insurance eligibility data, you must create payer connections.
Notes:
-
Access to the Payer Connection Portal requires the "Payer Connection Portal" security right (in the "Insurance" category).
-
If clicking (or tapping) a Pro link on the Insurance Eligibility page causes the Eligibility Pro Request Confirmation dialog box to appear because the required payer connection is missing, and then you click (or tap) Connect Payer, the Payer Connection Portal opens on a new browser tab, and the New Payer Connection dialog box opens with the applicable payer selected automatically; if this is the case, skip ahead to step 4.
To add payer connections
-
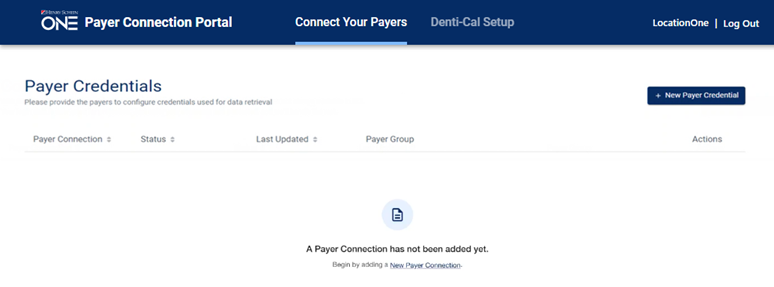
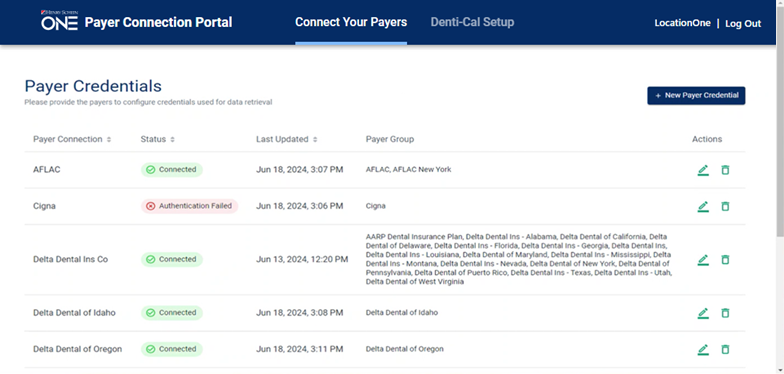
On the Settings menu, under Production, select Payer Connection Portal.
The Payer Connection Portal page opens.
-
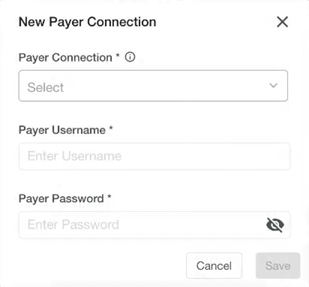
Click (or tap) New Payer Connection.
The New Payer Connection dialog box appears.
-
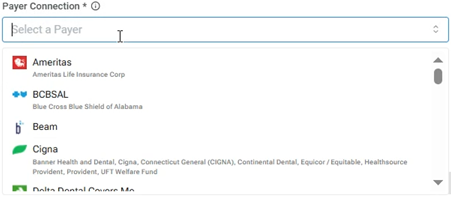
Select a Payer Connection.
Notes:
-
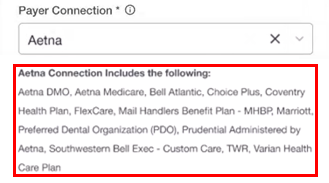
When you click in the box, a list of available payer connections appears. Next to each connection name, there is now an icon to represent the corresponding insurance carriers. Also, under each connection name, the associated insurance carriers now appear so you can more easily identify which insurance carriers belong to a connection.
-
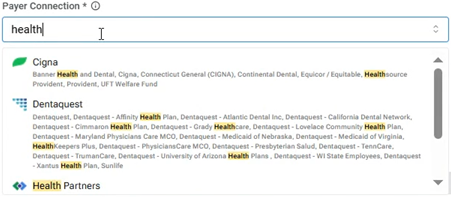
To search for a connection, begin typing part of a connection or carrier name in the search box. As you type, the list is filtered automatically to show only the matching connections. Continue typing as needed to narrow the search results. Matching text in connection names and/or insurance carrier names are highlighted in yellow on the results list.
-
With a payer connection selected, a message appears, explaining that several insurance carriers are included under the umbrella of the selected payer connection.
-
-
In the Payer Username and Payer Password boxes, enter the credentials to access that payer’s online portal.
-
Click (or tap) Save.
-
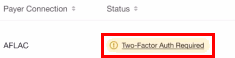
If the payer connection requires two-factor authentication, do the following:
-
In the Status column, click (or tap) the corresponding Two-Factor Auth Required link.
-
Enter the code that the insurance company sends to you by email or text message, and then click (or tap) Verify.
Note: If the payer connection has been successfully authenticated, its Status is "Connected."

-
-
Repeat steps 2-6 as needed to add other payer connections.
Notes:
-
If an authentication fails, click (or tap) the corresponding Edit icon
 in the Actions column to open the Edit Payer Credentials dialog box and verify that the credentials you entered are correct.
 -
With a payer connection established, Dentrix Ascend attempts to get enhanced data from a payer. However, if the payer supports standard and enhanced data, to provide the most complete response possible, Dentrix Ascend attempts to merge the data from both sources according to the following criteria:
-
If the enhanced and standard data are available, Dentrix Ascend returns the enhanced and standard data.
-
If only the enhanced data are available, Dentrix Ascend returns only that data.
-
If the enhanced data are not available, Dentrix Ascend attempts to return the standard data.
-
-
You are charged for an Eligibility Pro request only if it returns enhanced data.
-
For payers (such as BCBSTX, Delta SD, and Delta OR) that support only Eligibility Pro requests, if an eligibility verification request fails, Dentrix Ascend returns a "Payer Not Participating" error.