Adding patient pictures
You can add a picture to a patient's record from an image file on your computer (or device), from the patient's document manager, or from your computer's (or device's) camera. If you import an image file, it should be less than 20 MB in size and must be a .gif, .jpg/.jpeg, or .png file type.
To add a patient picture
-
Do one of the following:
-
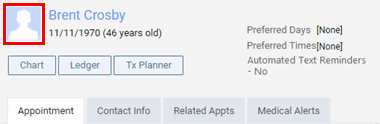
If the correct patient is not already selected, use the Patient Search box to access the patient's record. Click (or tap) the patient picture icon on the left side of the Patient Information ribbon.

Note: If the Patient Information ribbon is not visible, click (or tap) the arrow button below the Patient Search box.
 .
. -
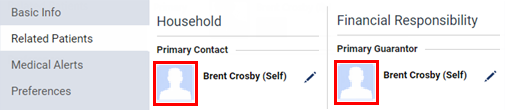
If the correct patient is not already selected, use the Patient Search box to access the patient's record. On the Patient menu, under General, select Patient Information. The patient's Patient information page opens. Select Related Patients on the navigation panel (on the left). Click (or tap) the patient picture icon.
-
On the Schedule menu, select Calendar. The Calendar page opens. Locate and select any of the patient's appointments. The Appointment Information panel appears. Click (or tap) the patient picture icon.
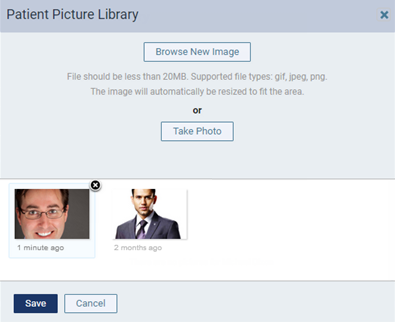
The Patient Picture Library dialog box appears.
-
Do any of the following:
Import an image - Click (or tap) Browse New Image to choose the image (a .gif, .jpg/.jpeg, or .png file less than 20 MB in size) that you want to import.
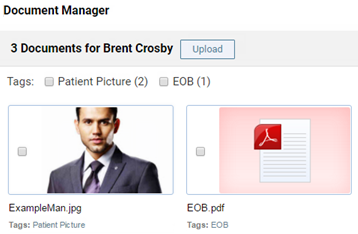
Use an image from the document manager - Any images in the patient's document manager that have a "Patient Picture" tag attached to them appear in the lower part of the dialog box. Click (or tap) the thumbnail image that you want to assign as the patient's picture.
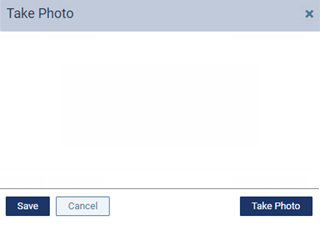
Take a photo - Click (or tap) Take Photo to use your computer's (or device's) camera to take a photo to attach to the patient's record. In the Take Photo dialog box, click (or tap) Take Photo, and then click (or tap) Save.
Notes:
Any image that you import or photo that you take is added to the patient's document manager with a "Patient Picture" tag.
A thumbnail image, which will be visible wherever you can view patient pictures, is created (sized and cropped as needed) automatically when you import the image or take the photo.
Images pass through an anti-virus scanner upon being uploaded.
-
With the desired thumbnail image selected in the lower part of the dialog box, click (or tap) Save.
You can view the patient's picture in the following areas of Dentrix Ascend:
-
The Patient Information ribbon.

-
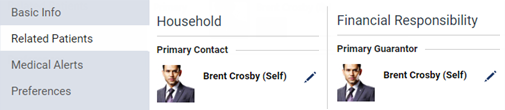
The Related Patients section of the patient's record.
-
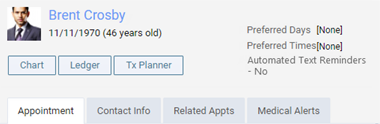
The Appointment Information panel for any of the patient's appointments.
-
The patient's document manager.