Acteon Sopro PSPIX Scanner Setup Guide
This guide describes the installation and setup of the Acteon Sopro PSPIX phosphor plate scanner for use with Dentrix Ascend Imaging.
Last updated: 10/29/2025
Overview
Dentrix Ascend Imaging supports the acquisition of intraoral images from the Sopro PSPIX phosphor plate scanner on a computer running the Windows operating system. Drivers for the Sopro PSPIX scanner must be installed on each computer that the scanner will be connected to.
Notes:
-
If you are using a Sopro PSPIX scanner with an ethernet connection, all computers that are used with the scanner must be plugged in to the same switch/router as the scanner using a Cat5 ethernet cables.
-
Prior to the installation of the Sopro PSPIX scanner, the acquisition agent application must be installed on each computer that will acquire images. Refer to Setting up the acquisition agent for instructions on downloading and installing the acquisition agent.
Installation
To install the Sopro PSPIX device drivers, do the following:
-
Insert the setup DVD that was included with your Sopro PSPIX scanner, and run the Setup.
Note: The installer is also available for download from the Sopro technical support website (https://www.soprotechnicalsupport.com/drivers/. On the Drivers tab, right-click the link of the applicable installer (such as "PSPIX 1.02 (for SOPRO-Imaging 2.0 and later version)"), and then select Copy link address. Paste the copied URL into the address box on a new browser tab or window, and then press Enter. The file is downloaded.
-
If a User Account Control window opens, click Yes.
The SOPRO Imaging Setup starts. The Choose Setup Language screen appears.
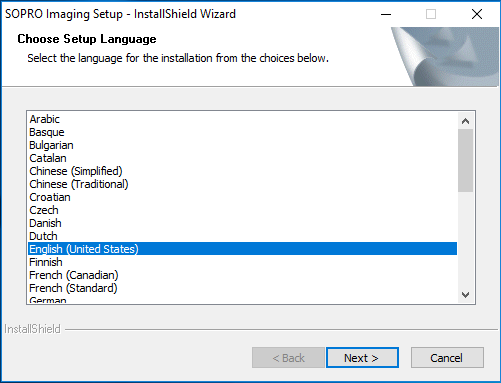
-
Select the correct language, and then click Next.
The Welcome screen appears.

-
Click Next.
The Select Features screen appears.
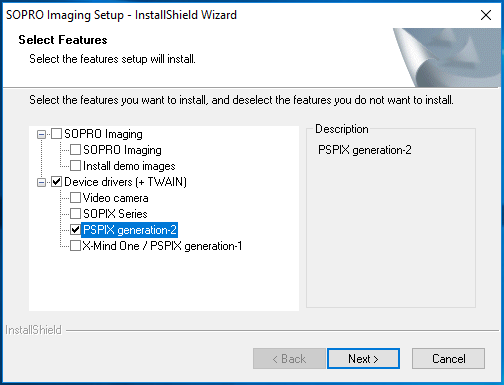
-
Select the applicable features, and then click Next.
The Minimum Requirements dialog box appears.
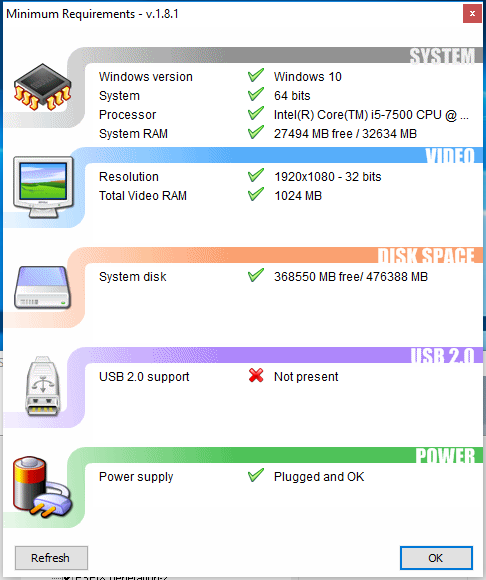
-
Review the minimum requirements, and then click OK.
The Ready to Install the Program screen appears.
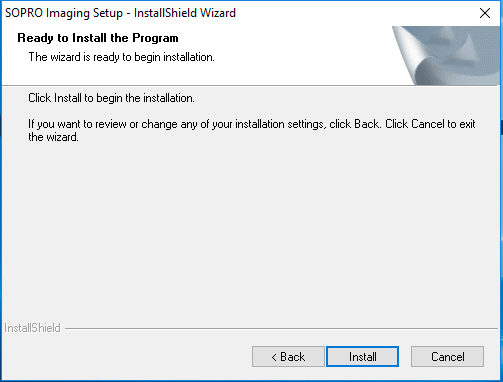
-
Click Install.
-
On the Congratulations! message that appears, click OK.
The Complete screen appears.
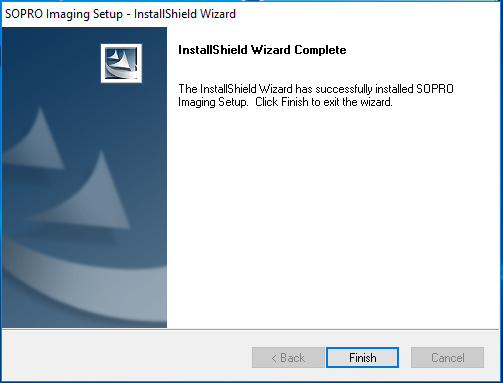
Note: Both the computer and the Sopro PSPIX scanner must be physically connected to the same switch/router to establish a connection.
-
Click Finish.
Configuration and Testing
After installing the Sopro PSPIX drivers, in Dentrix Ascend Imaging, you must configure the scanner while acquiring a test image. To acquire a test image, do the following:
-
Select the 1 Bitewing imaging procedure.

-
Select any teeth for the test.

-
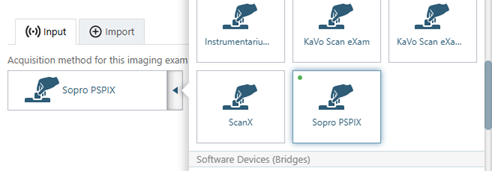
On the Available Devices menu, select Sopro PSPIX.
-
Click Start.

-
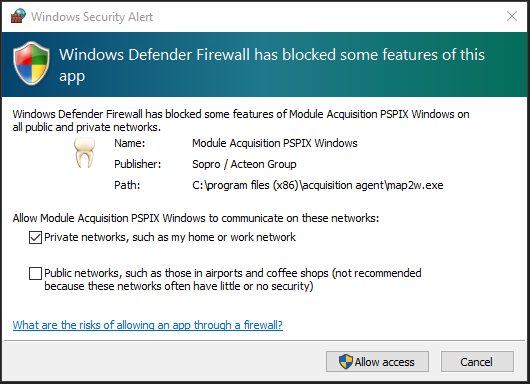
If a Windows Security Alert dialog box appears, click Allow access.
-
A dialog box appears. The graphic indicates that your Sopro PSPIX scanner is not yet connected. Click the small cog icon.

The PSPIX Setup dialog box appears. The Configuration tab is selected by default.
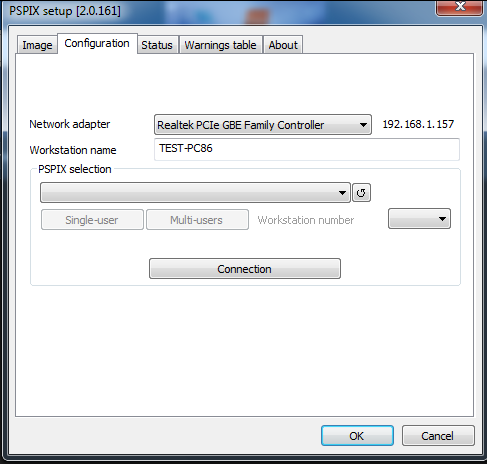
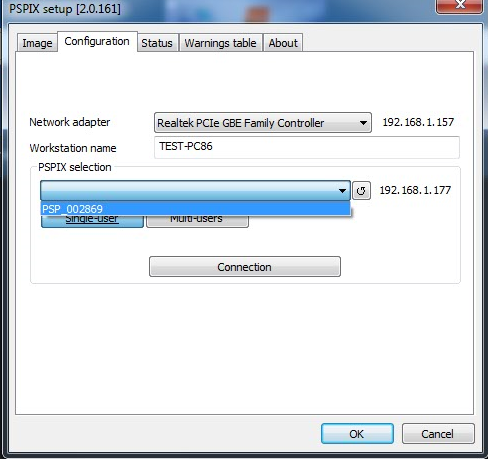
-
From the PSPIX selection list, select your device, select whether you want to use Single-user or Multi-users mode, and then click Connection.
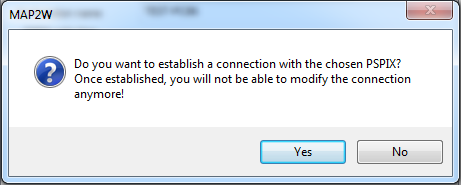
-
In the confirmation dialog box that appears, click Yes.
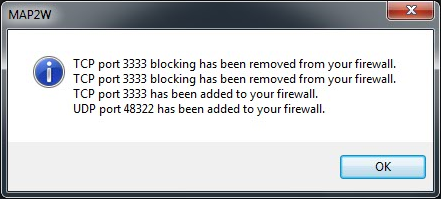
-
If a dialog box appears, indicating that firewall ports have been properly configured for use with your Sopro PSPIX scanner, click OK.
The graphic now indicates that the Sopro PSPIX scanner is properly configured.

-
Acquire a test image using a plate, and then insert that plate into the Sopro PSPIX scanner according to the instructions provided with the scanner.