Acteon Sopro Camera Setup Guide
This guide describes the installation and setup of the Acteon Sopro intraoral camera for use with Dentrix Ascend Imaging.
Last updated: 10/29/2025
Overview
Dentrix Ascend Imaging supports the acquisition of intraoral images from the Acteon Sopro camera on a computer running the Windows operating system.
Note: Prior to the installation of the camera, the acquisition agent application must be installed on each computer that will acquire images. Refer to Setting up the acquisition agent for instructions on downloading and installing the acquisition agent.
Installation
Drivers for the Acteon Sopro camera must be installed on each computer that the camera will be plugged into. To install the drivers, do the following:
-
Insert the disc that came with the Sopro camera, and start the Sopro camera driver installer (Video Camera USB2 Drivers) as an administrator.
Note: The installer is also available for download from the Sopro technical support website (https://www.soprotechnicalsupport.com/drivers/. On the Drivers tab, right-click the link of the applicable installer (such as "SOPRO-Imaging 2.33 and later versions - Windows 10 compatible (Sopro Camera Driver)"), and then select Copy link address. Paste the copied URL into the address box on a new browser tab or window, and then press Enter. The file is downloaded.
-
If a User Account Control window opens, click Yes.
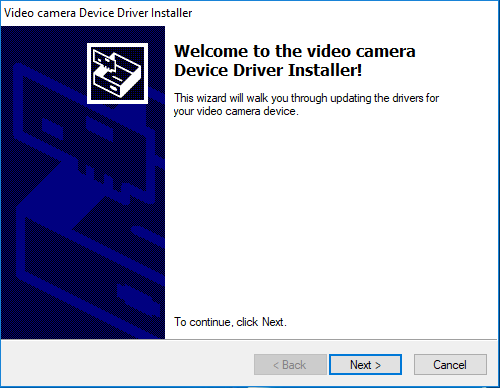
The Welcome screen appears.
-
Click Next.
-
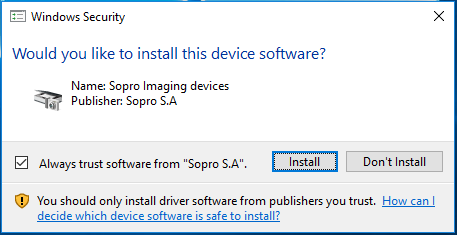
On the Windows Security message that appears, click Install.
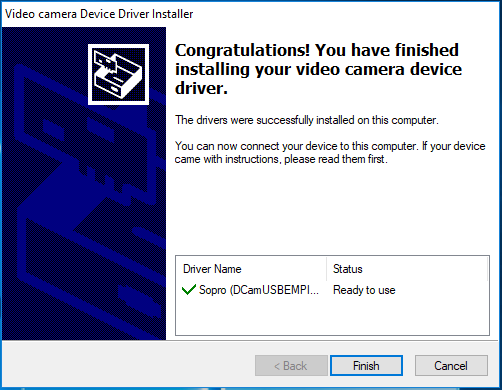
The Congratulations! screen appears.
-
Click Finish.
-
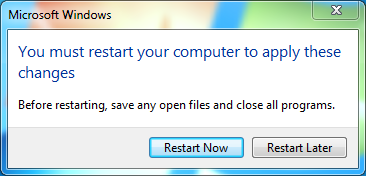
If a Windows message appears and requests you to restart the computer, click Restart Now.
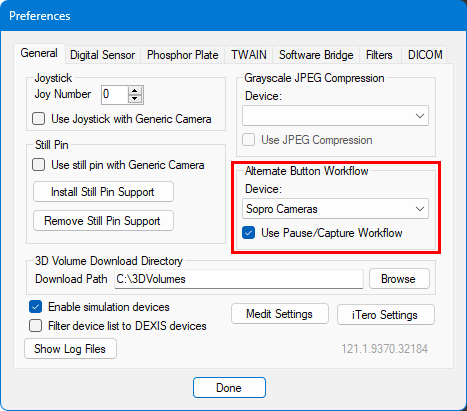
Note: (Optional) If the camera is not responding well to user inputs, it is sometimes recommended that you set up the Alternate Button Workflow for the camera in the acquisition agent preferences.
Testing
The Sopro camera is now functional in Dentrix Ascend Imaging. To acquire a test image, do the following:
-
Select the 2D Oral/Facial Photo Images imaging procedure.

-
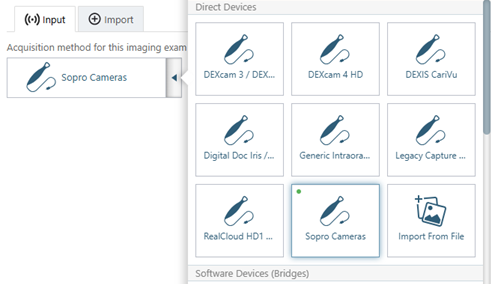
On the Available Devices menu, select Sopro Cameras.
-
Click Start.

Notes:
-
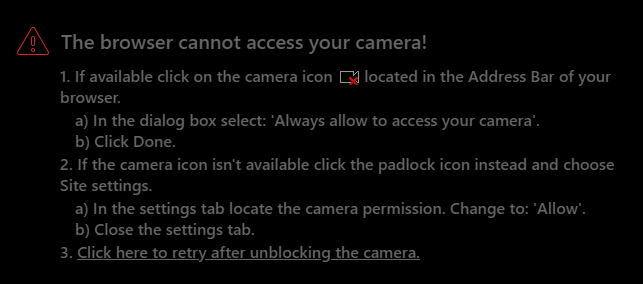
If a message about the browser not being able to access the camera appears, refer to the steps in the "Troubleshooting" section of this guide.
-
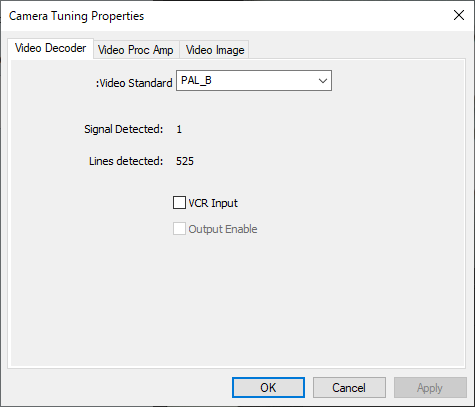
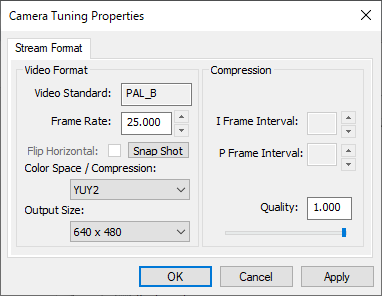
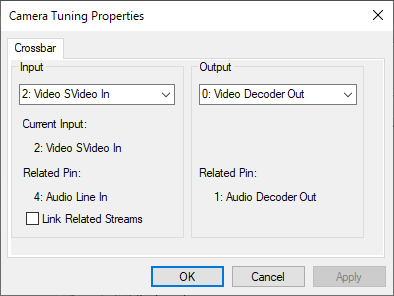
To access basic camera settings, click the cog icon (in the upper-right corner of the snapshot panel).

-
-
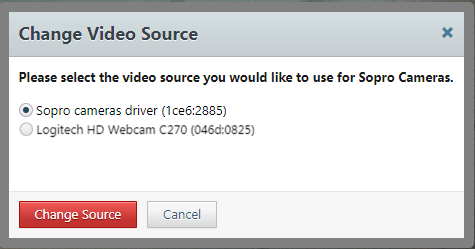
If there is more than one camera connected to the computer, or if the computer has a built-in webcam, Google Chrome may not select the intraoral camera by default. If this happens, to select the correct camera, do the following:
-
Click the camera icon (in the upper-right corner of the snapshot panel).

-
Select the option that corresponds to the correct camera, and then click Change Source.
Note: You may need to be restart the browser for the changes to take effect.
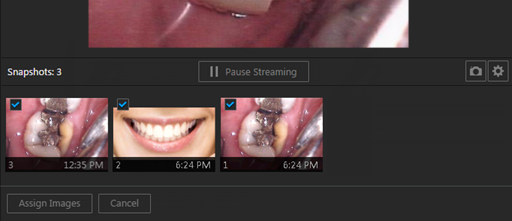
After you have configured the camera and started an acquisition, a live video stream from your camera appears.

-
-
With the camera properly positioned, use the button on your camera to pause or freeze the live video stream (or click Pause Streaming).

-
Do one of the following:
-
Press the button on your camera once to return to a live video stream.
-
Press the button twice rapidly within 1 second to capture the current video frame (or click Take a snapshot). The resulting image is added to the snapshot panel, and the video stream automatically becomes live again.
-
-
Repeat steps 5-6 as needed to acquire additional snapshots.
-
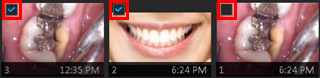
On the snapshot panel, clear the check box of the snapshots that you do not want to save.
-
Click Assign Images.
-
Do any of the following:
-
To save one or more snapshots as intraoral images and assign tooth numbers, select the snapshots that pertain to the same teeth (deselect snapshots that do not pertain to the same teeth), and then drag them to the Select Teeth, UR/UL/LR/LL, Upper Jaw, or Lower Jaw box.
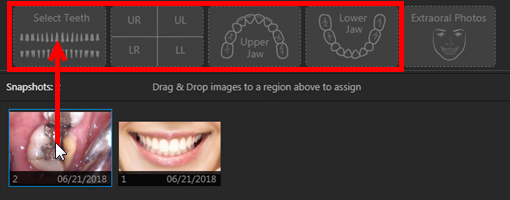
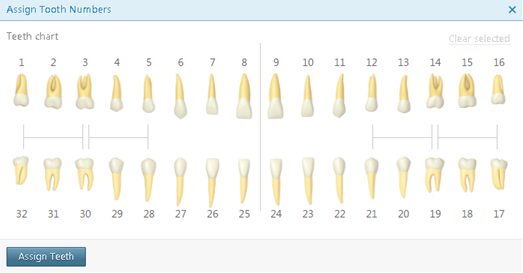
If you drag snapshots to the Select Teeth box, select the applicable teeth, and then click Assign Teeth.
-
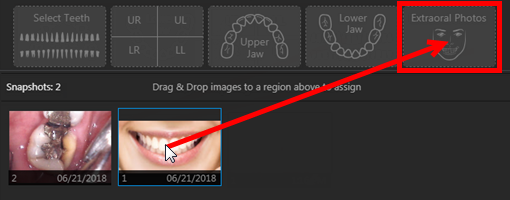
To save one or more snapshots as extraoral images, select the snapshots that are extraoral images (deselect snapshots that are not extraoral images), and then drag them to the Extraoral Photos box.
-
To save the snapshots on the snapshot panel as intraoral images, but not assign tooth numbers, leave those snapshots on the snapshot panel.
Assigned intraoral images appear on the left side of the preview area; extraoral on the right.
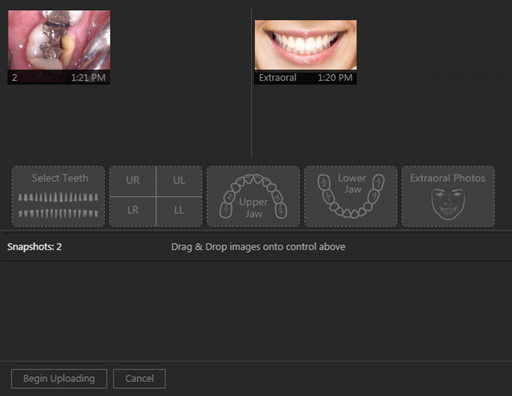
Note: If you have a mix of intraoral and extraoral images, they map to one procedure (D0350), which will appear in the progress notes with two icons. Also, you can delete or reassign the intraoral or extraoral exam as needed in the future.
-
-
Click Begin Uploading.
Troubleshooting
To confirm that the camera device driver is loaded and recognized by Windows, do the following:
-
Plug the camera into a USB port.
-
Open Device Manager.
-
Expand the Imaging Devices category, and make sure that the camera is listed.

-
If your camera is not being detected by Windows, or if it appears with an error message, try unplugging the camera and plugging it into another USB port on the computer. If the problem persists, contact the camera manufacturer for additional assistance.