Acteon AIS Software Bridge Setup Guide
This guide describes the installation and setup of the Acteon AIS software bridge for use with Dentrix Ascend Imaging.
Last updated: 10/29/2025
Overview
Dentrix Ascend Imaging supports the acquisition of CBCT images from the Acteon AIS software on a computer running the Windows operating system. The Acteon AIS software must be installed on each computer that the software bridge will be used.
Notes:
-
It is recommended that all acquisition devices are configured in the Acteon AIS software on each computer that will acquire images using the Acteon AIS software bridge.
-
Prior to the installation of any imaging devices, the acquisition agent application must be installed on each computer that will acquire images using the software bridge. Refer to Setting up the acquisition agent for instructions on downloading and installing the acquisition agent.
Configuration
To configure the AIS software, do the following:
-
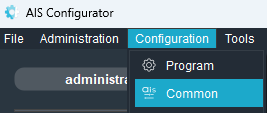
In AIS, open the AIS Configurator application.

-
Log in with the administrator account.
-
On the Configuration menu, select Common.
-
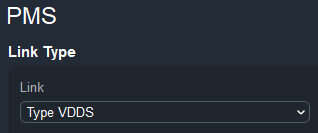
Select PMS.

-
From the Link list, select Type VDDS.
-
Click OK.
-
Open the VDDS_MMI.INI file (located at C:\Windows\VDDS_MMI.INI) in a text editor (such as Notepad).
-
Add the following lines:
-
[PVS]
-
Name1=RCI
-
[RCI]
-
NAME=TEST_DICOM
-
VERSION=1.4
-
-
Save the changes, and then close the text editor.
Testing
The Acteon AIS software bridge is now functional in Dentrix Ascend Imaging. To acquire a test 3D volume, do the following:
-
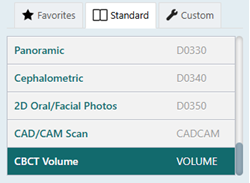
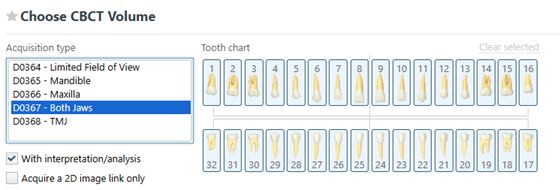
Select the CBCT Volume imaging procedure.
-
Select an Acquisition type. Depending on the selected acquisition type, you may also need to select teeth for the test.
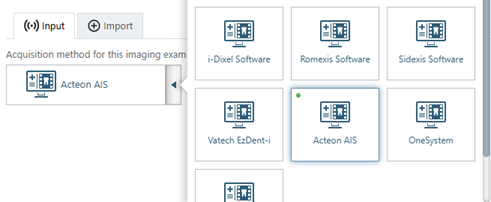
-
On the Available Devices menu, select Acteon AIS.
-
Click Start.

-
Acquire a 3D volume. The captured 3D volume appears in Dentrix Ascend Imaging automatically.