3Shape Software Bridge Setup Guide
This guide describes the setup of the 3Shape software bridge for use with Dentrix Ascend Imaging.
Last updated: 10/30/2025
Overview
Dentrix Ascend Imaging supports the acquisition of CAD/CAM images from the 3Shape Unite software through a software bridge.
Notes:
-
All acquisition devices must be functioning in the 3Shape Unite software on each computer that will acquire images using the 3Shape software bridge. Please contact 3Shape support for assistance.
-
Prior to the installation of any imaging devices or setting up the 3Shape software bridge, the acquisition agent application must be installed on each computer that will acquire images using the software bridge. Refer to Setting up the acquisition agent for instructions on downloading and installing the acquisition agent.
Minimum Versions
-
Acquisition agent v123.0.xxxx.xxxxx
-
3Shape Dental System 2022 (DS2022)
Recommended Version
-
3Shape Dental System 2025 (DS2025)
Acquisition Agent Configuration
To configure the 3Shape software bridge settings, do the following:
-
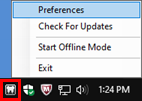
To open the acquisition agent preferences, click the Acquisition Agent icon in the system tray, and then select Preferences.
-
On the General tab, click 3Shape Settings.

-
In the 3Shape Settings dialog box, click Log In.
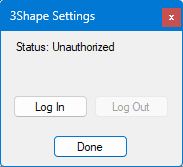
The Authorization dialog box appears.
-
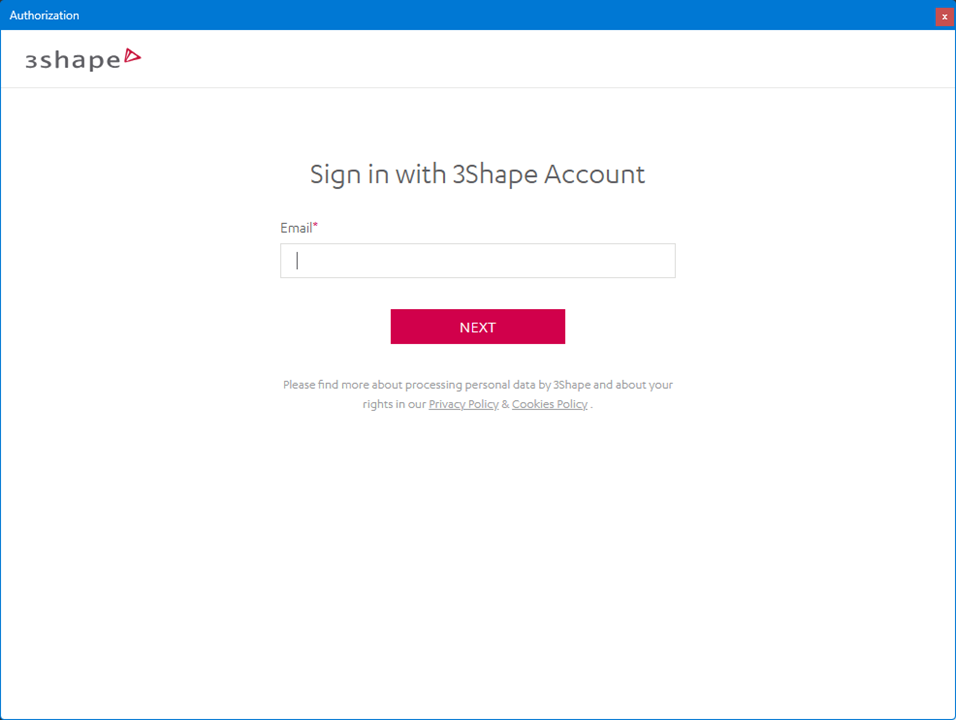
Enter the email address that is associated with your 3Shape account, and then click Next.
The Authorization dialog box changes.
-
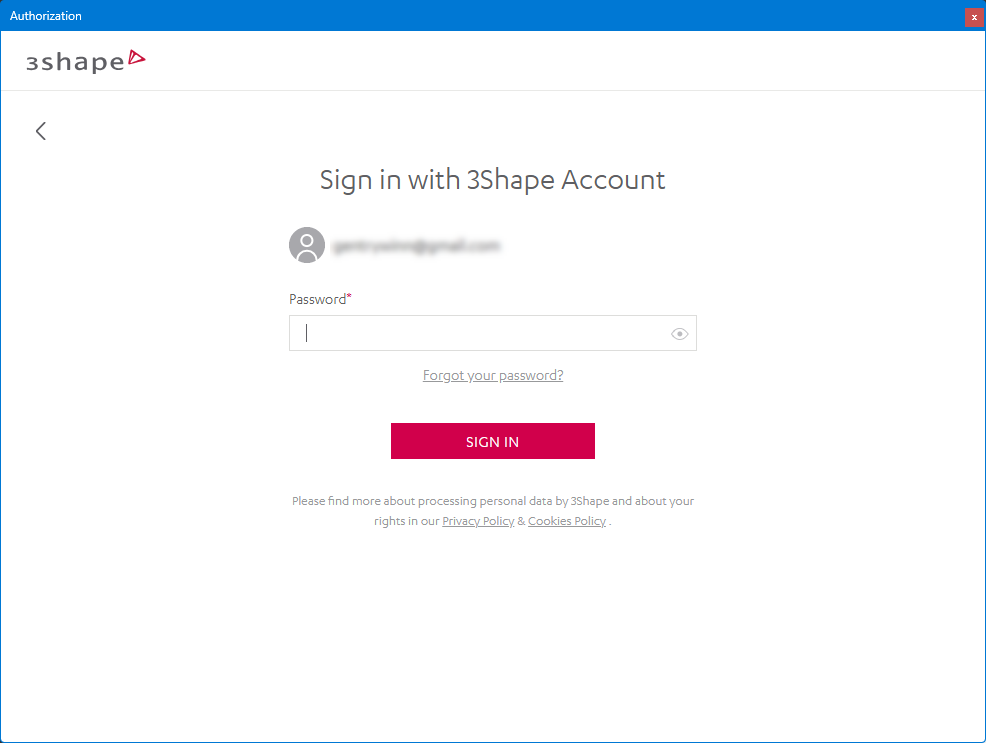
Enter the password that is associated with your 3Shape account, and then click Sign In.
You are returned to the 3Shape Settings dialog box.
-
Click Done.
-
In the Preferences dialog box, click Done.
Note: Currently, if at least an hour has elapsed since the last time you logged in to your 3Shape account, you must log in again.
Testing
The 3Shape software bridge is now functional in Dentrix Ascend Imaging. To acquire a test CAD/CAM scan, do the following:
-
Open the 3Shape Unite software, and log in.
-
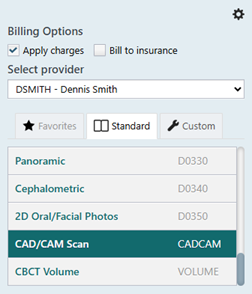
Select the CAD/CAM Scan imaging procedure.
-
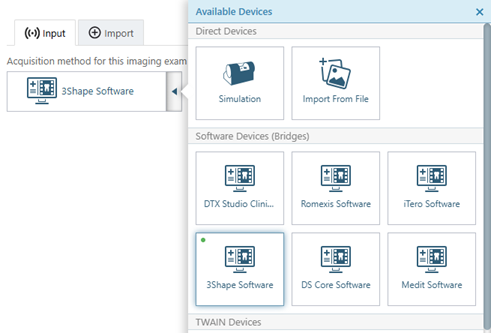
On the Available Devices menu, select 3Shape Software.
-
Click Start.
-
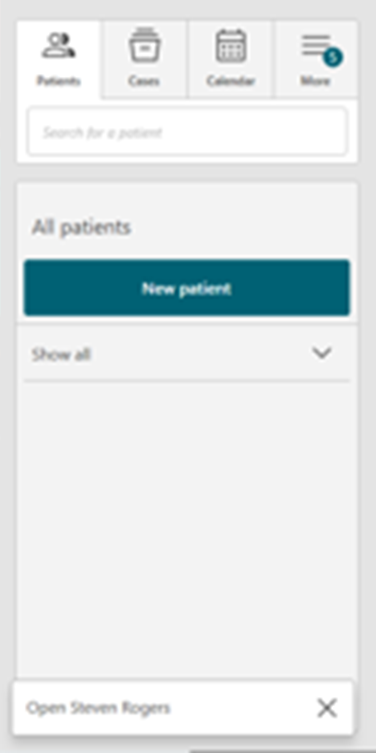
In 3Shape Unite, click the Open Patient pop-up box.
-
Acquire images in the 3Shape Unite software. After you finish scanning in 3Shape Unite, the images appear in Dentrix Ascend Imaging automatically.
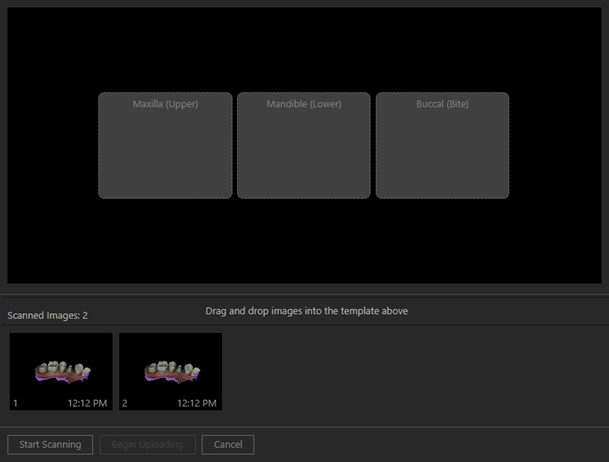
Note: Currently, 3Shape does not send buccal (bite) scans back to Dentrix Ascend Imaging.
-
Assign the scanned images to the correct slot, and then click Begin Uploading.
Troubleshooting
Verify that the 3Shape settings are correct in the acquisition agent preferences.
For any issues related to a device not working in the 3Shape Unite software, please contact 3Shape support: https://help.3shape.com/en-US/.