

When you post a treatment-planned procedure from the Patient Chart or the Ledger and if you have not created a default treatment plan case, a default treatment plan case called Treatment Plan is created automatically for the selected patient and then every treatment-planned procedure is copied to that patient's default treatment plan case.
You can also create a default treatment plan case for every patient in your database automatically from the Treatment Planner.
You can create additional treatment plan cases so you can group and organize treatment-planned procedures by case and arrange the procedures according to visit. For example, you could create a treatment plan case named Implant, add the required procedures, and then organize the procedures according to the visits required to complete the implant. Your patients can also use the cases you create to compare alternate treatment options, such as an implant versus a bridge. You can even create patient payment estimates for each case.
Tip: Since every treatment-planned procedure is placed in the default case folder, you may want to rename the default to a name, such as Unsorted Procedures or Unsorted Treatment Plans.
To create a new case
1. Select a patient, and start the Treatment Planner.
The Treatment Planner appears.
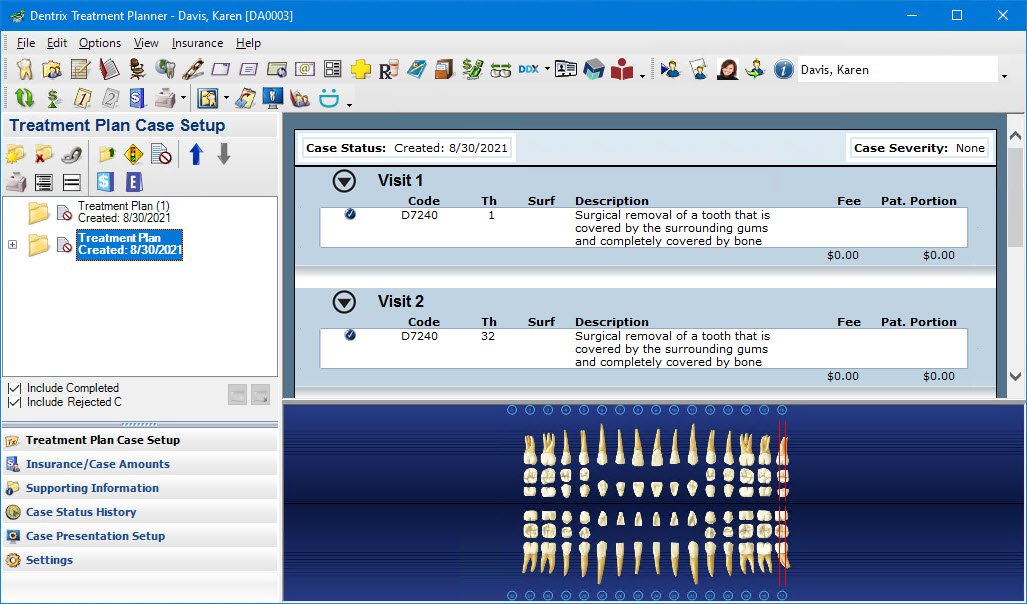
2. In the Treatment Plan Case Setup toolbar, click New Case.
A new case is created and is added to the Treatment Plan Case list.
3. Rename the new case to distinguish it from the default case.
Note: By default, the case folders you create are named Treatment Plan followed by a number in parentheses.
4. To move a procedure to the new case, drag it to the case folder.
Note: To move multiple procedures simultaneously, press the Ctrl key, click each procedure that you want to move, and then drag them to the case folder.